Unify (One-Click Compositing)
Unify lets you place a concept into context in seconds. With a single click, it blends your subject into a background with matched lighting and shadows—so your design looks grounded and review-ready without prompting or tool-hopping.
What Unify is for
Use Unify when you want to:
- Put a concept into a real environment to check scale, proportion, and fit
- Layer multiple objects into one cohesive scene
- Explore layout quickly while keeping full visual control
- Validate spatial relationships early in the process
- Create review-ready visuals fast
Unify is visually controlled. You place and arrange elements first, then Unify composites them together.
When to use Unify vs. Modify
Both tools speed up ideation, but they’re built for different moments in your workflow:
- Use Modify when you want to explore new directions.
Modify is prompt-driven and more directive — great for generating variations, pushing style changes, or trying alternate forms and details.
- Use Unify when you want to ground what you’ve already made. Unify is visually controlled and intentional — best for placing a concept into real context, matching lighting and shadow, layering multiple objects, and validating scale or space quickly.
Quick rule of thumb:
- Modify = explore the idea
- Unify = place the idea in context
Where to find Unify
Unify is available to all Vizcom Studio users.
In Studio:
- Open a canvas in Studio.
- Select your subject or layer.
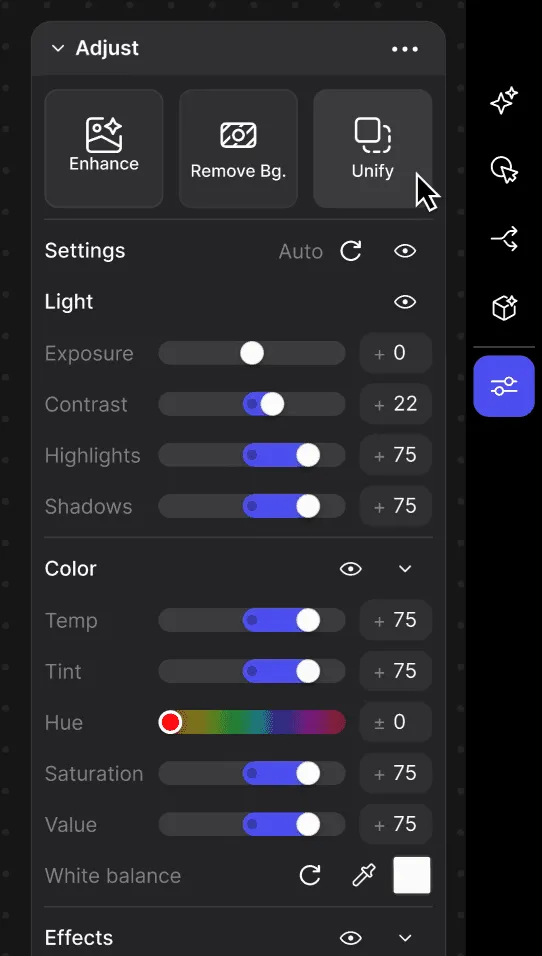
- Go to Adjust → Unify.
(Unify lives alongside tools like Enhance and Remove Background.)
How to use Unify
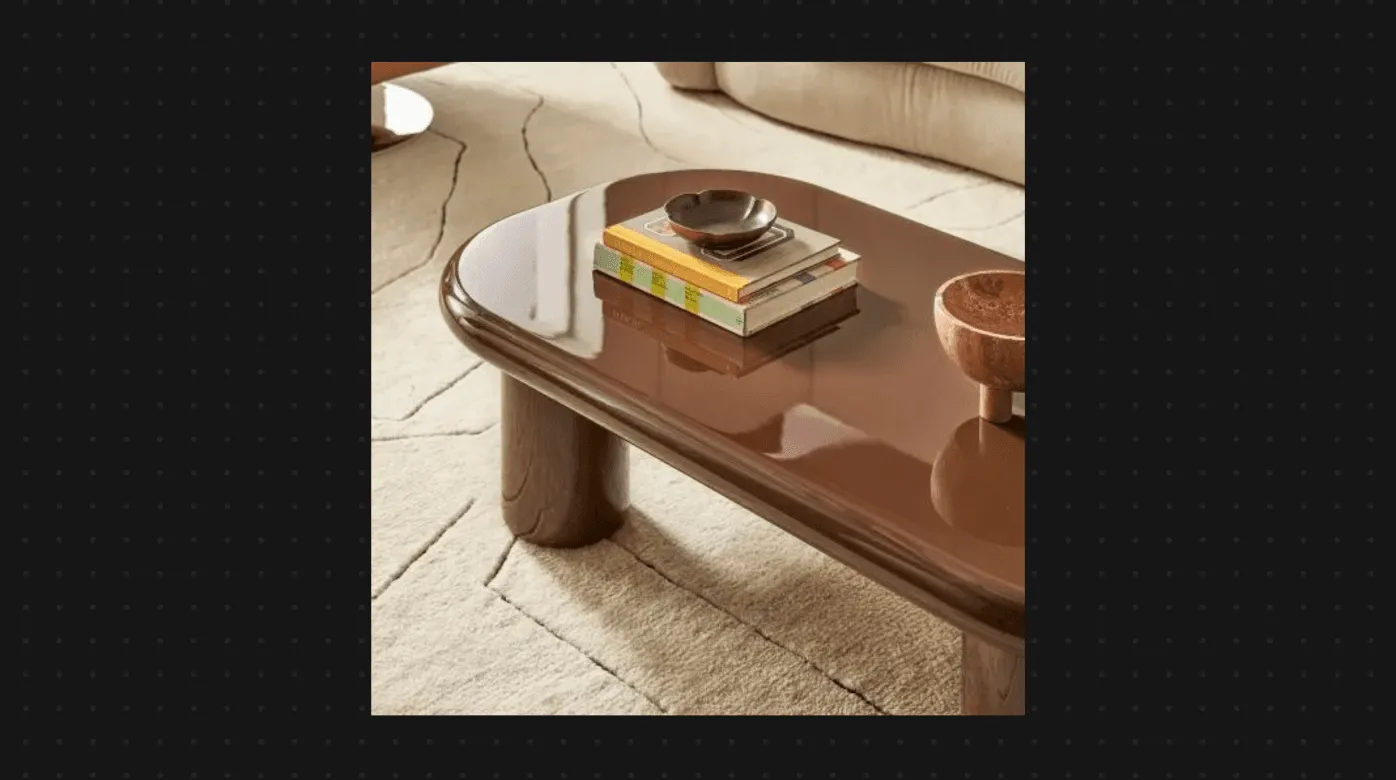
Add a background
Start by choosing the context your object will live in. Add or import a background image, such as:
- A photo of an environment (desk, room, street, body, hand, etc.)
- A mood or CMF scene
- A material or lighting reference
Place the background behind everything else in the layer stack.
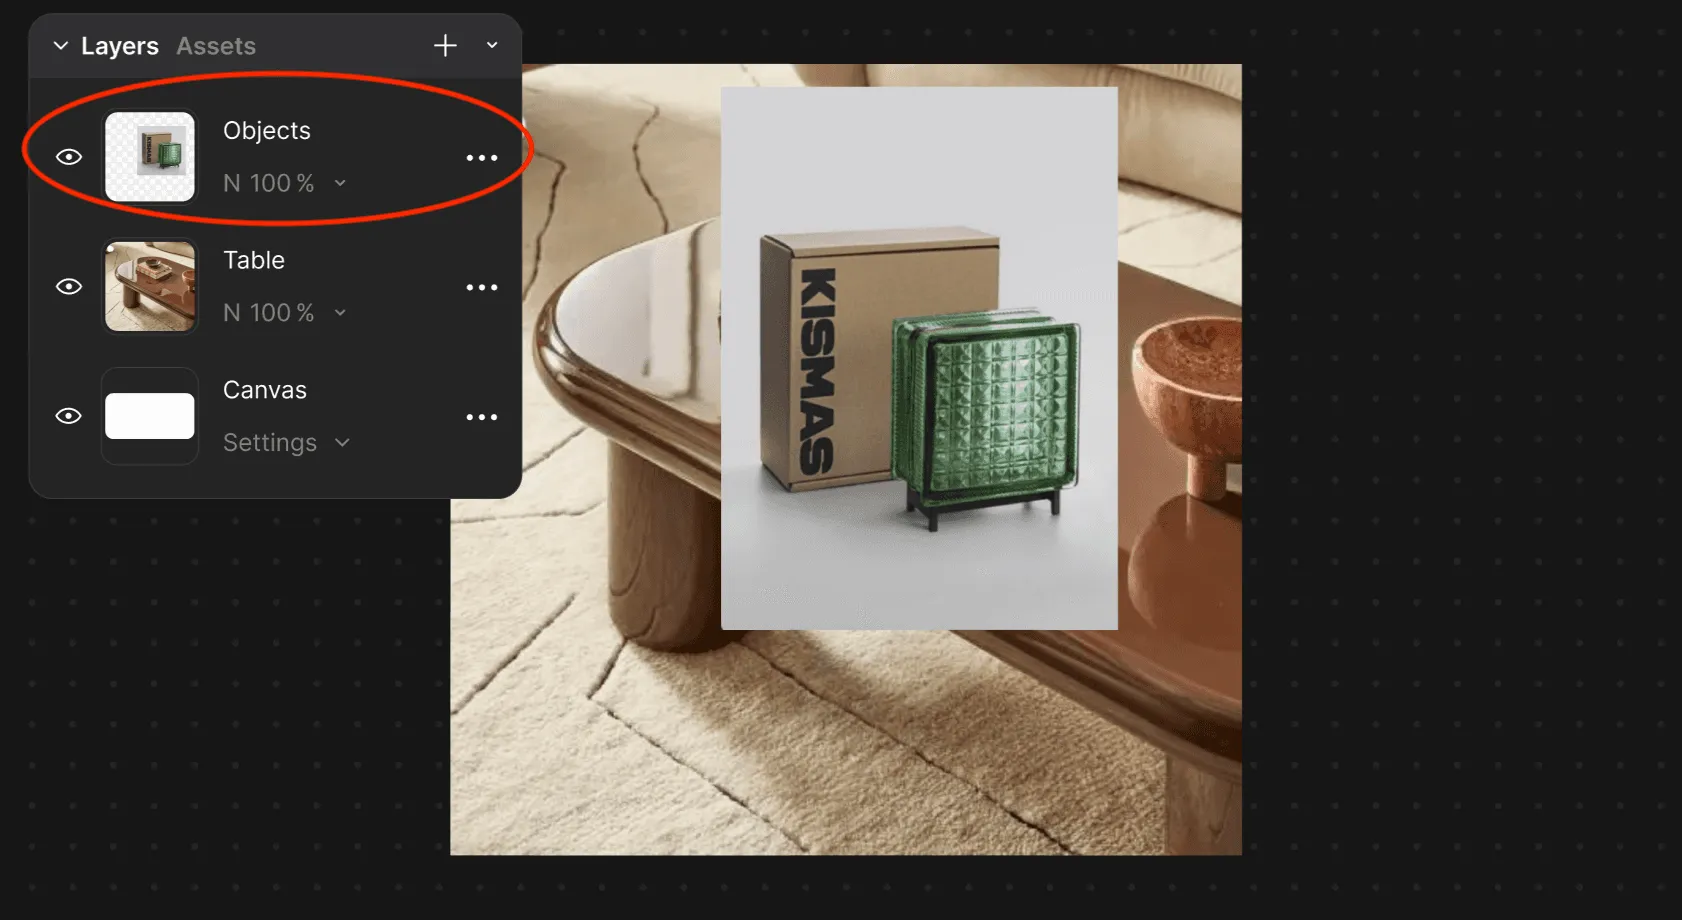
Prepare your object
Next, bring in the object you want to place into that scene. This can be:
- A Vizcom render
- An imported image
- A sketch you’ve enhanced
- A layer you’ve already removed the background from
Tip: If your subject still has a background, use Remove Background first for cleaner blending.
Position and scale
Move, resize, or rotate your subject into the scene:
- Set approximate scale
- Align to perspective
- Place where the object would naturally sit
Unify works best when your placement is close to your intended final position.
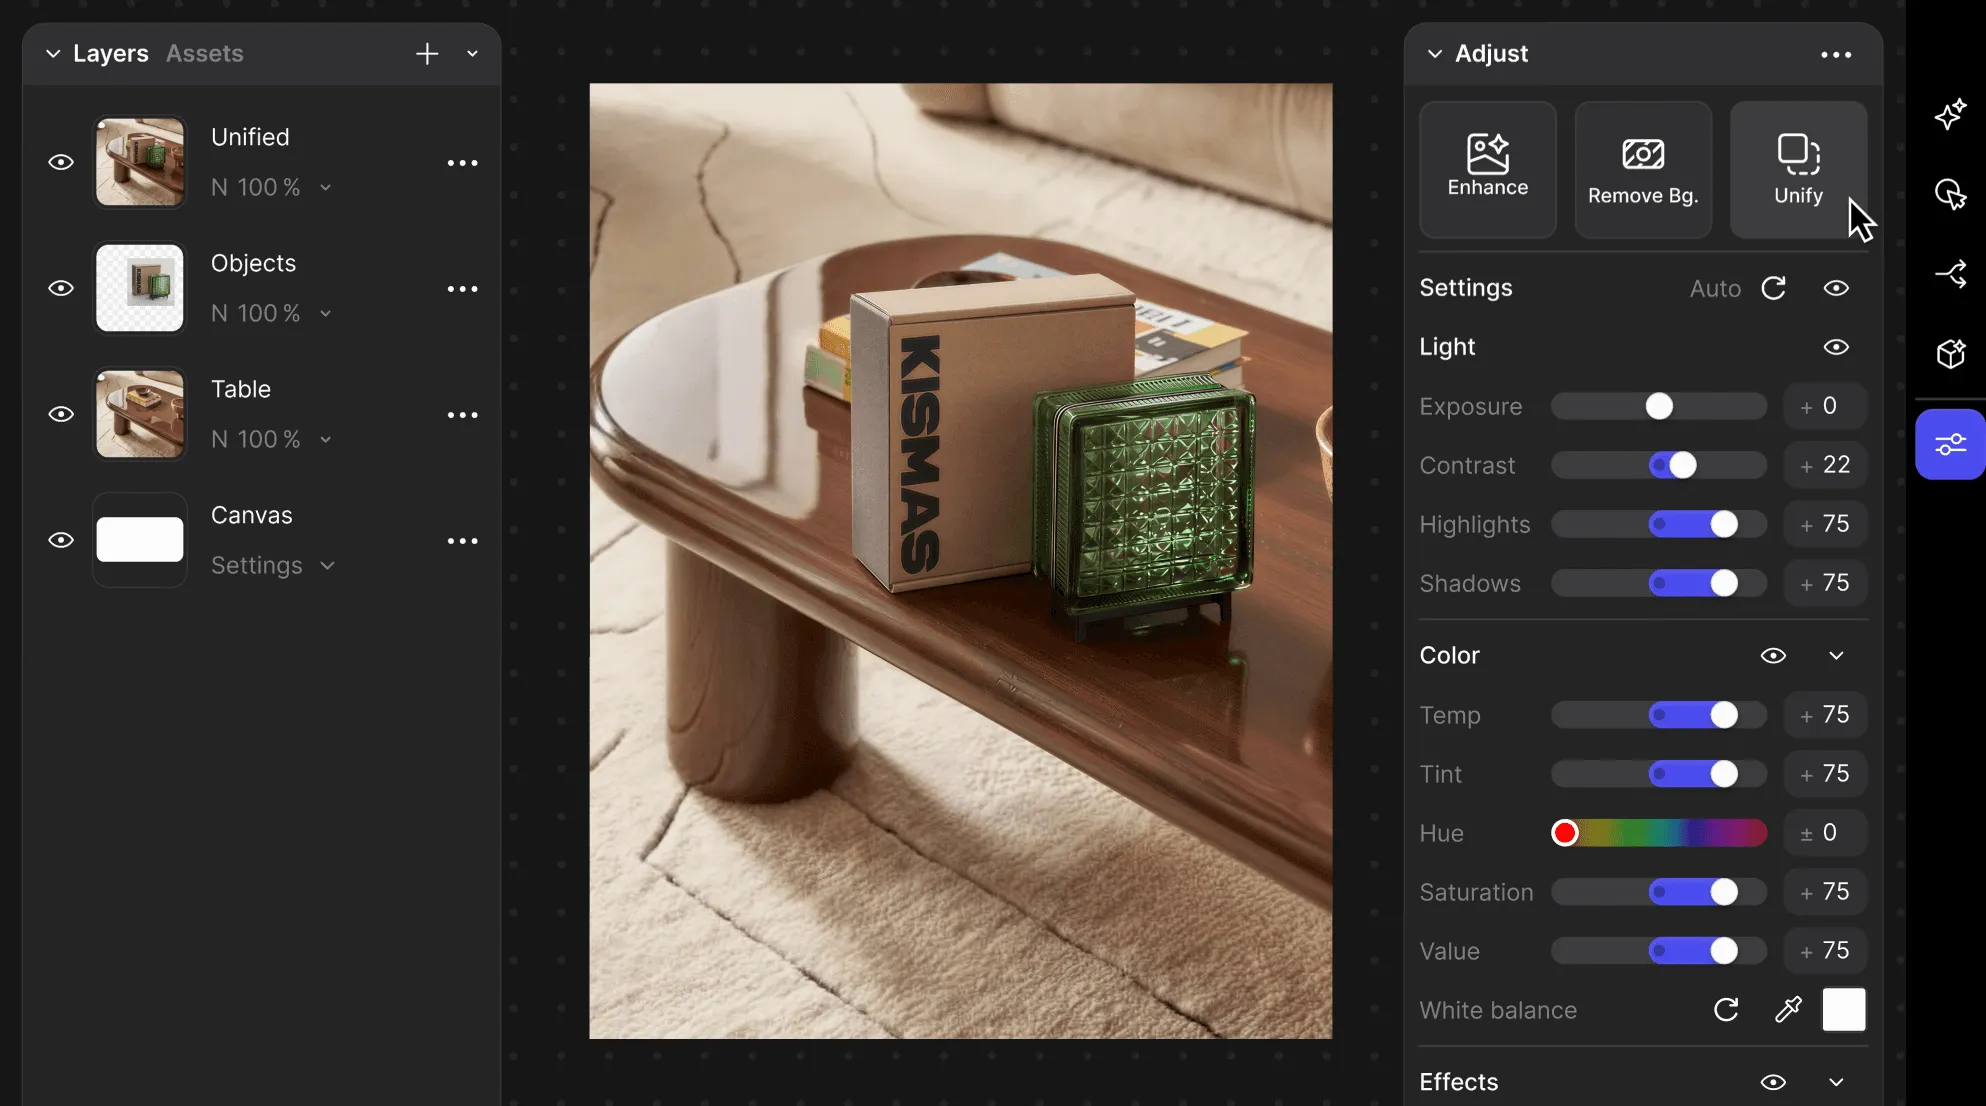
Click Unify
With your subject selected:
- Go to the Adjust Panel and on the top right corner click Unify
Unify will:
- Blend the subject into the background
- Match lighting direction and intensity
- Generate realistic shadows
- Harmonize tone/contrast for a cohesive look
After Unify, you can continue to:
- Adjust scale or layout
- Add more layers/objects
Unify supports fast, repeated iteration.
Best practices
- Start with good cutouts
Clean edges give Unify more to work with. Remove Background first if needed.
- Match perspective early
Place the subject so the horizon line / camera angle feels consistent. - Layer intentionally
Unify shines when you’re building scenes: product families, kits, ecosystems, CMF sets. - Use it for early validation
Unify is ideal for quick checks—fit, ergonomics, story read, and visual weight in space. - Add multiple items at once
When using Unify, it’s best to add multiple items into your scene at the same time before blending together
Tips for stronger results
- Try a different background if the lighting feels too extreme.
- Enhance after Unifying to make your image clearer.
- Keep subjects distinct when layering multiple objects (avoid heavy overlaps unless intended).
Known Limitations
Unify is designed for speed and visual alignment. Results may vary depending on the input.
- Very complex lighting environments (e.g., neon, multiple strong light sources) may need a second pass.
- Busy backgrounds can reduce shadow clarity.
- Extremely low-resolution subjects/backgrounds may produce softer blending.
If the subject’s edges are rough, Unify may preserve that roughness.
FAQ
Do I need to write prompts to use Unify?
No. Unify is one-click and visually controlled.
Can I use Unify with multiple objects?
Yes. Layer and place multiple subjects, then Unify to harmonize the scene.
Does Unify flatten my layers?
N, your layout remains editable. You can keep moving and layering after Unify.
Have a question for our team?
Frequently asked questions
Explore all features in Vizcom or book a tailored demo for you and your
Yes of course! Our starter plan is completely free, no credit card required. This is a great plan to explore vizcom with.
We accept all major credit and debit cards.
Admins (paid) – can edit files, manage workspace settings, billing, teams, and invite members. Editors (paid) – can edit files but not manage settings, billing, or teams. Viewers (free) – can only view files in read-only mode.
Team billing is handled centrally by the Admin. All paid seats, whether Admins or Editors, are included in a single invoice under the same billing cycle, while Viewers remain free and do not affect the cost.
Yes, you can. An Admin can update the plan in the billing settings, and the switch will take effect on the next billing cycle at the annual rate.
Yes, you own everything you create in Vizcom. For free users, while Vizcom may use generated images to improve its services, it does not claim ownership of your designs, concepts, or original ideas—you keep full rights to them. For paid users, your images and designs remain entirely private and are only used to deliver the service. Every design, concept, and image you create or upload is fully yours and kept confidential.
Vizcom does not use your data to train AI models if you’re on a paid plan. Everything you create stays private and is only used to provide the service. Free users may have their generated images included to help improve Vizcom’s services, but even then, Vizcom does not claim ownership of your designs, concepts, or original ideas—you retain full rights.