%20Large.jpeg)
Remote, an AI agent microphone
Miguel noticed engineers switching between AI agents all day and typing when they could just talk. That observation became Remote, a handheld voice-controlled agent microphone. This case study walks through his full process: sketch, Vizcom renders, CAD, form exploration, and 3D-printed prototypes, showing how the iterative loop between tools sharpened the final design.

Some ideas start with a clear brief. Others start with a pattern you keep noticing.
Miguel, a designer, started noticing engineers work across multiple AI agents at once. The workflow made sense, but the interaction didn't match it. These agents already understand natural language, so talking to them out loud felt like a more direct way to work with them than typing. That gap became the starting point for the project.
%20Large.jpeg)
The concept became a device for talking to different agents and switching between them quickly. From the beginning, the goal was clear. It needed to be small, light, easy to hold, and simple to use.
Sketching made the idea easier to judge
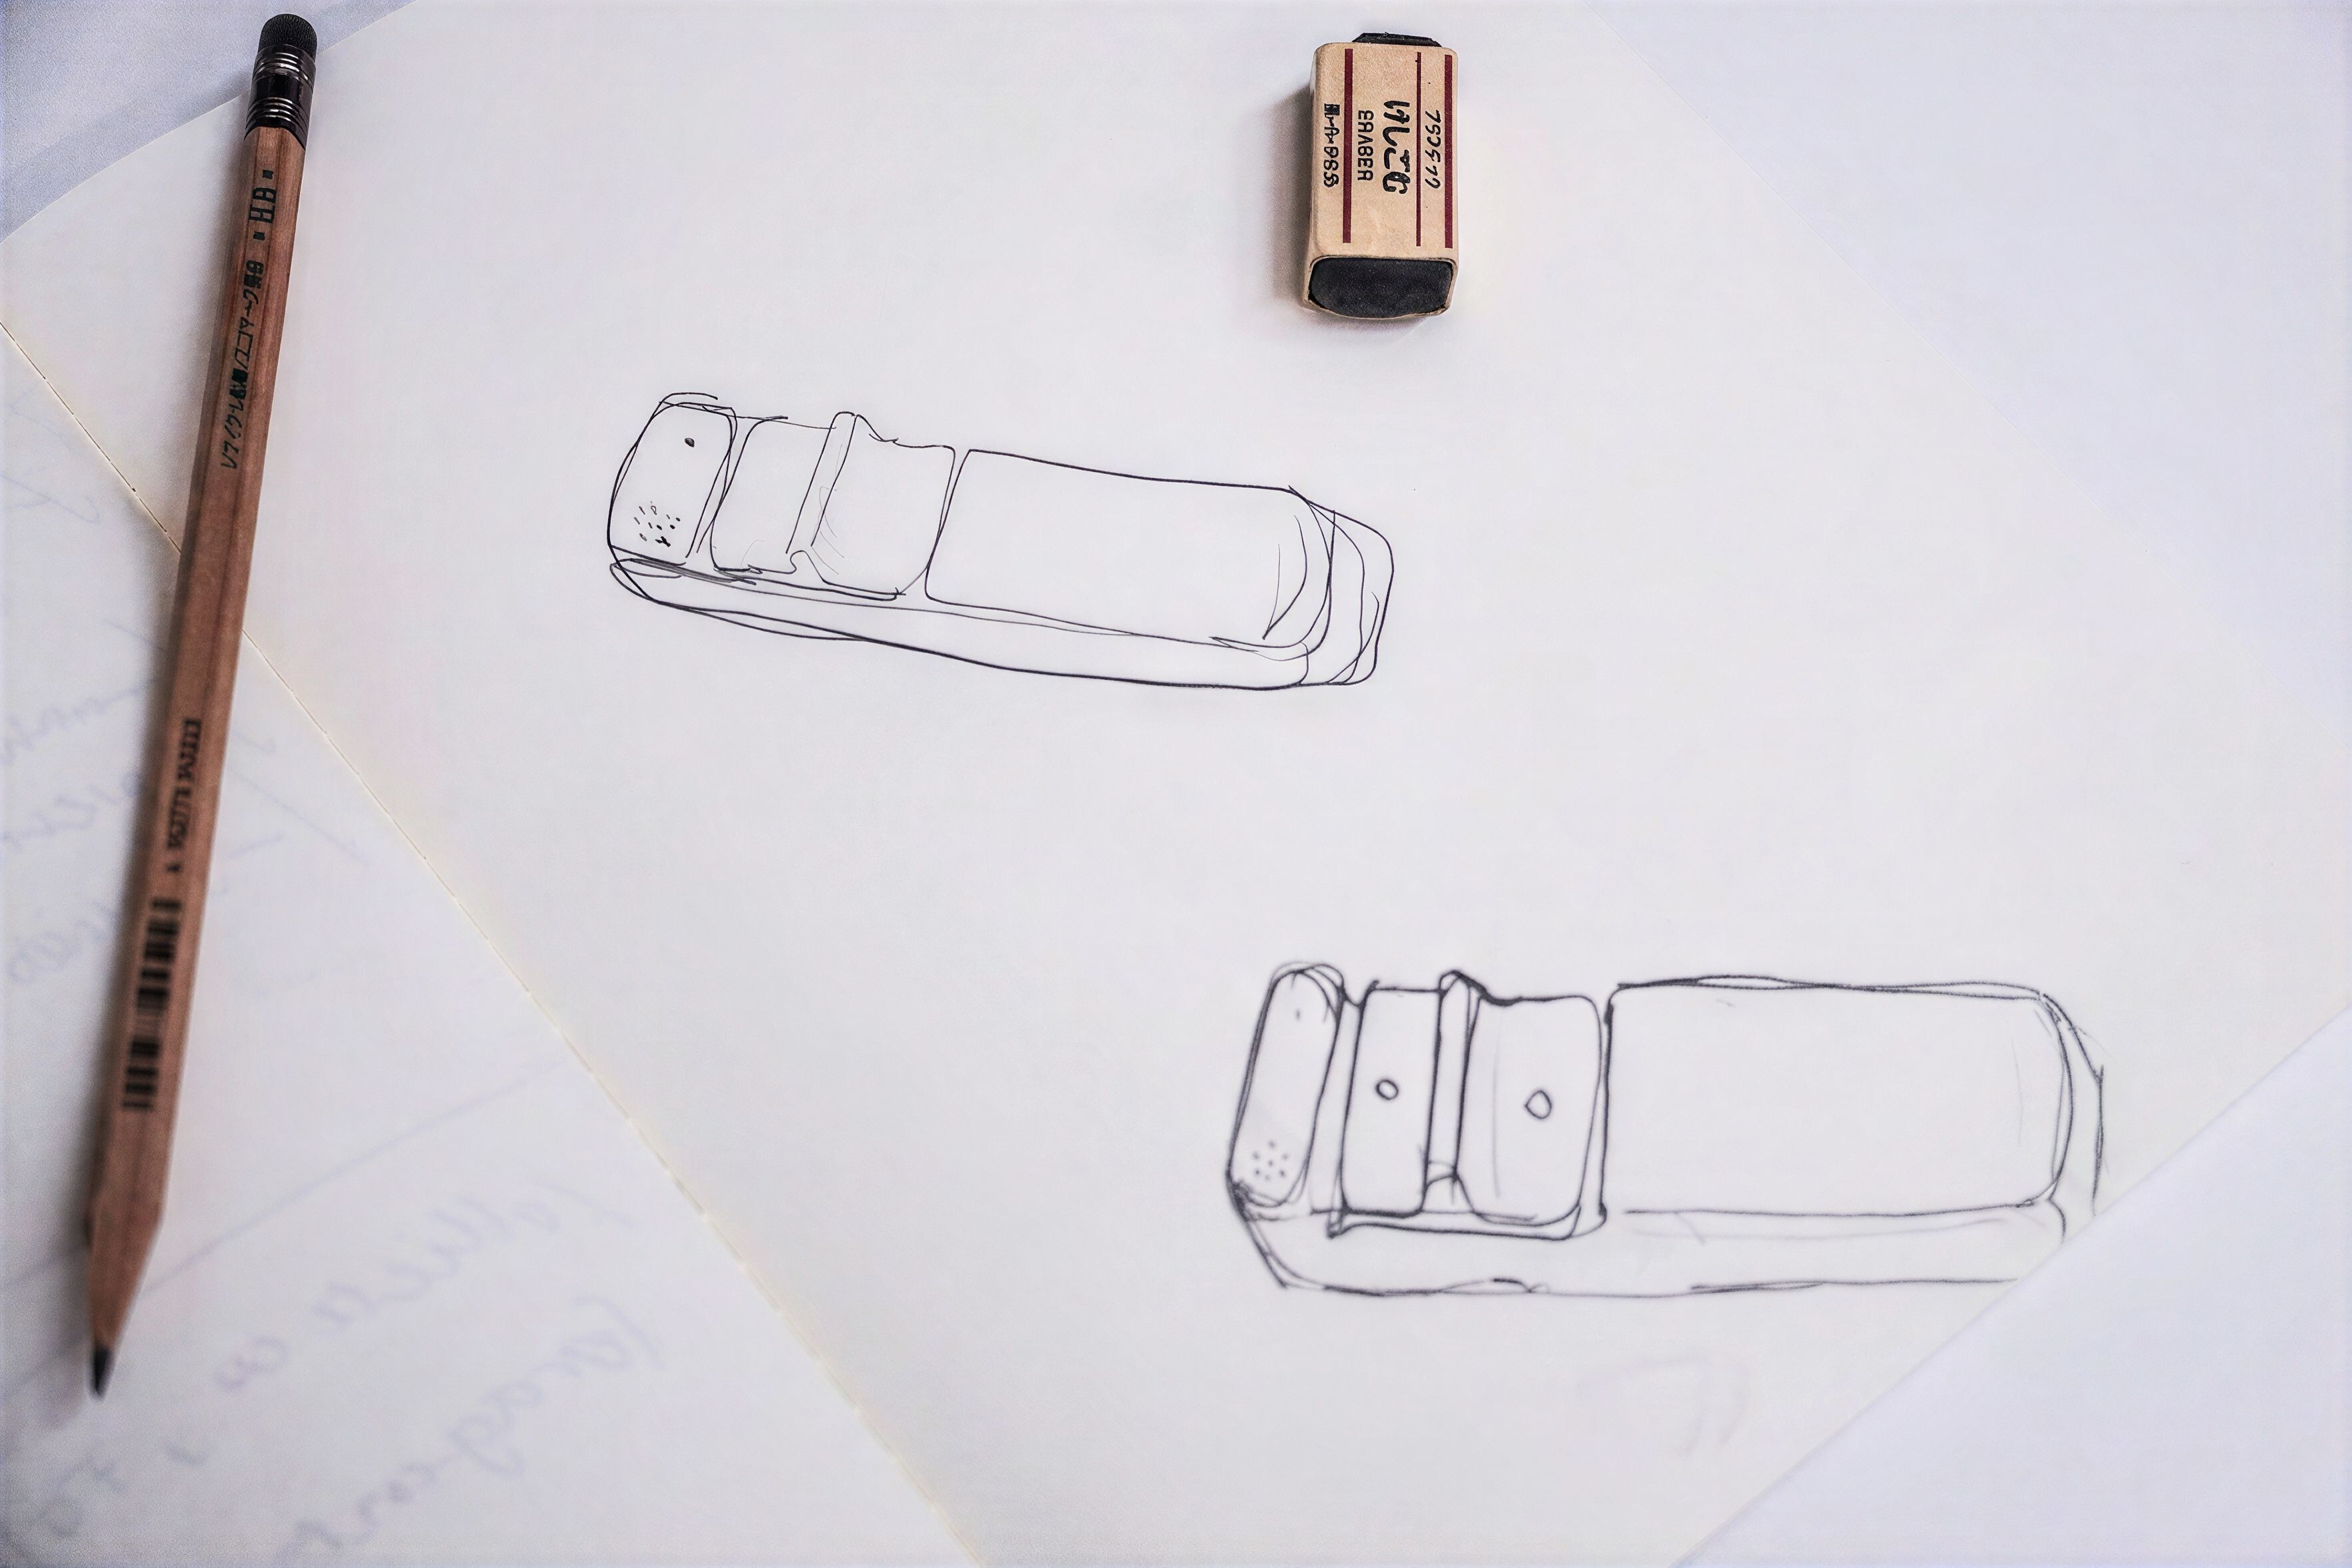
Miguel started with sketching out his vision. The sketch gave enough substance for Miguel to react to and learn where it could be pushed further.
That became the pattern for the whole project. Each step helped him see the idea more clearly. A sketch helped with formulating the idea in the real world. A render revealed material, lighting, and construction cues. A rough CAD model helped test what the object could become.
Vizcom helped move the idea forward
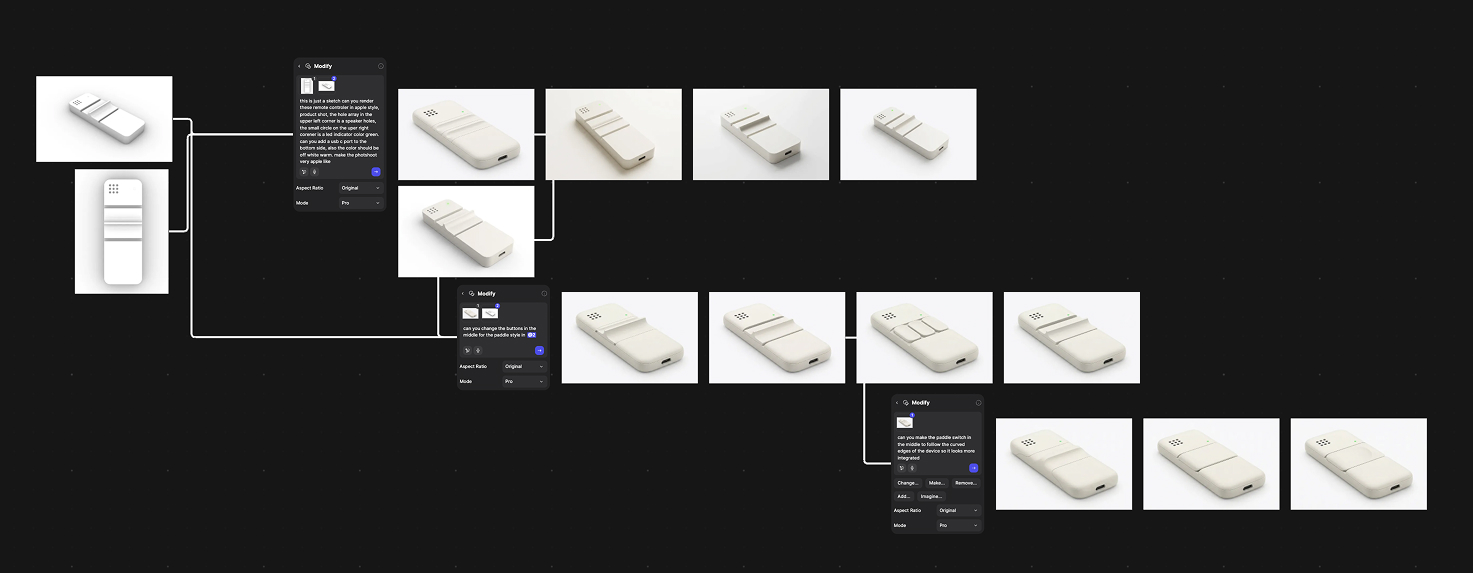
Once the sketch had been grounded in Miguel’s vision, he brought it into Vizcom to keep exploring. During his use of Vizcom, the renders didn’t just make the concept look more polished. They helped clarify how it could be built, what the surfaces were doing, and where the idea needed more work.
That’s what design acceleration looks like here. Not speed for its own sake, but getting to better decisions faster.
A challenge came in the details
One challenge was getting specific details that felt right. For that, Miguel used Vizcom’s layer system and brushes in the Studio workspace to point at exactly what should be removed or adjusted, then continued refining from there.
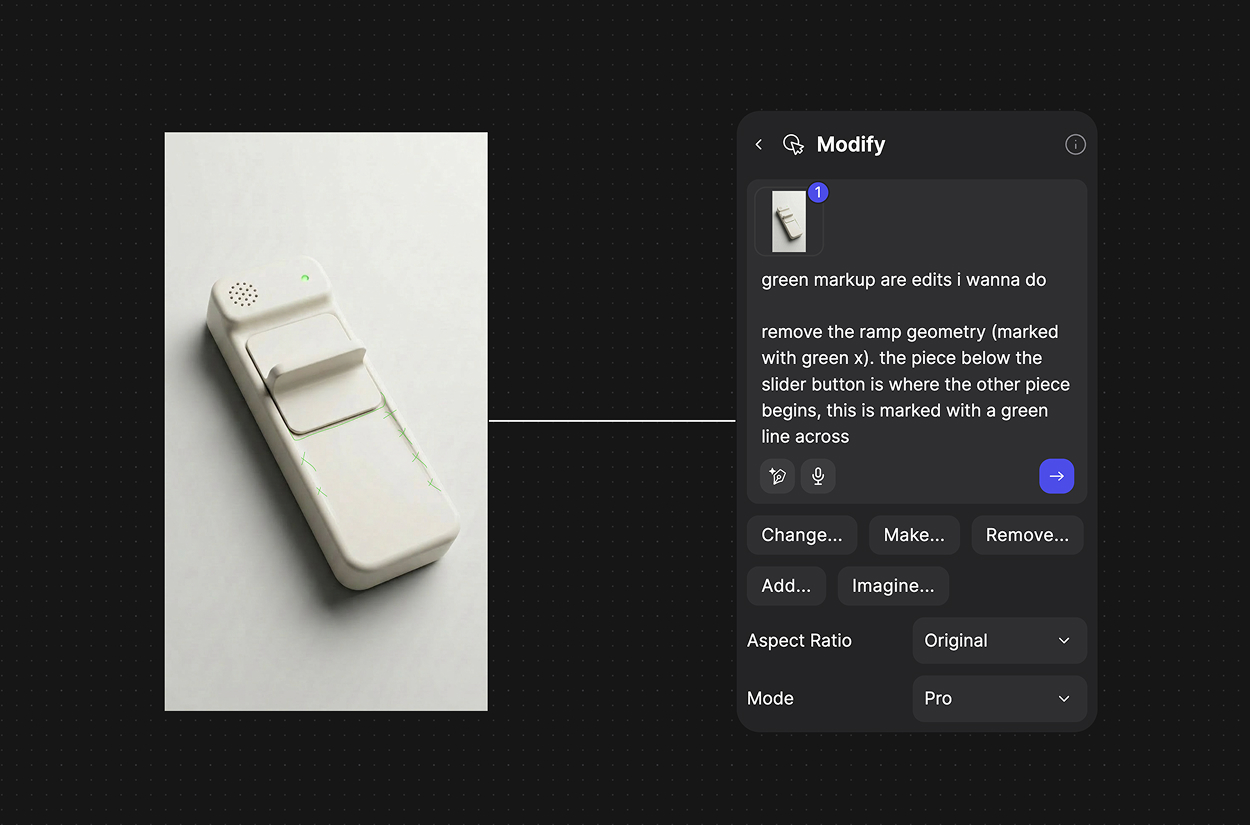
That made it easier to stay precise without losing momentum.
Design refined from form exploration
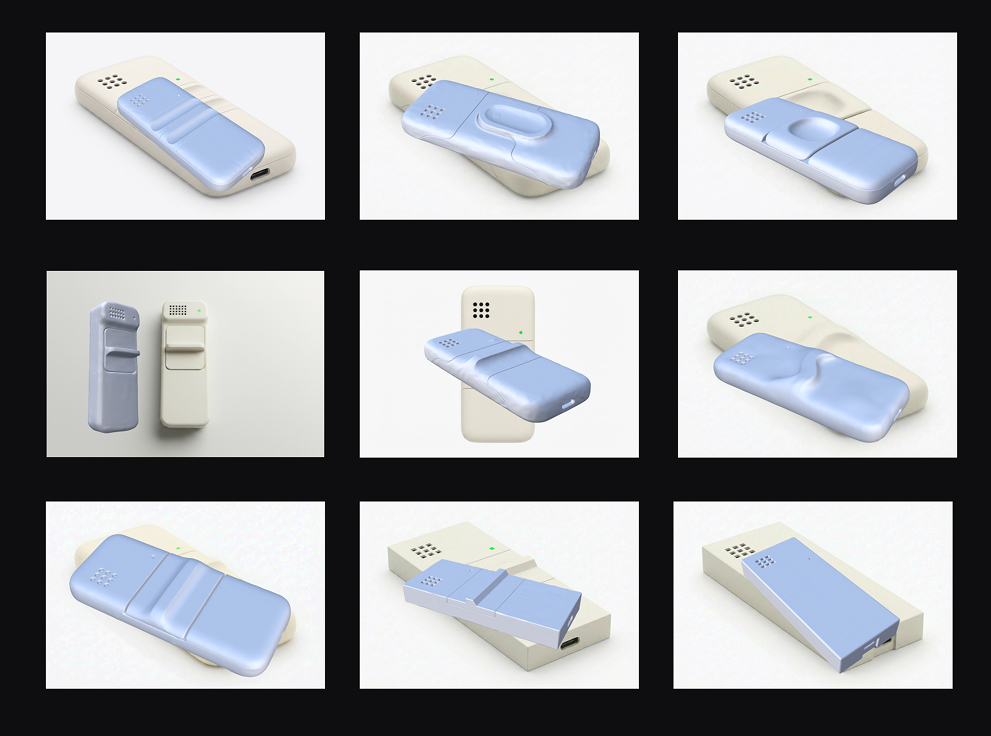
A useful part of the process was dropping back down in fidelity after learning something new. After exploring in Vizcom, Miguel drafted a rough CAD model, to bring back into Vizcom for another round or revising.
The process wasn't linear, each loop back into Vizcom gave him a clearer next step than the one before. It built on itself instead of moving in a straight line.
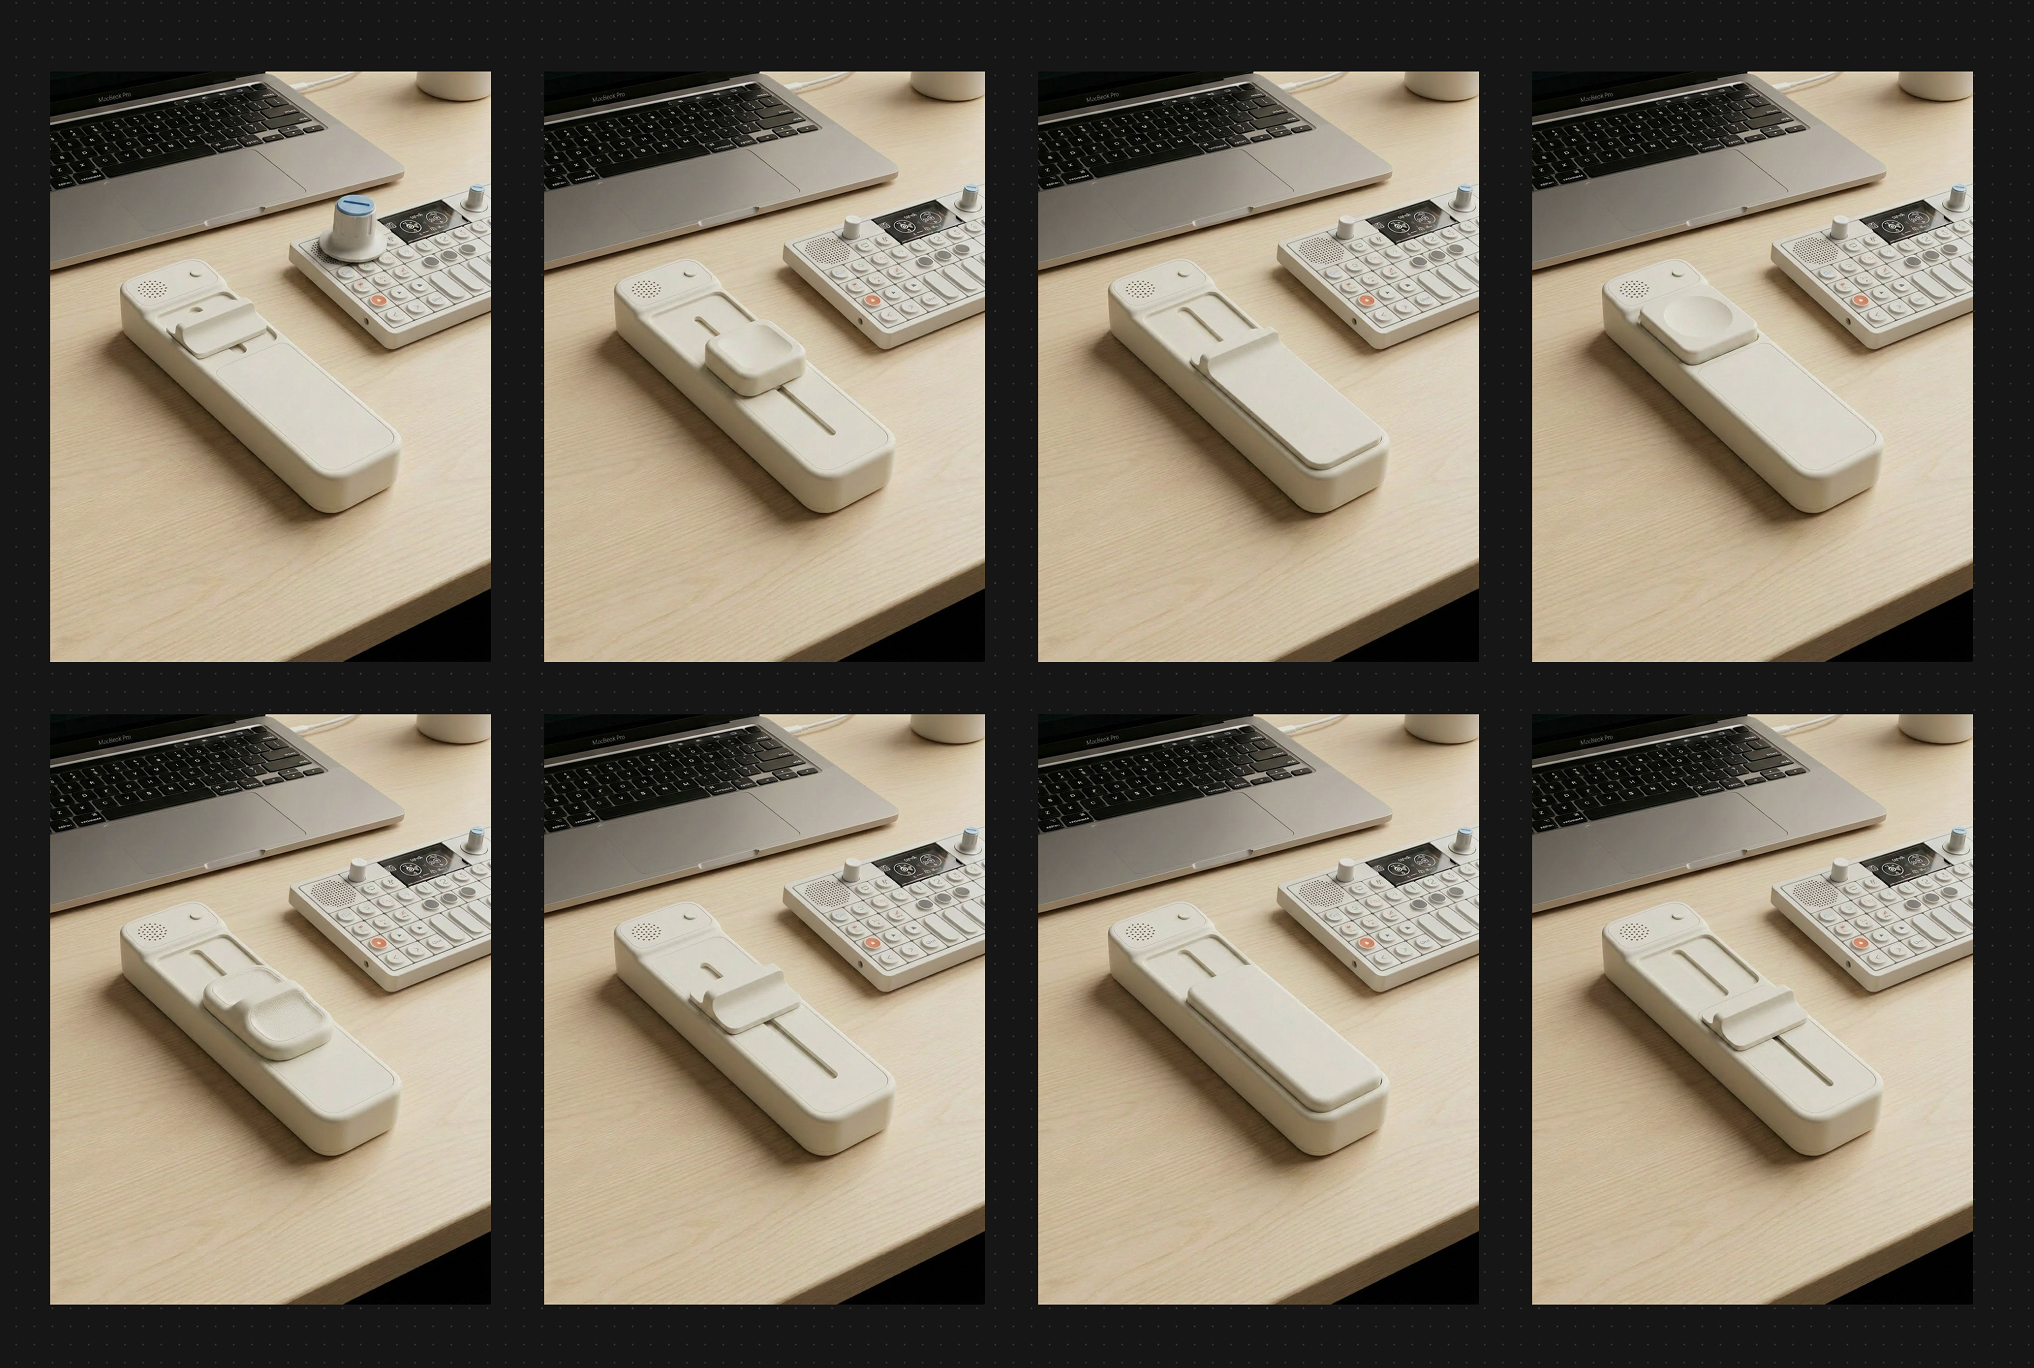
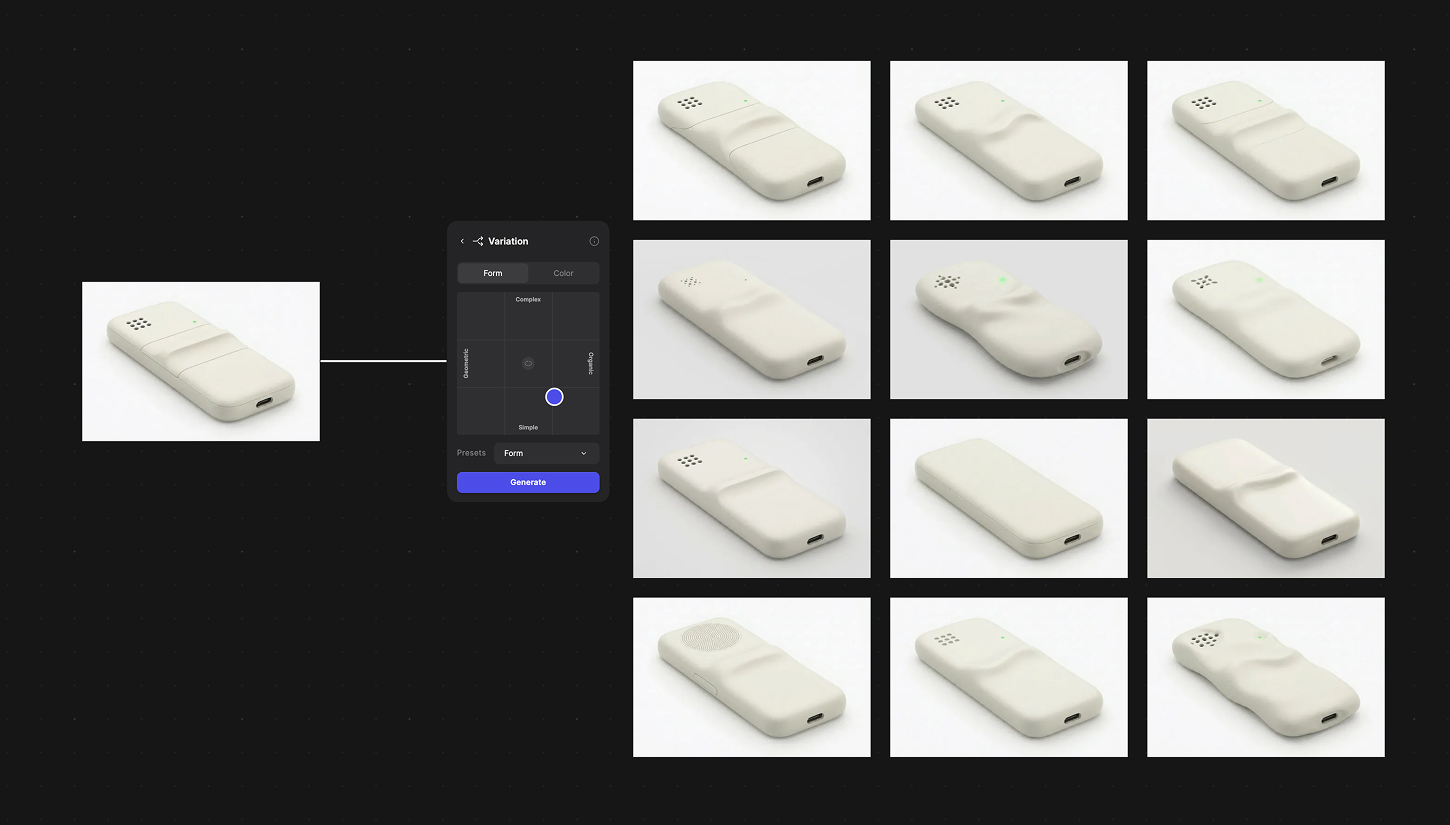
Later, once the foundational design felt strong, he used Form Variation to explore nearby options. Not to hand off the design, but to surface details or directions he might want to bring back into the work.
A big part of that was comparison. Seeing multiple options at once made it easier to judge what was working and what to keep pushing. Miguel pointed to that as one of Vizcom’s biggest strengths.
Prototyping closed the loop
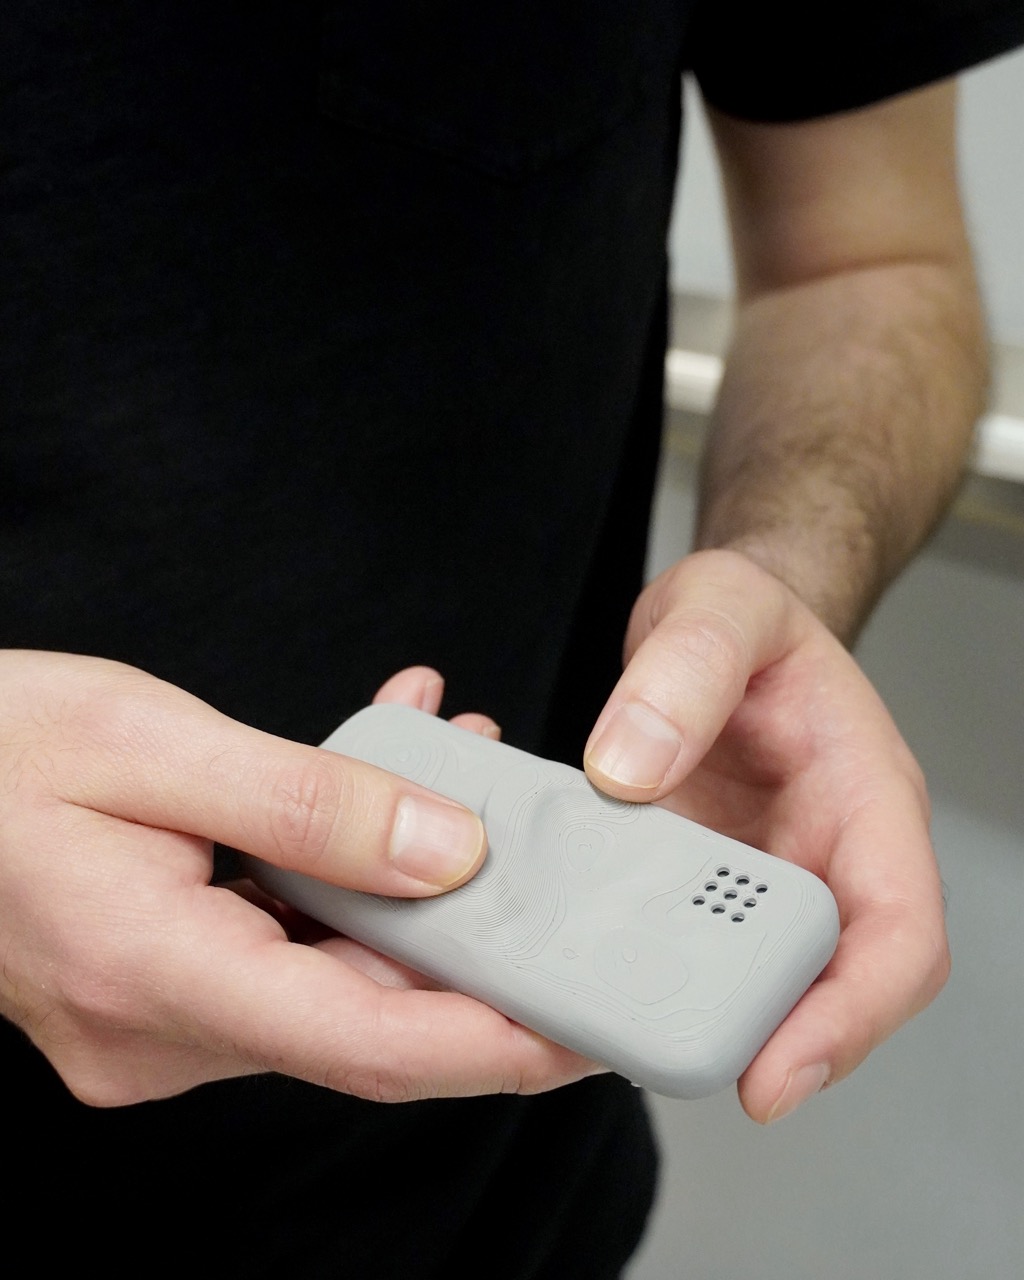
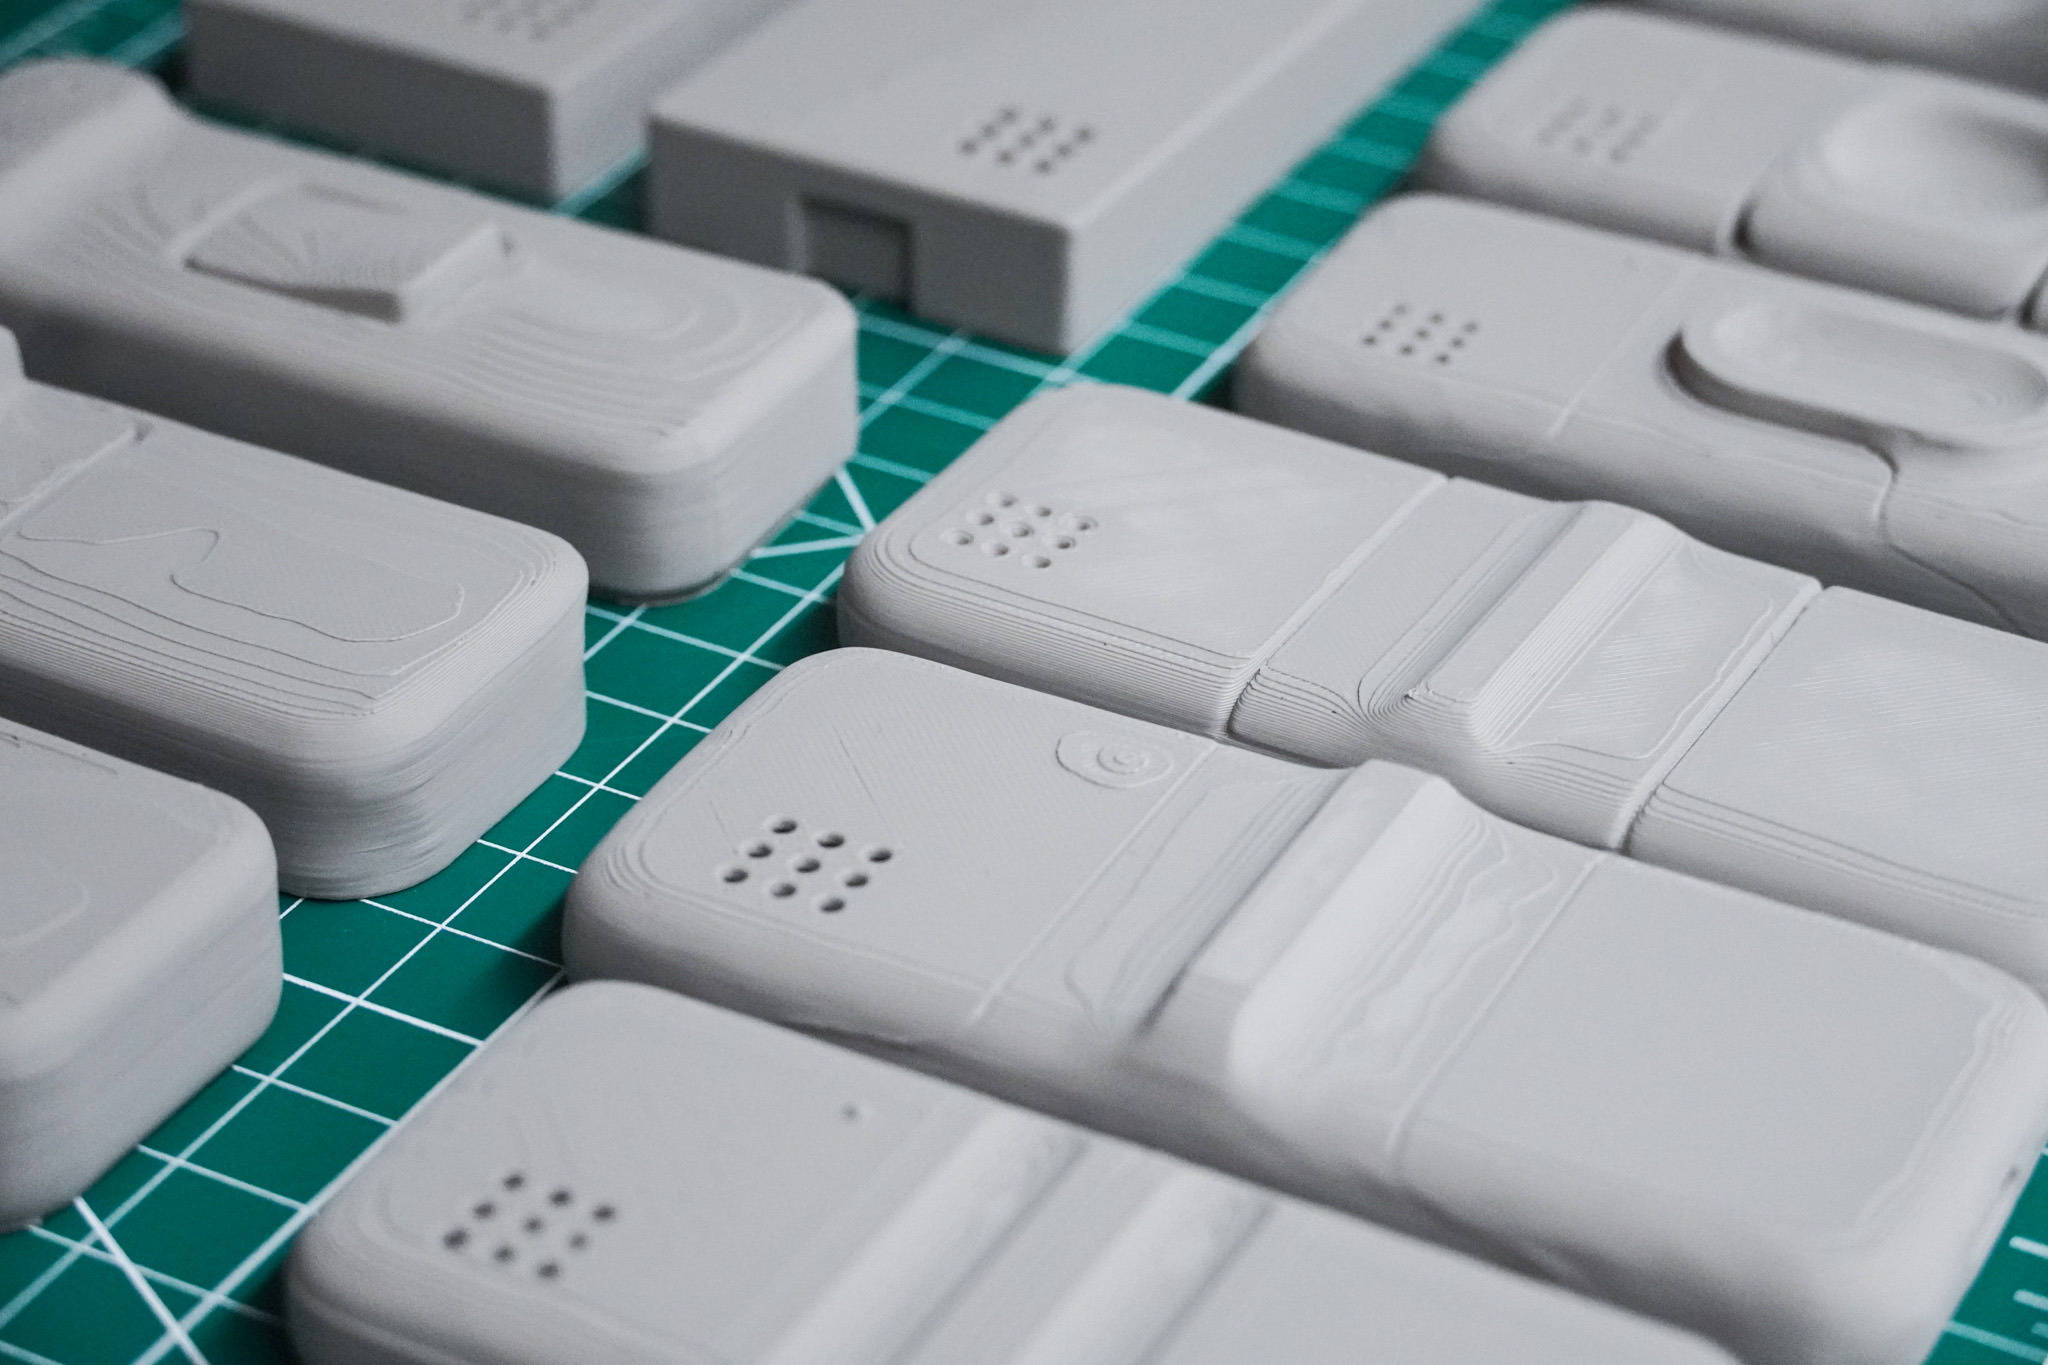
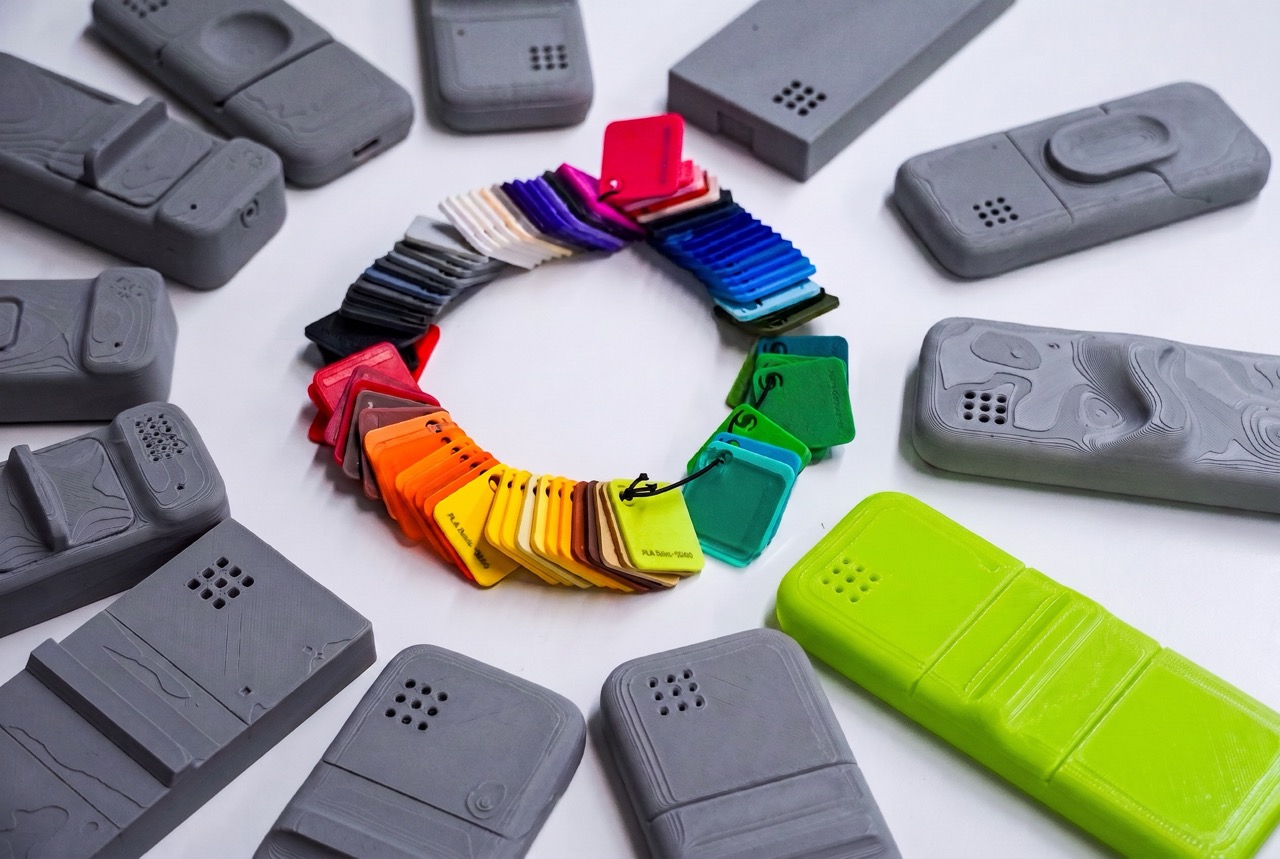
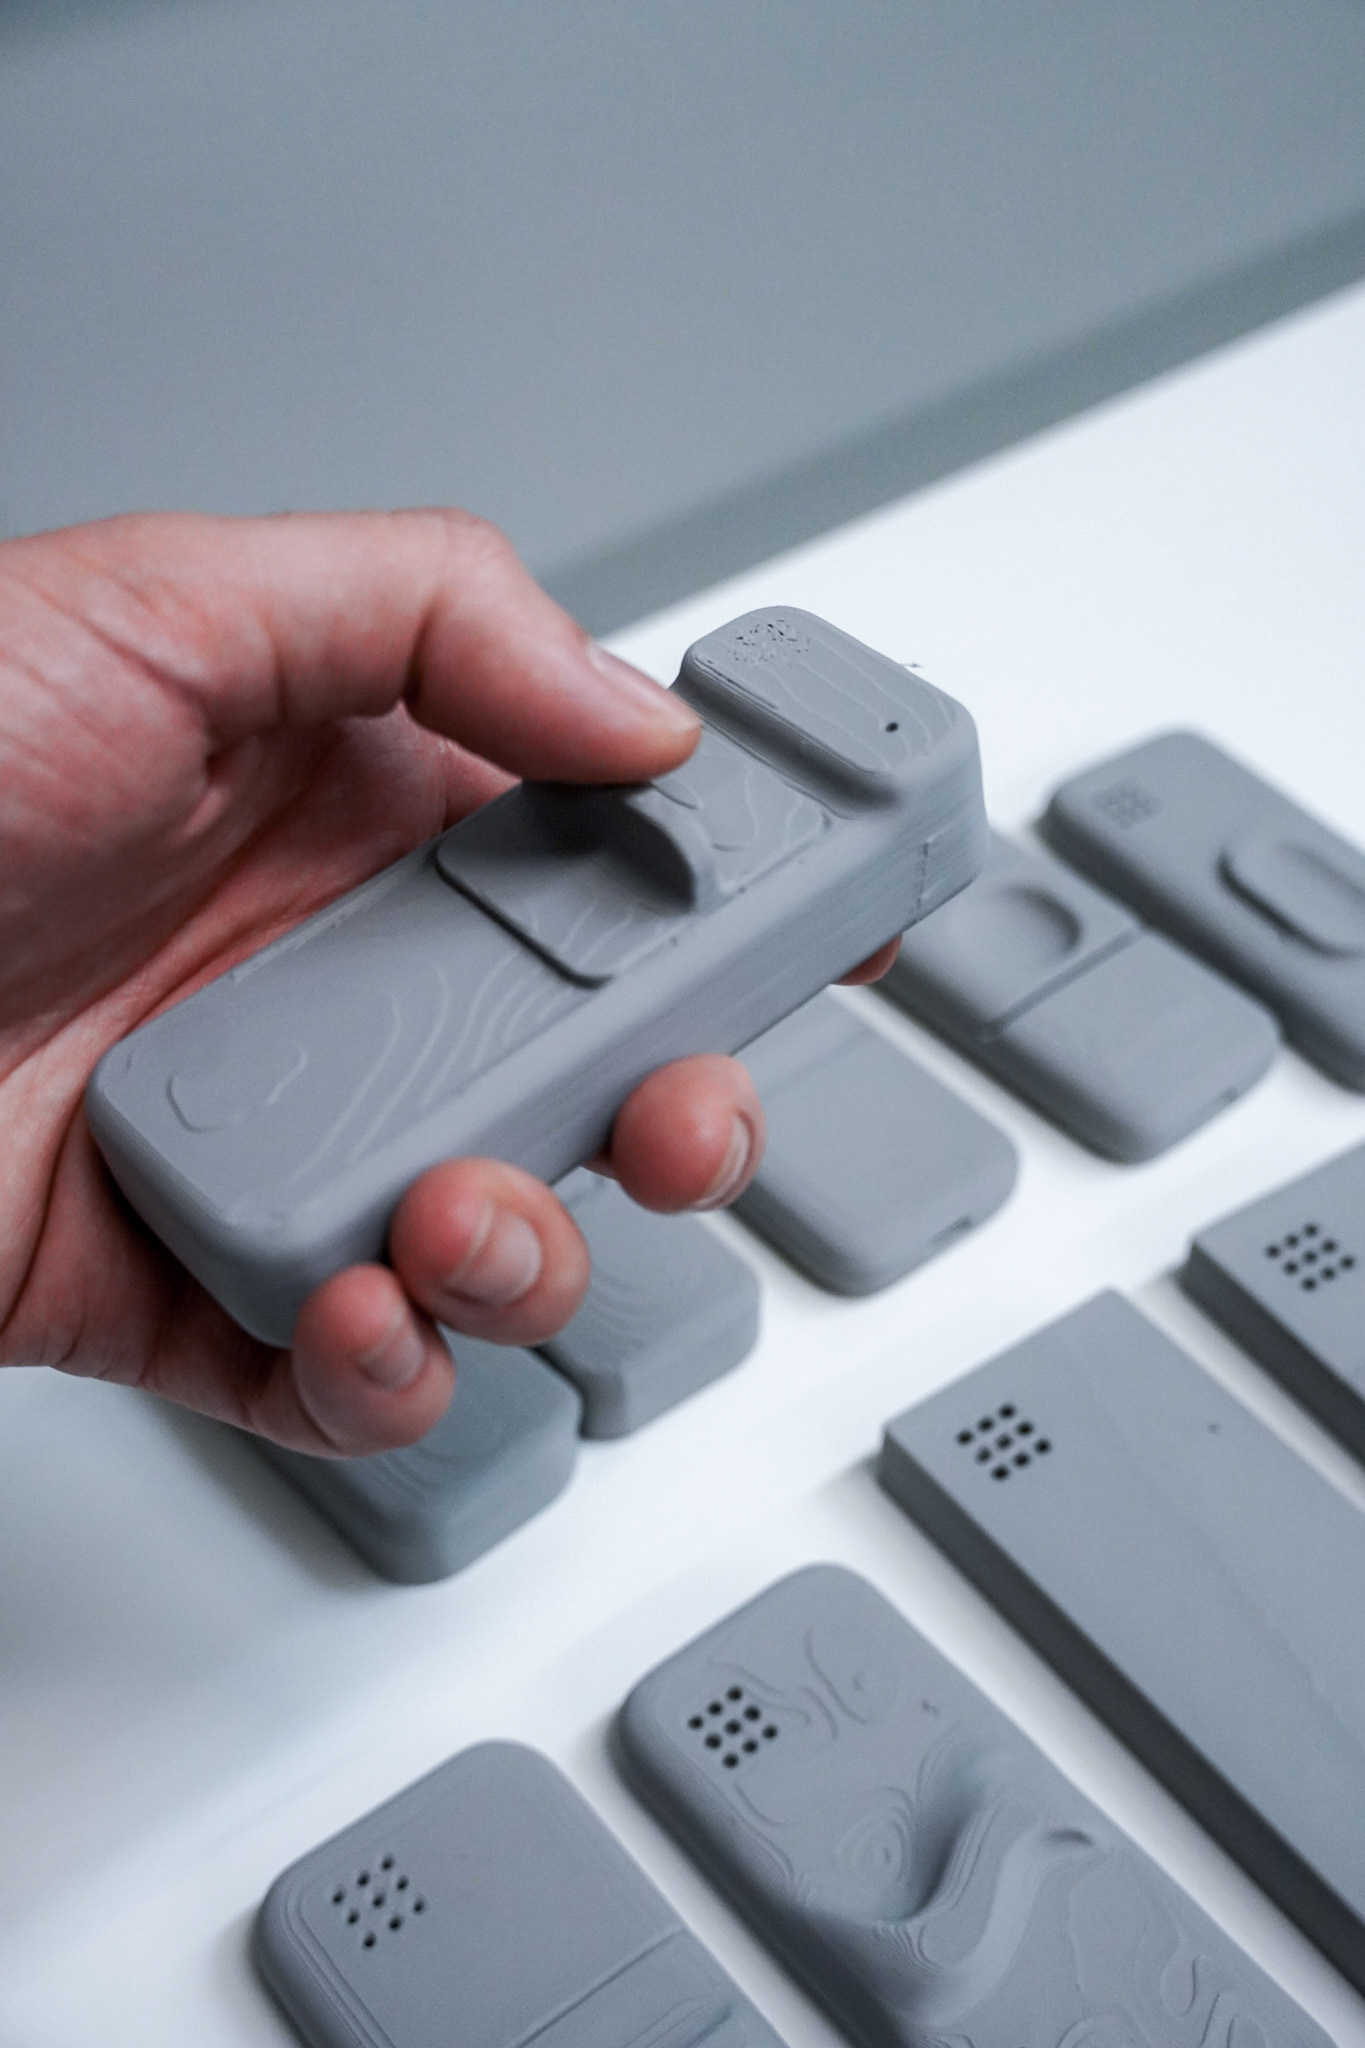
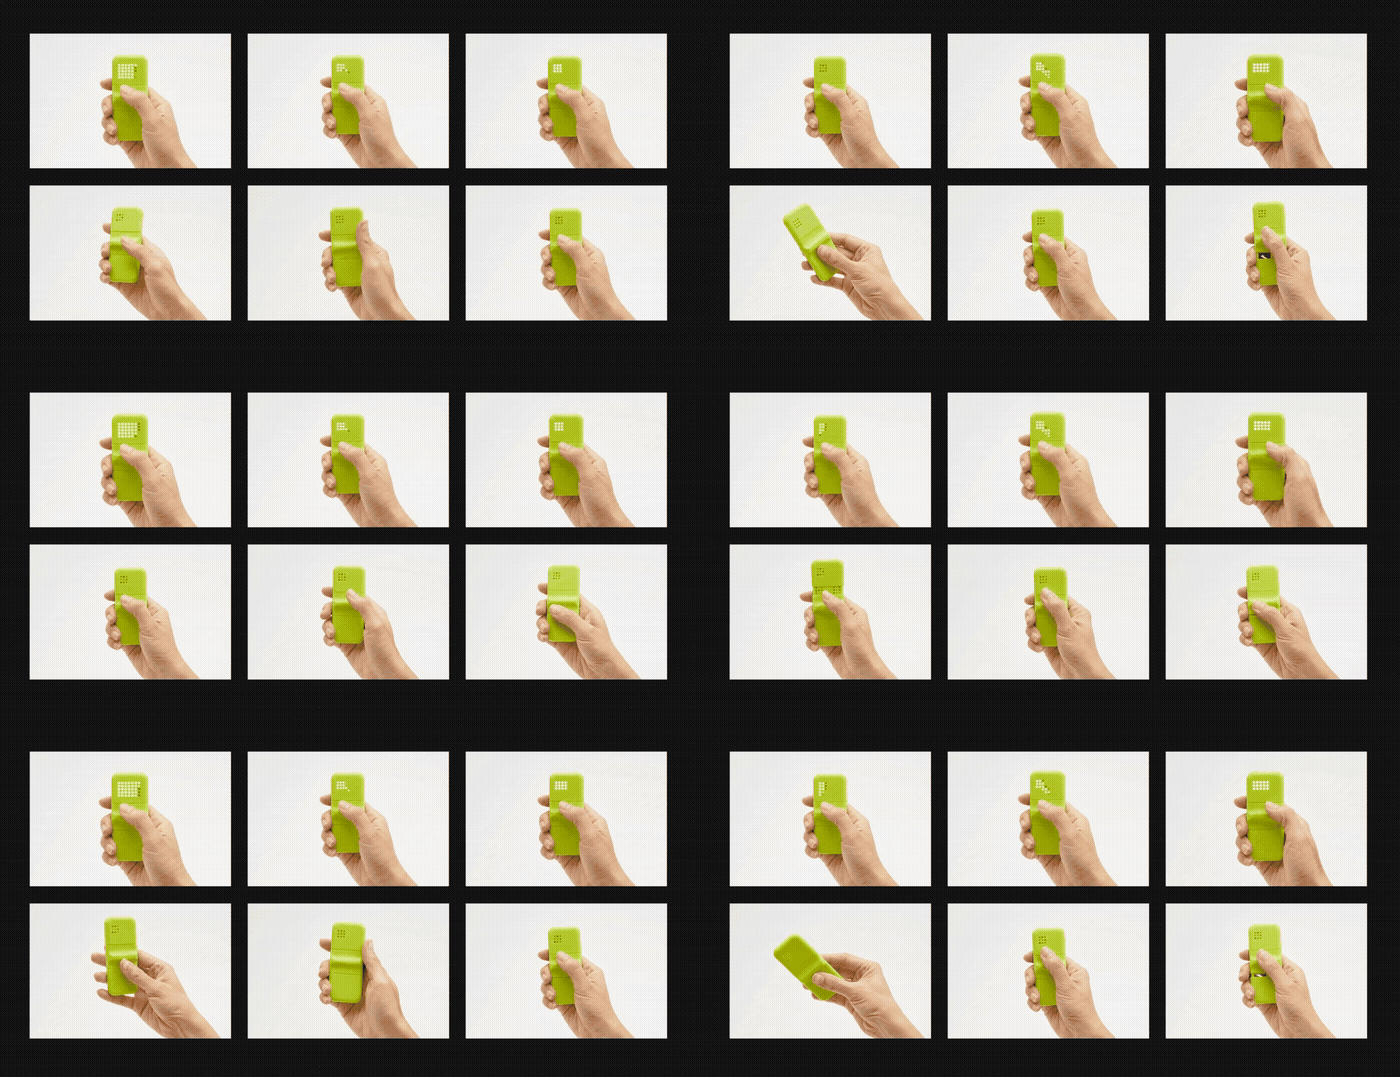
Miguel used Make 3D to create a printable model for proportion and grip testing of various designs. He brought them into Blender, scaled them, and printed multiple versions to compare in hand.
That step brought the process back to the physical world. The question at the end was simple: does it feel right in the hand?
Color gave it identity
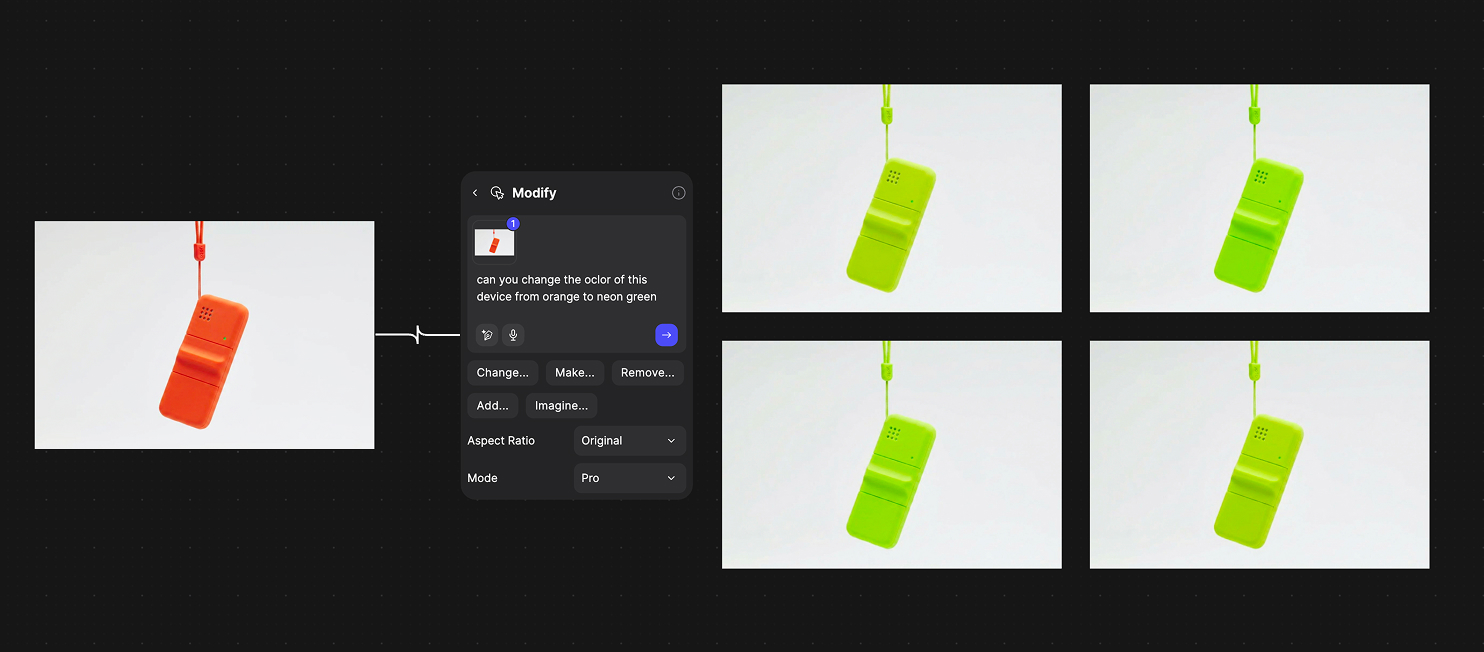
The final lime green was inspired by the Nintendo Switch. It also helped the object stand out on a cluttered desk, feel playful, and hold a clear visual identity through a monochromatic finish.
The final form came from use
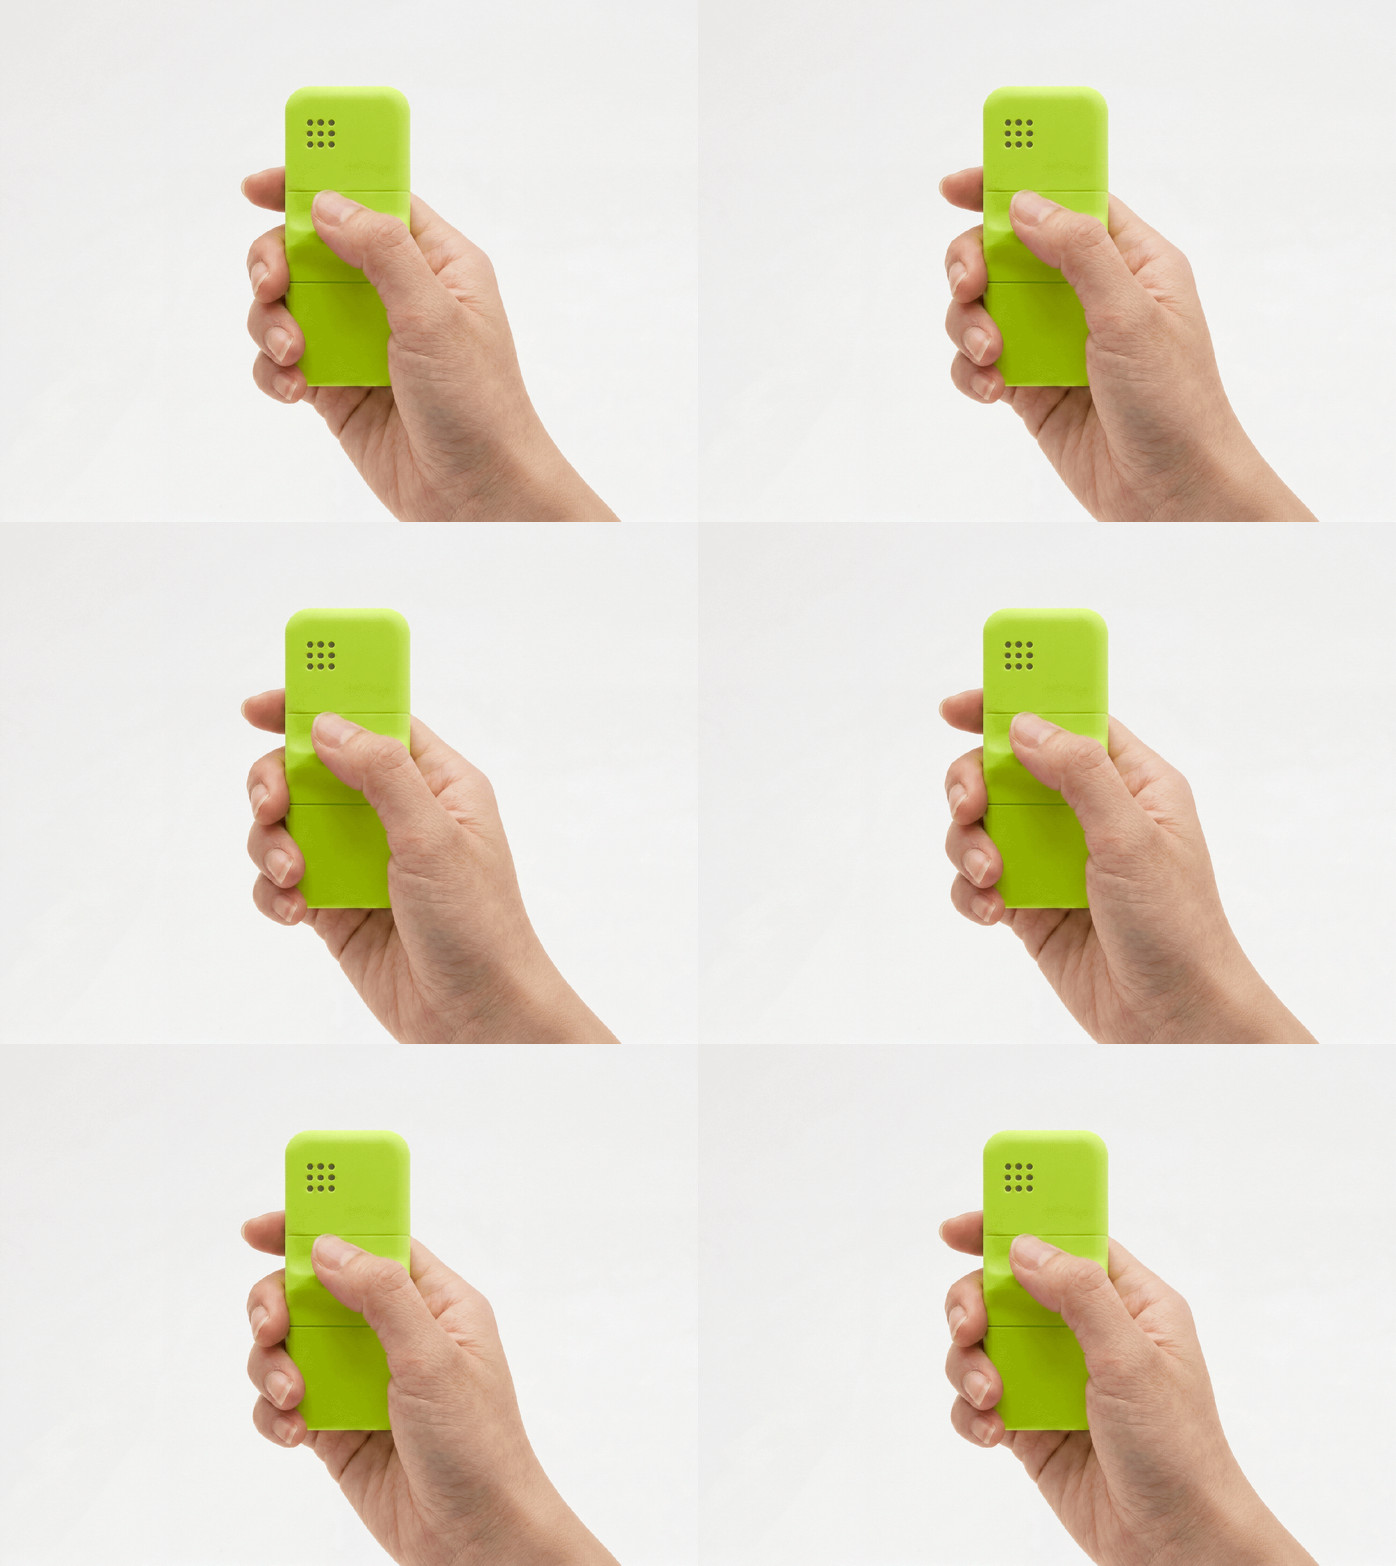
As the concept became more resolved, Miguel started testing it in context. He used renders with a hand in frame to give a sense of scale, grip, thumb placement, and how the device explained itself.
%20Large.jpeg)
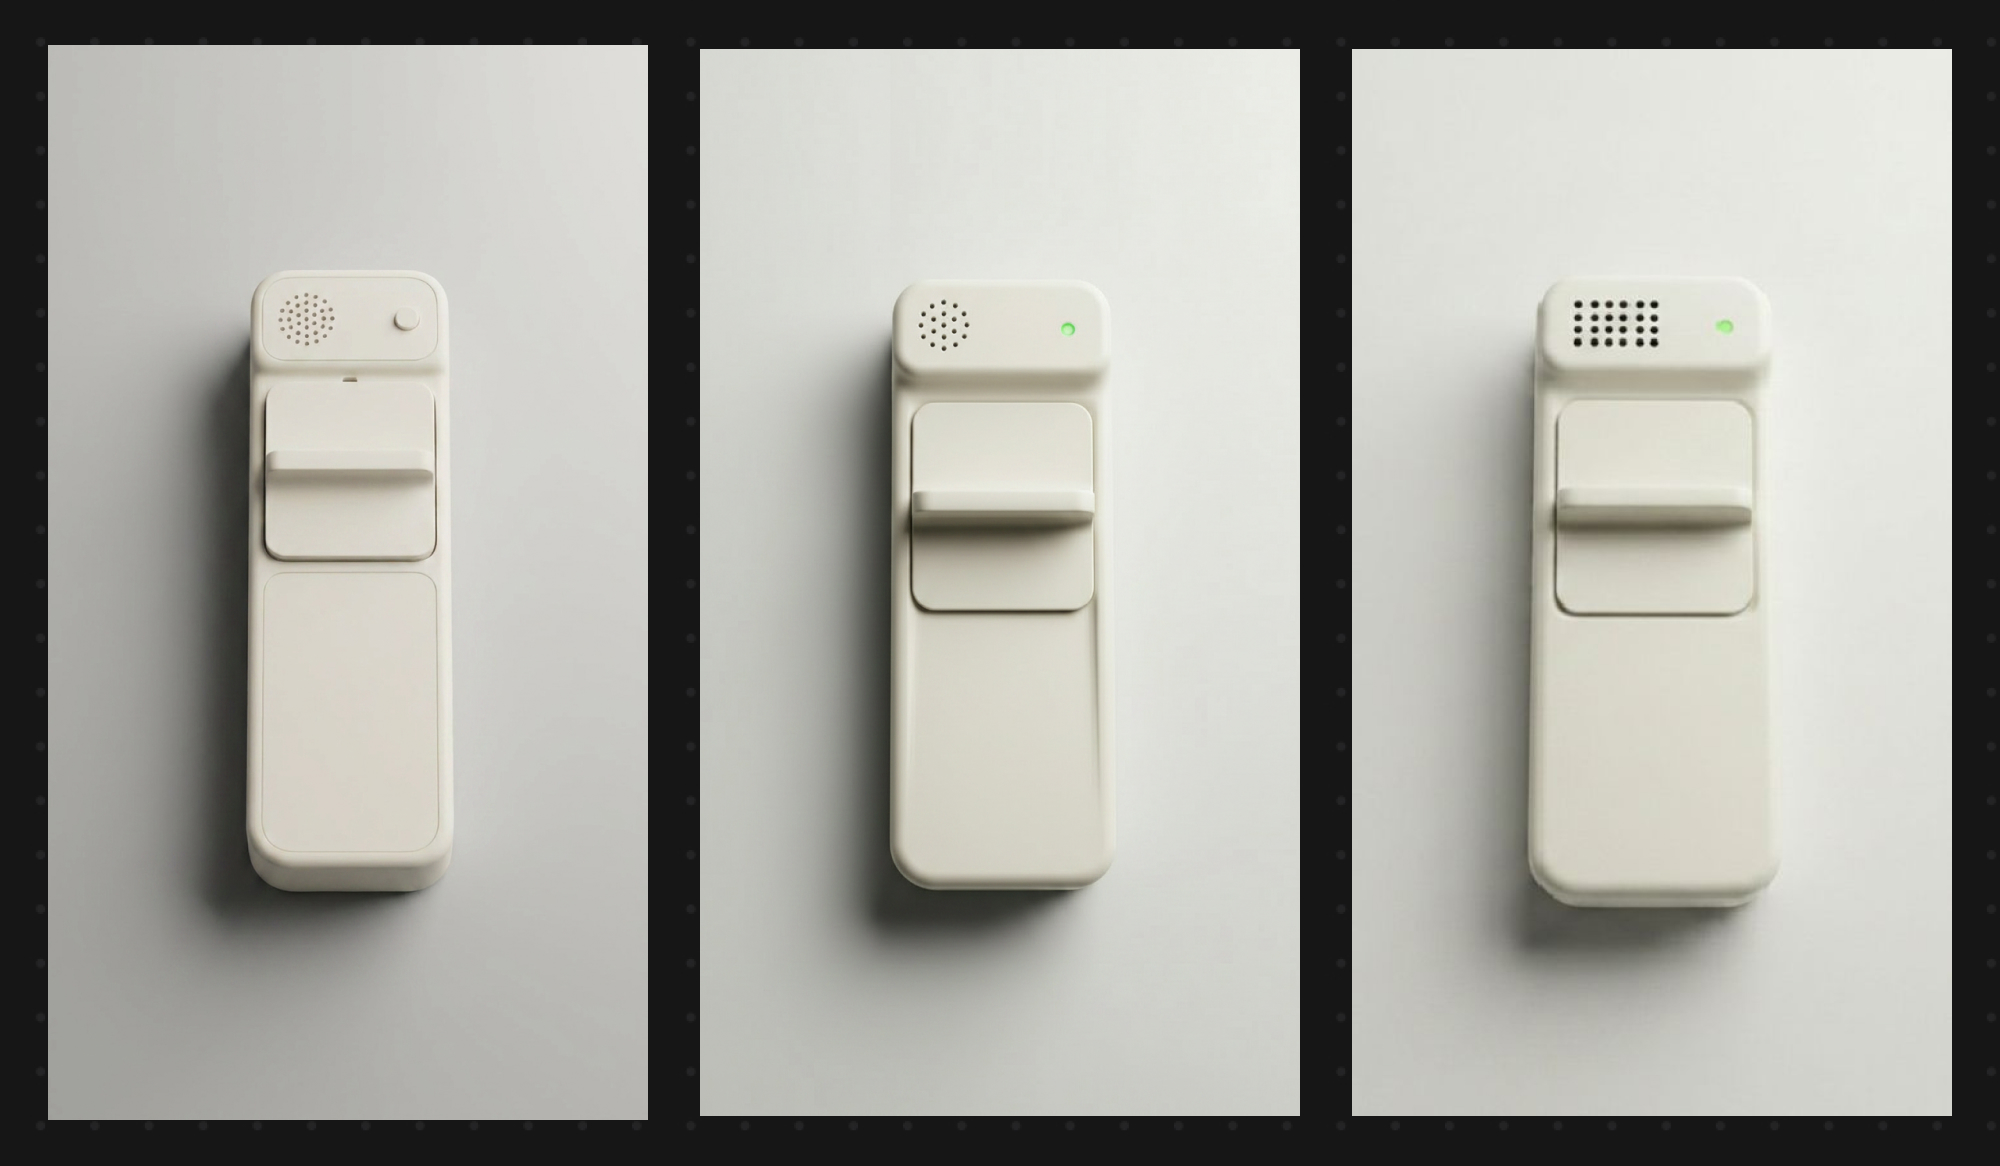
That led to one key addition: a speaker grill as a feedback cue, after noticing the design needed a clearer signal that it was listening.
The form became stronger by answering functional questions, not just visual ones.
The device is done for now, but Miguel didn't design the device once. He designed it a dozen times, a little better each time. The loop that got there, sketch, render, model, print, repeat, is the part worth carrying into the next project.
Explore
Explore more blog posts & resources to get inspired

430 submissions. 30 finalists. 3 designs headed off to be printed. Here's how a global community of designers reimagined the mule.
Kai Bettermann took the oldest clock there is, built the sun into it, and found out with a ring light before he found out with a render.
.jpg)
-cover.jpg)
Frequently asked questions
Yes of course! Our starter plan is completely free, no credit card required. This is a great plan to explore vizcom with.
We accept all major credit and debit cards.
Admins (paid) – can edit files, manage workspace settings, billing, teams, and invite members. Editors (paid) – can edit files but not manage settings, billing, or teams. Viewers (free) – can only view files in read-only mode.
Team billing is handled centrally by the Admin. All paid seats, whether Admins or Editors, are included in a single invoice under the same billing cycle, while Viewers remain free and do not affect the cost.
Yes, you can. An Admin can update the plan in the billing settings, and the switch will take effect on the next billing cycle at the annual rate.
Yes, you own everything you create in Vizcom. For free users, while Vizcom may use generated images to improve its services, it does not claim ownership of your designs, concepts, or original ideas—you keep full rights to them. For paid users, your images and designs remain entirely private and are only used to deliver the service. Every design, concept, and image you create or upload is fully yours and kept confidential.
Vizcom does not use your data to train AI models if you’re on a paid plan. Everything you create stays private and is only used to provide the service. Free users may have their generated images included to help improve Vizcom’s services, but even then, Vizcom does not claim ownership of your designs, concepts, or original ideas—you retain full rights.