
Design Workflow Improvement: Mapping and Fixing Your Current Process
Learn design workflow optimization tips to cut rendering time from hours to minutes to ship better designs faster.

You know that feeling when a project timeline slips, and you can't quite pinpoint where the time went? The time is there. It's just hiding in handoffs, waiting for renders, and revision cycles that multiply because nobody mapped out who needs to approve what. Workflow improvement means finding where your team loses momentum and fixing those specific problems.
This guide walks you through how to map your current workflow, diagnose where bottlenecks actually live, and implement improvements that stick.
Map Your Current Design Process
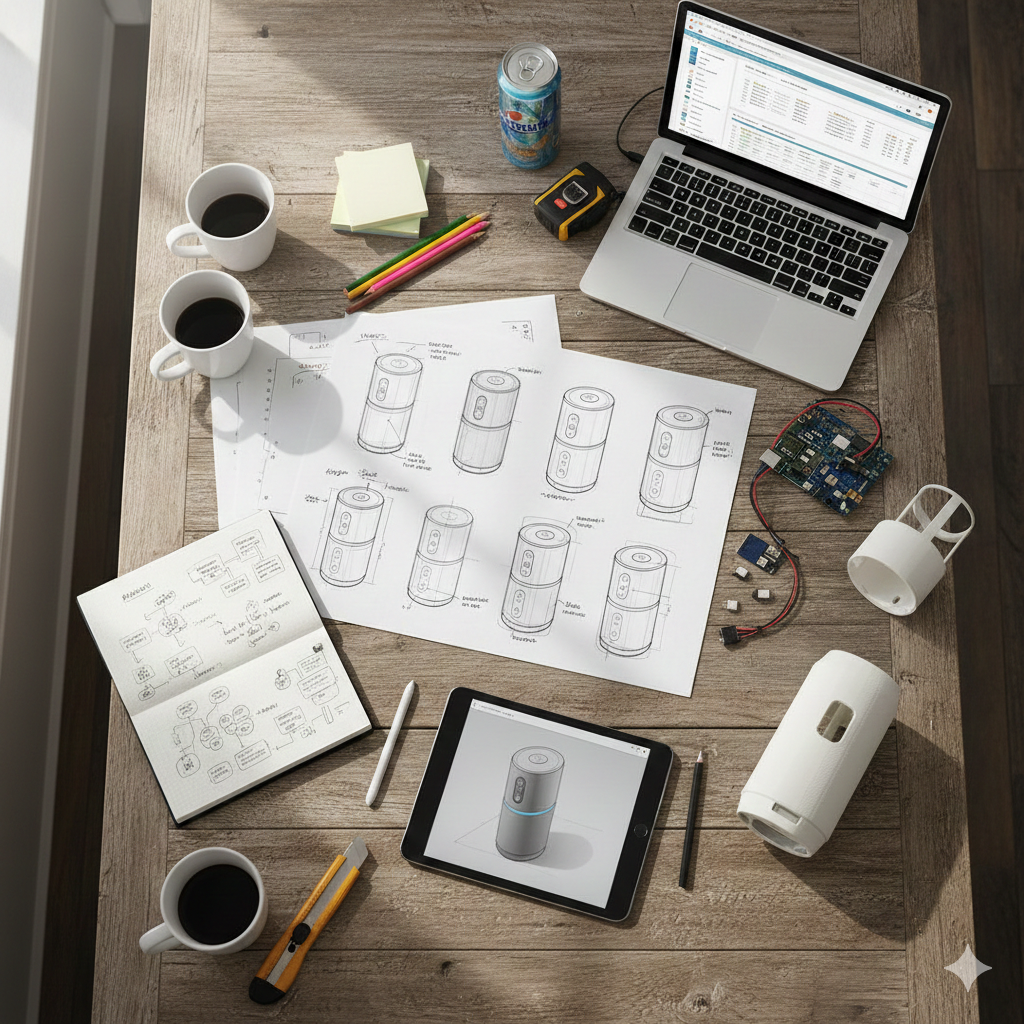
Start by documenting what actually happens. Grab a whiteboard or open a digital canvas and trace one recent project from initial concept through final delivery. Go through each phase as it naturally unfolds.
Early sketches lead to team reviews, which generate feedback that shapes the next round of rendering. Stakeholders weigh in, triggering revisions that eventually move into Computer-Aided Design (CAD) handoffs, which often spark another cycle of refinements.
The Double Diamond framework gives you a useful structure:
- Discover (exploring the problem),
- Define (clarifying what you're solving),
- Develop (generating solutions), and
- Deliver (finalizing and implementing).
These four phases acknowledge that creative work alternates between divergent exploration and convergent decision-making.
Watch the handoff points where work moves between people or tools. A sketch becomes a 3D model. A concept gets sent to stakeholders. A rendering goes to engineering. These transitions are where most friction lives.
Importantly, document who makes decisions at each stage and write down which tools you use and where files live. Note how long each phase typically takes. You need this baseline before you can identify what to fix.
Identify Your Real Bottlenecks
Focus on friction that creates delays without adding value, like handoffs that lose information, outputs you can't control, and revision cycles without clear criteria. Once you've mapped your process, distinguish between necessary creative work and unnecessary friction. Creative exploration takes time, and that's necessary. Testing concepts with users takes time. Iterating on designs takes time. Those activities produce better work. Target the friction that creates delays without adding value.
Handoffs that lose information
When designs move between tools or people, context gets lost. Sketches handed to modelers require spatial interpretation that introduces errors. CAD files transferred between different software systems lose critical design intent. Each information loss creates rework downstream.
Waiting for outputs you can't control
If you sketch three concepts but can only afford time to render one because each render takes four to eight hours, you're making decisions with incomplete information. Rendering bottlenecks constrain how many design directions teams can explore. Teams that can generate renders in seconds instead of hours expand exploration from 5-10 variations to 50-100+ concepts, testing more directions before making final decisions.
Revision cycles without clear criteria
Endless revisions often stem from poorly structured feedback loops. When stakeholders don't have clear objectives at the start, you get subjective opinions during reviews instead of actionable direction.
Diagnose Where Time Actually Goes
Rendering consumes a huge percent of most teams’ project timeline when they actually track it. Understanding where your team's hours disappear requires tracking actual time allocation. Track one project in detail to see where time actually lands and create a simple time log for your team over one or two weeks. Rough categories work fine:
- Active design work (sketching, modeling, making decisions)
- Rendering and waiting for renders
- Stakeholder reviews and revision cycles
- Tool transitions and file management
- Meetings and coordination
Once you see the pattern, you'll know what to fix first. If your team spends more time waiting for renders than making design decisions, that's your primary bottleneck. If revisions multiply because feedback comes late in the process, that's your target. Structured feedback loops with regular stakeholder checkpoints can reduce product development time significantly.
One automotive manufacturer achieved faster CAD and simulation integration by standardizing templates across tools, reducing analysis time by 80%. The time savings come from preventing late-stage alignment failures.
Fix Handoff Points First
The biggest time reductions come from removing handoffs through integration. When you move directly from sketches to 3D models without waiting for CAD specialists, you compress multi-day processes into hours.
Integrate sketching and 3D modeling
If your workflow separates 2D sketching from 3D modeling, explore tools that let designers work in 3D from the start. The translation layer between sketch and CAD creates spatial problems that force revision cycles.
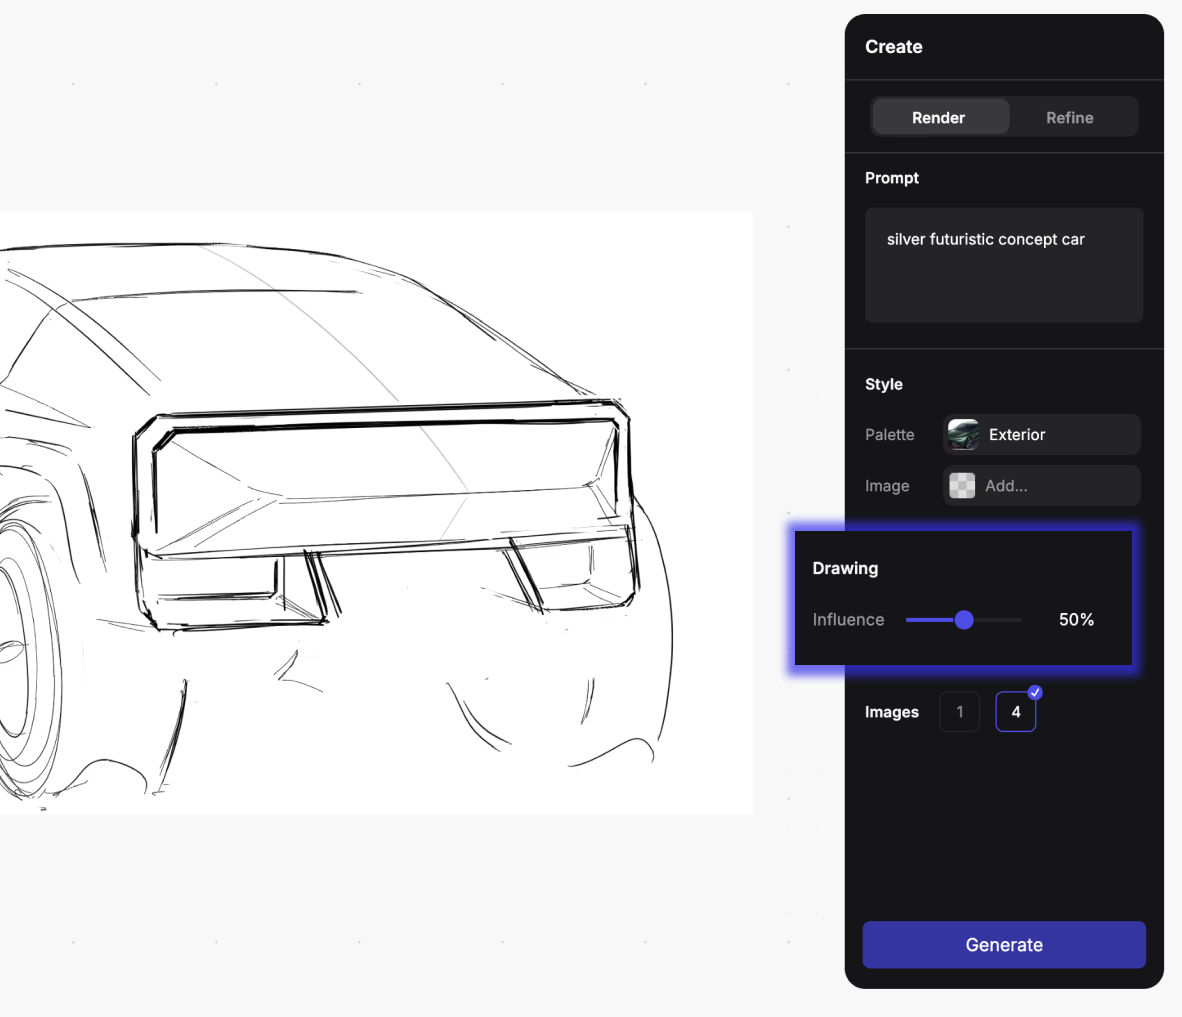
In Vizcom, you can:
- Generate initial preview renders in seconds
- Rapidly explore many design variations
- Refine selected concepts to photoreal quality in minutes
Vizcom’s Make 3D removes the "sketch approval, wait for CAD, wait for render" workflow stages that create handoff delays. Teams using integrated platforms compress design timelines significantly.
Bring rendering into the design phase
When teams wait for specialized rendering artists to produce visualization, bringing that capability directly into the design phase changes decision-making. With GPU-accelerated rendering, you see material and lighting changes instantly.
In Vizcom Render, you can:
- Switch from matte titanium to polished chrome in seconds
- Evaluate how brushed aluminum reads under soft studio light versus dramatic side lighting
- Make material decisions in real-time instead of waiting days for new renders
You get immediate feedback as you work rather than waiting for validation.
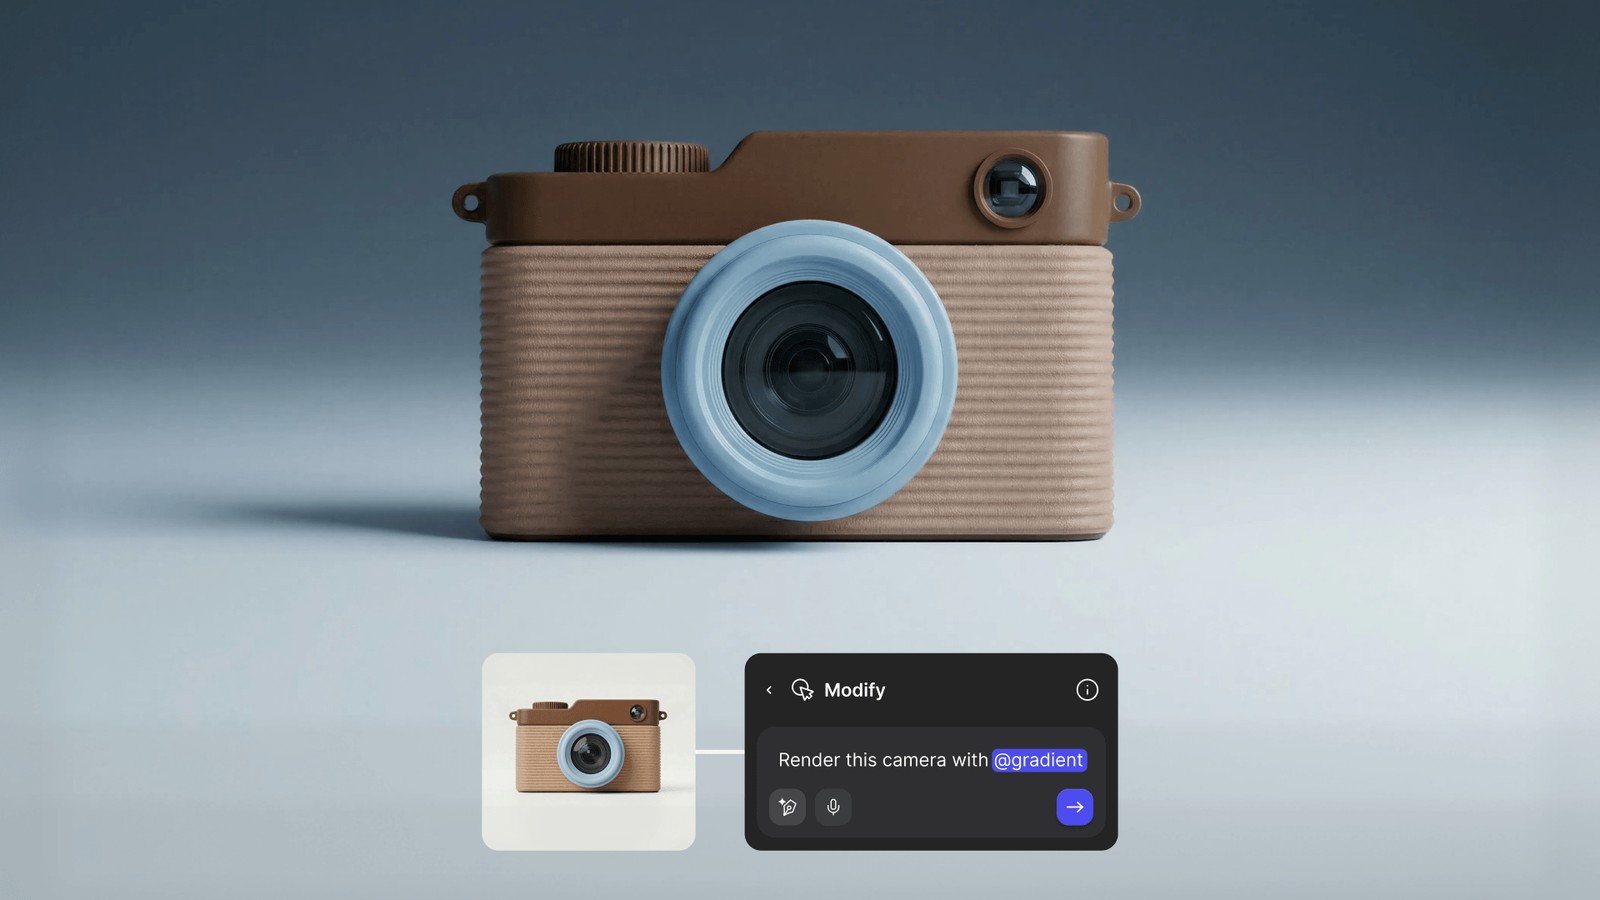
Once you've landed on a direction in Render, Modify lets you push that concept further without starting over. Generate new views from different angles, extract flat material swatches for tech packs, and test form variations along geometric-to-organic or simple-to-complex axes, all from one base render.
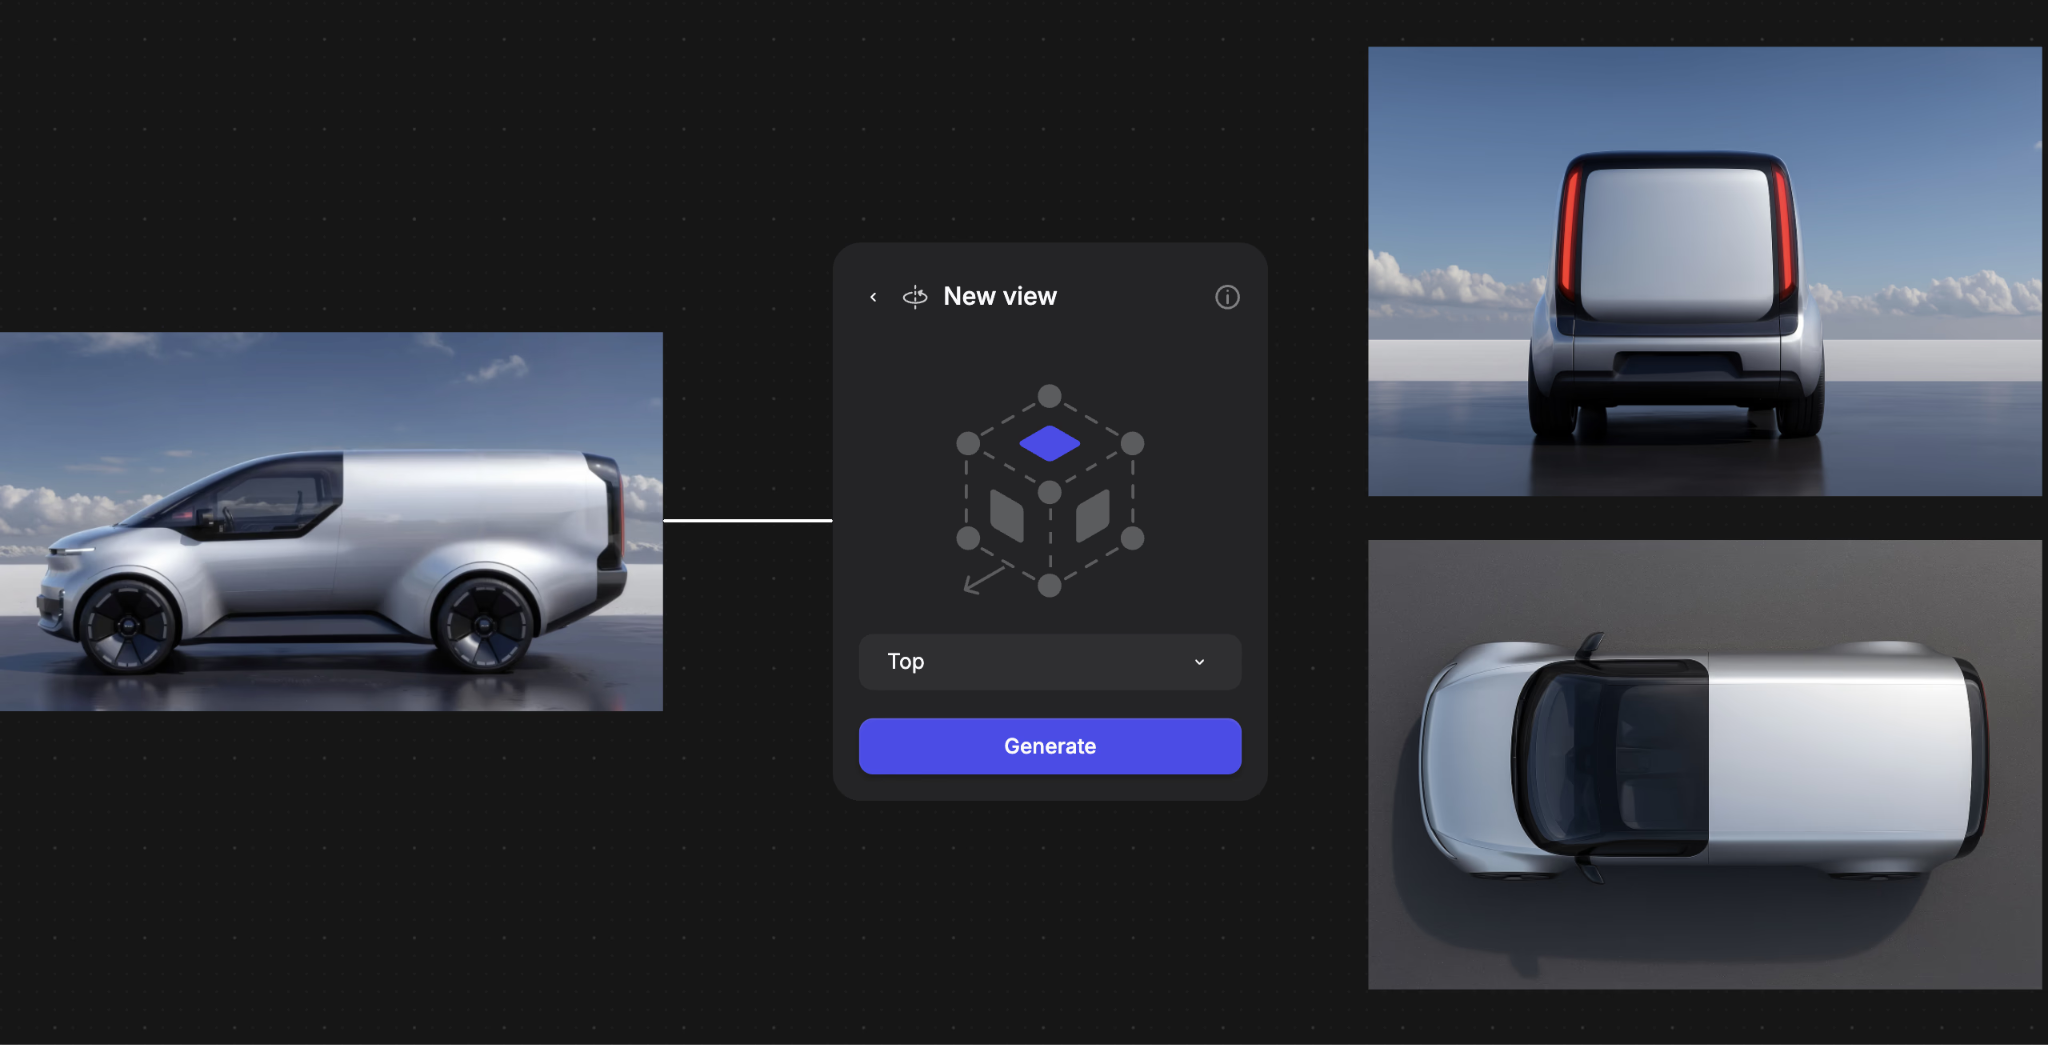
Say you've rendered an earbud case in matte titanium. With Modify, you can pull a flat sample of that finish for your spec sheet, generate a bottom view to check how the charging port reads, and explore a rounder form language to see if it fits the product family better. Three tasks that used to require separate tools and specialists, done from one image.
Connect design to production constraints
For designs that hand off to engineering or manufacturing, look at whether production constraints can inform the design phase earlier. Adidas's Futurecraft 4D development showed how closing the prototype-to-production gap let Adidas run significantly more design iterations because the process constraints were eliminated.
Build in Structured Feedback Loops
Structured feedback loops with regular checkpoints throughout the design process prevent endless revision cycles. When stakeholder objectives are clear from the start, you get actionable direction during reviews instead of subjective opinions that multiply revisions.
Align checkpoints with the Double Diamond
Set up regular checkpoints at natural phase transitions:
- After Discover: Validate that you've defined the right problem before moving into the Define phase
- After Develop: Get alignment on direction before investing in detailed refinement and moving into the Deliver phase
Define clear decision criteria
Each checkpoint should clarify:
- What specific decision needs to be made
- What data or design validation the stakeholder needs to make that decision
- What happens next based on their input
Use data-informed decision criteria like measurable feedback from user testing or performance metrics. Design thinkers evaluate designs against three lenses:
- Desirability — human value
- Feasibility — technical viability
- Viability — business constraints
Make these lenses explicit in your checkpoint criteria.
Factor in your team's iteration speed
When you establish these checkpoints, factor in how quickly your team can generate design options for review. Teams that can produce concept variations in hours instead of days test more directions before stakeholder reviews. This expanded exploration happens because you're not constrained by rendering bottlenecks.
Teams involving users early achieve a 30% reduction in product development time alongside measurable improvements in user satisfaction. The time savings come from catching misalignments early rather than discovering them during final reviews.
Test Changes Before Full Implementation
Workflow improvement should follow the same iterative approach you use for design work:
- Pick one bottleneck
- Implement a fix on a single project or with a subset of your team
- Gather feedback
- Refine based on what you learn
- Roll it out more broadly
Then, start with one designer on one project. Ask:
- Does the tool actually remove waiting time?
- Does output quality meet your standards?
- How steep is the learning curve?
- What file format issues emerge when you need to export?
Finally, test the new process with one stakeholder group and evaluate whether the scheduled checkpoints catch misalignment earlier, clearer decision criteria reduce revision cycles, and the team feels the structure helps rather than constrains them
Changes fail when teams treat them as one-time interventions rather than ongoing practices. Your team needs to understand why the change matters and see evidence that it actually improves their work. Pilots provide that evidence before you ask everyone to change their habits.
Make Workflow Improvement Ongoing
Workflow improvement isn't a one-time fix. Design teams should implement regular retrospectives to reassess whether workflow improvements continue to serve design goals.
Schedule quarterly retrospectives
Discuss what's working and what's creating friction, but keep it focused on specific bottlenecks.
- Not actionable: "Stakeholder reviews take too long"
- Actionable: "We wait three weeks for marketing approval on concepts, and they often request changes that could have been addressed if they saw work earlier"
Track key metrics over time
Monitor a few indicators to reveal where bottlenecks occur:
- How long concept development takes at each phase (Discover, Define, Develop, Deliver)
- How many revision cycles projects go through
- What percentage of projects hit their timeline
You're looking for trends. If timeline performance improves after you implement structured feedback loops, that validates the change. If rendering bottlenecks disappear after adopting real-time visualization tools, you've solved that problem and should measure the iteration cycle time reduction.
Stay aware of emerging tools
The design technology landscape shifts quickly. Real-time rendering that seemed impossible five years ago is standard now. AI-assisted tools that generate multiple variations from constraints are reshaping how designers explore design spaces. New tools may remove bottlenecks you currently work around.
Build Your Workflow Improvement Plan
The biggest improvements come from a clear approach: map your current process, identify real bottlenecks, fix high-friction handoff points, and test changes before full implementation.
Start with one bottleneck this week. If rendering delays limit exploration, Vizcom Render generates material and lighting variations in seconds, letting you explore 50+ directions before committing to detailed CAD work. If unclear feedback multiplies revisions, implement structured stakeholder checkpoints. If CAD handoffs introduce errors, explore integrated toolchains.
The best workflow improvements feel obvious in retrospect. Once you remove the friction, you wonder why you tolerated it for so long.
Ready to eliminate rendering bottlenecks? Book a demo to see how Vizcom can transform your design workflow.
Explore
Explore more blog posts & resources to get inspired
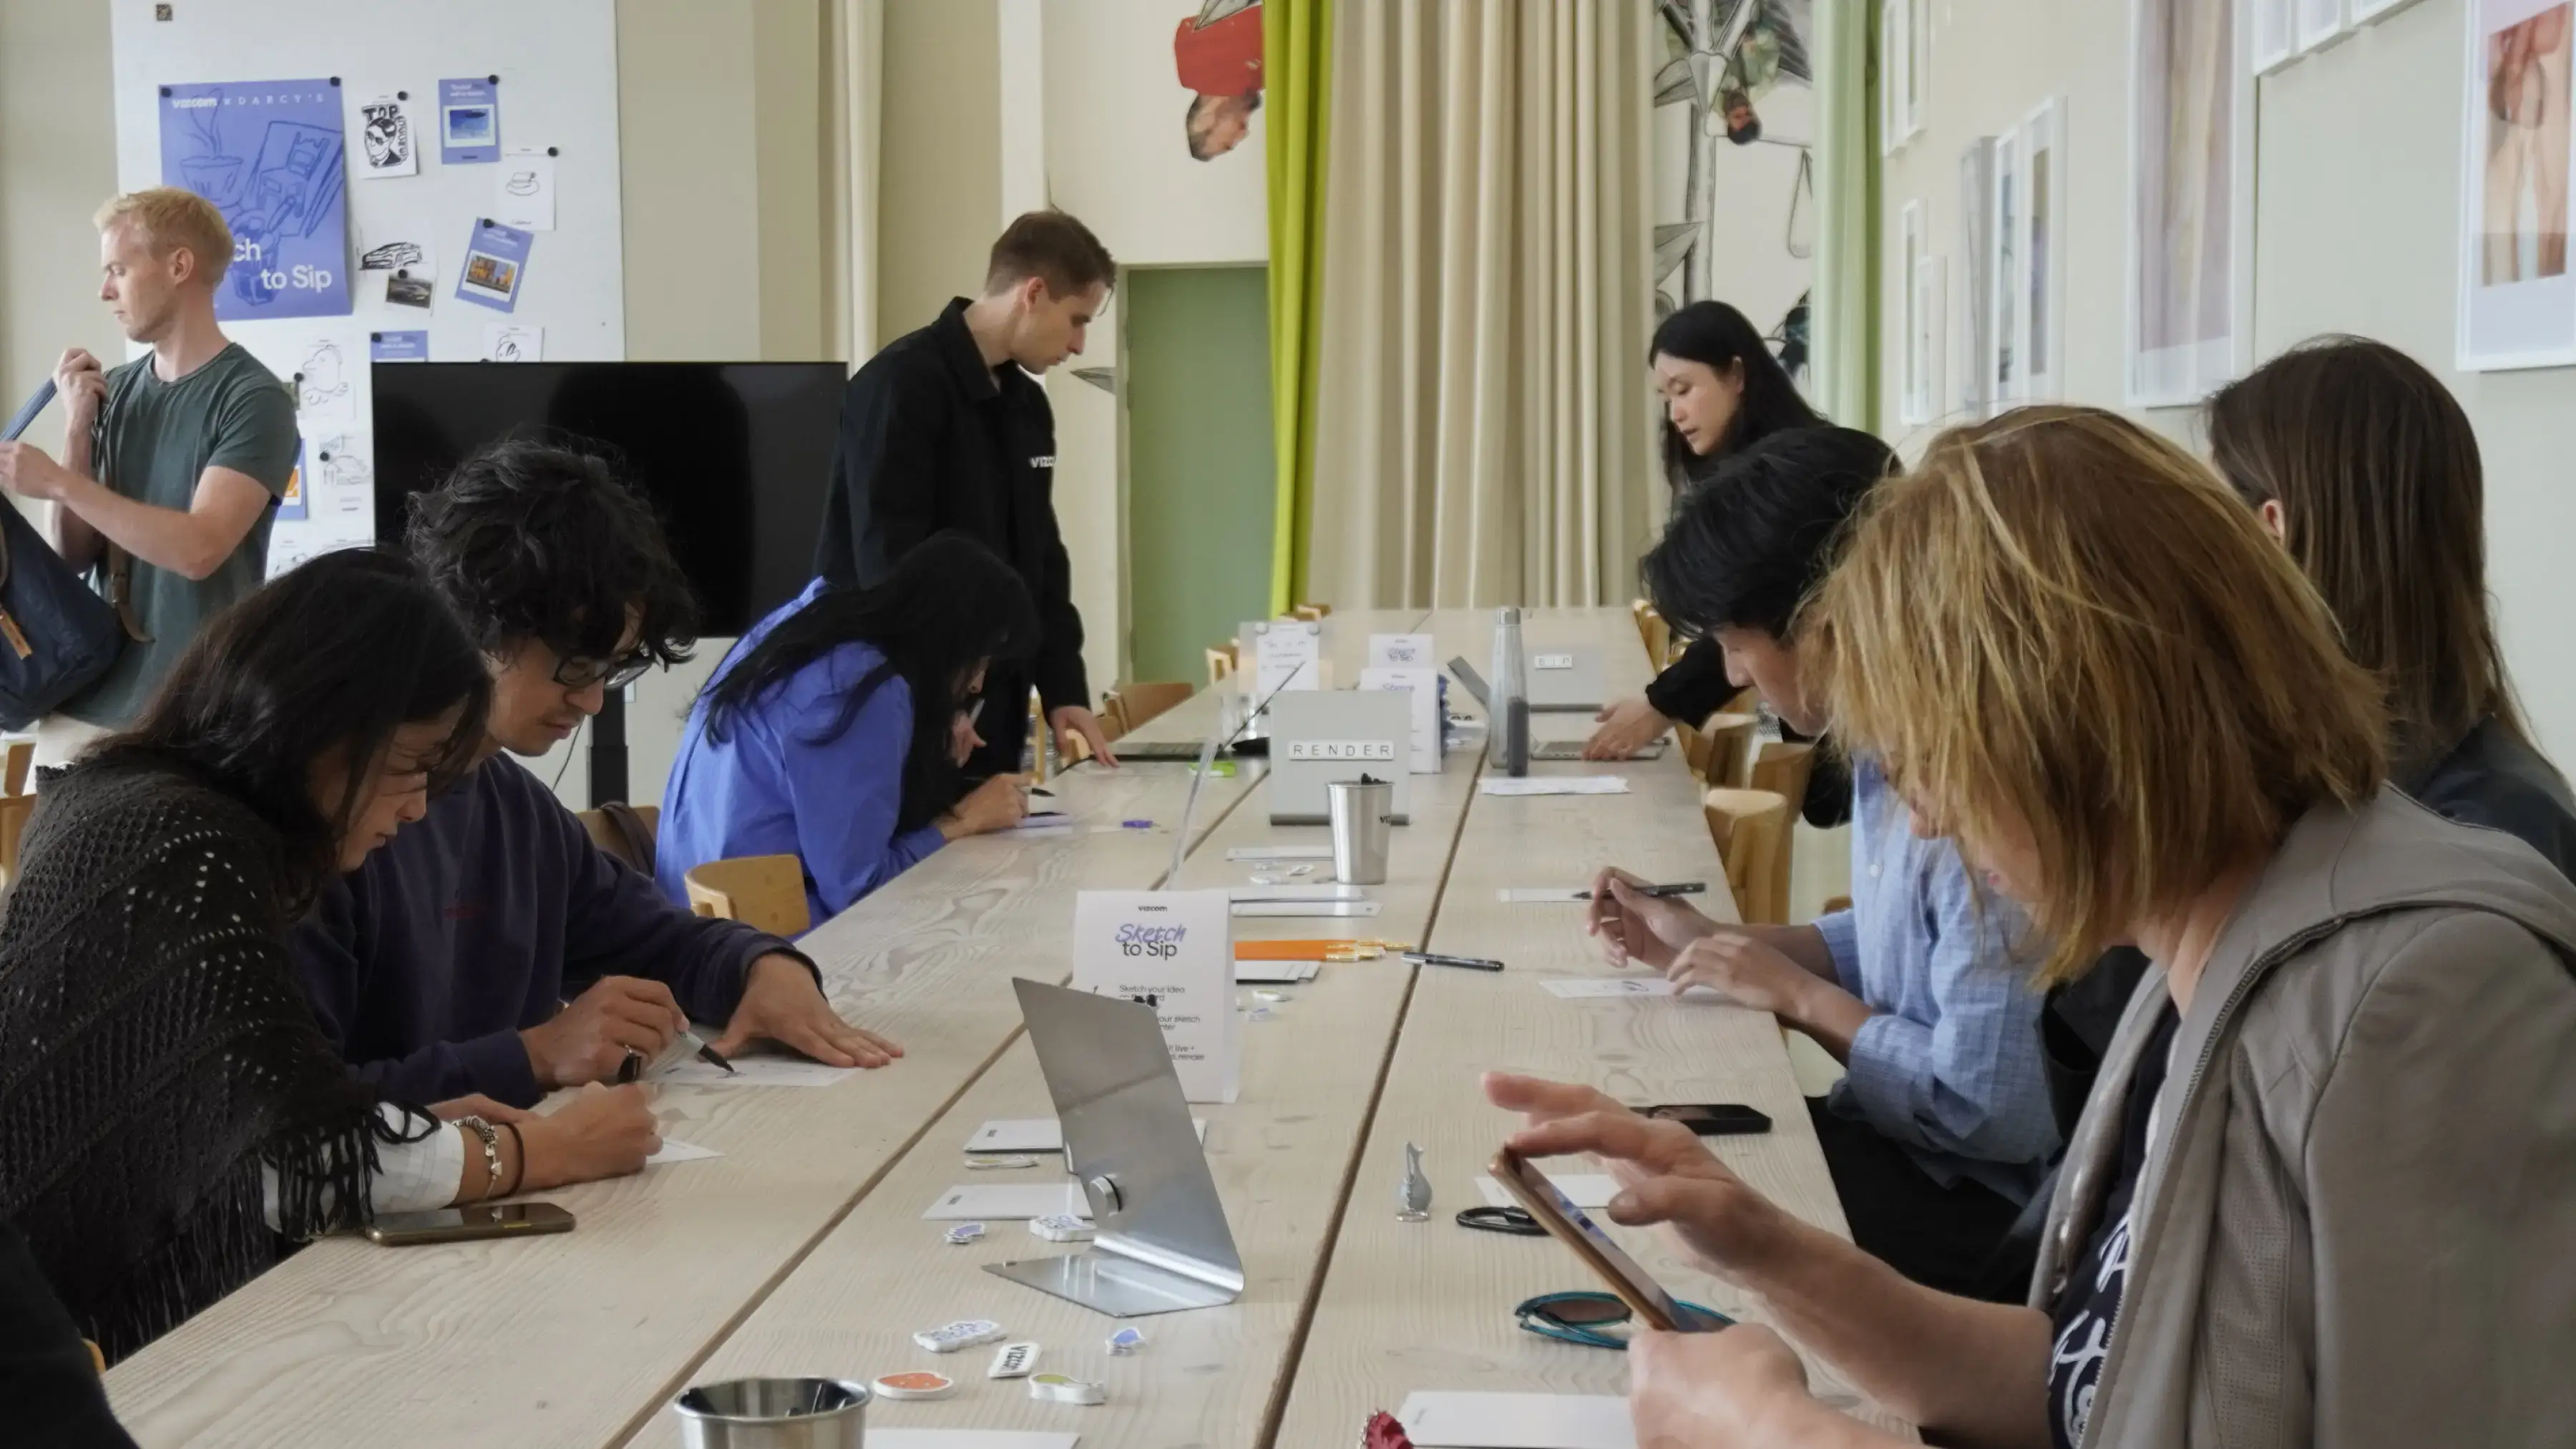
For one day during 3DaysofDesign in Copenhagen, Darcy's Cafe ran on a different currency — a sketch. Draw it, we'd render it live in Vizcom, and you'd walk out with a print — coffee included.
See how Kohler's industrial design team uses Vizcom to save time, speed up workflows, and create better work.

Explore the designs of Vizcom's San Francisco Design Week exhibition where furniture, footwear, lighting, and automotive concepts come to life through AI-powered visualization. Follow along as designers share the stories, sketches, and tools behind every piece on display.
Frequently asked questions
Yes of course! Our starter plan is completely free, no credit card required. This is a great plan to explore vizcom with.
We accept all major credit and debit cards.
Admins (paid) – can edit files, manage workspace settings, billing, teams, and invite members. Editors (paid) – can edit files but not manage settings, billing, or teams. Viewers (free) – can only view files in read-only mode.
Team billing is handled centrally by the Admin. All paid seats, whether Admins or Editors, are included in a single invoice under the same billing cycle, while Viewers remain free and do not affect the cost.
Yes, you can. An Admin can update the plan in the billing settings, and the switch will take effect on the next billing cycle at the annual rate.
Yes, you own everything you create in Vizcom. For free users, while Vizcom may use generated images to improve its services, it does not claim ownership of your designs, concepts, or original ideas—you keep full rights to them. For paid users, your images and designs remain entirely private and are only used to deliver the service. Every design, concept, and image you create or upload is fully yours and kept confidential.
Vizcom does not use your data to train AI models if you’re on a paid plan. Everything you create stays private and is only used to provide the service. Free users may have their generated images included to help improve Vizcom’s services, but even then, Vizcom does not claim ownership of your designs, concepts, or original ideas—you retain full rights.