
Behind-the-Scenes Design: Why Reviewers Want to See Your Messy Middle
Improve your design portfolio by documenting and presenting the behind-the-scenes design process of how you think.

Your portfolio shows 50 polished renders, but reviewers often ask the same question: "How did you get here?" The finished work looks good, but it tells them nothing about how you think through problems when the path isn't clear.
Design schools and studios want to see the messy middle: your rough sketches, failed prototypes, and abandoned directions. This decision-making under constraints separates strategic designers from random iterators.
What Reviewers Actually Look For
Portfolio reviewers evaluate process documentation differently from what most designers expect.
"Why I made these choices"
Your artifacts show what you created, while your decisions reveal how you think. Most portfolios oversupply the first and undersupply the second.
Decide What's Worth Capturing
You can't document everything, and you shouldn't try, so focus on moments that reveal your thinking.
Capture these:
- Direction shifts. Any time you moved from one approach to another
- Assumption tests. Prototypes or sketches that tested whether something would work
- Constraint responses. How you adapted when requirements changed or limitations emerged
- Evaluation points. Moments when you compared options and chose one
Skip these:
- Minor refinements within a committed direction
- Technical execution steps that don't involve decisions
- Iterations that don't teach you anything new
When you're evaluating three concepts and one doesn't work, write down why. That reasoning shows strategic iteration.
Organize Iterations Into a Clear Narrative
Raw iteration files without structure make it impossible for reviewers to follow your thinking, which is why your portfolio needs to tell two stories: what you made and how you got there.
Case study framework
- Context and goals. The problem and why it matters
- Your role and constraints. What you were responsible for, what limitations you faced
- Research and discovery. What you learned before designing
- Process and exploration. Directions you tried, decisions you made
- Results. Outcomes, metrics, or lessons learned
- Reflection. What you'd do differently
Open with the problem before revealing your resolution, then show decision points with representative sketches and brief explanations of what you tested. Close with outcomes. Sometimes that's shipped products and metrics, sometimes it's what you learned about the design space.
Present Process Without Overwhelming
Visual hierarchy determines whether reviewers follow your process or get lost, so go deep on 3-5 projects instead of showing surface-level summaries of everything you've made.
Within each case study:
- Group early sketches together, development work in the middle, final direction at the end
- Keep text sparse because your process images should tell most of the story
- Use text to explain decisions that aren't obvious and clarify your role in collaborative work
- Maintain visual consistency across the works you present
Too much text discourages engagement, while too little leaves reviewers guessing why you made certain choices. Find the balance where images carry the narrative and text fills gaps.
Build Documentation Into Your Workflow
Documentation works when it's part of how you already work, not a separate task you do afterward.
For physical work: Establish a fixed camera position during prototyping for continuous capture without stopping to manually document each step.
For digital work: Connect your tools so documentation updates automatically. Design files that embed directly into Notion, Asana, or Trello mean stakeholders always see current work without manual updates.
For decision capture: Use natural reflection points when evaluating iterations, reviewing feedback, or deciding between alternatives. You're already pausing to think, so add thirty seconds to capture why.
When capture happens as part of making, it enhances creative momentum instead of interrupting it.
How Vizcom Supports Process Documentation
When you're exploring multiple directions quickly, stopping to organize files breaks creative flow. Vizcom automatically saves your iteration history as you work, capturing the breadth of exploration without manual effort.
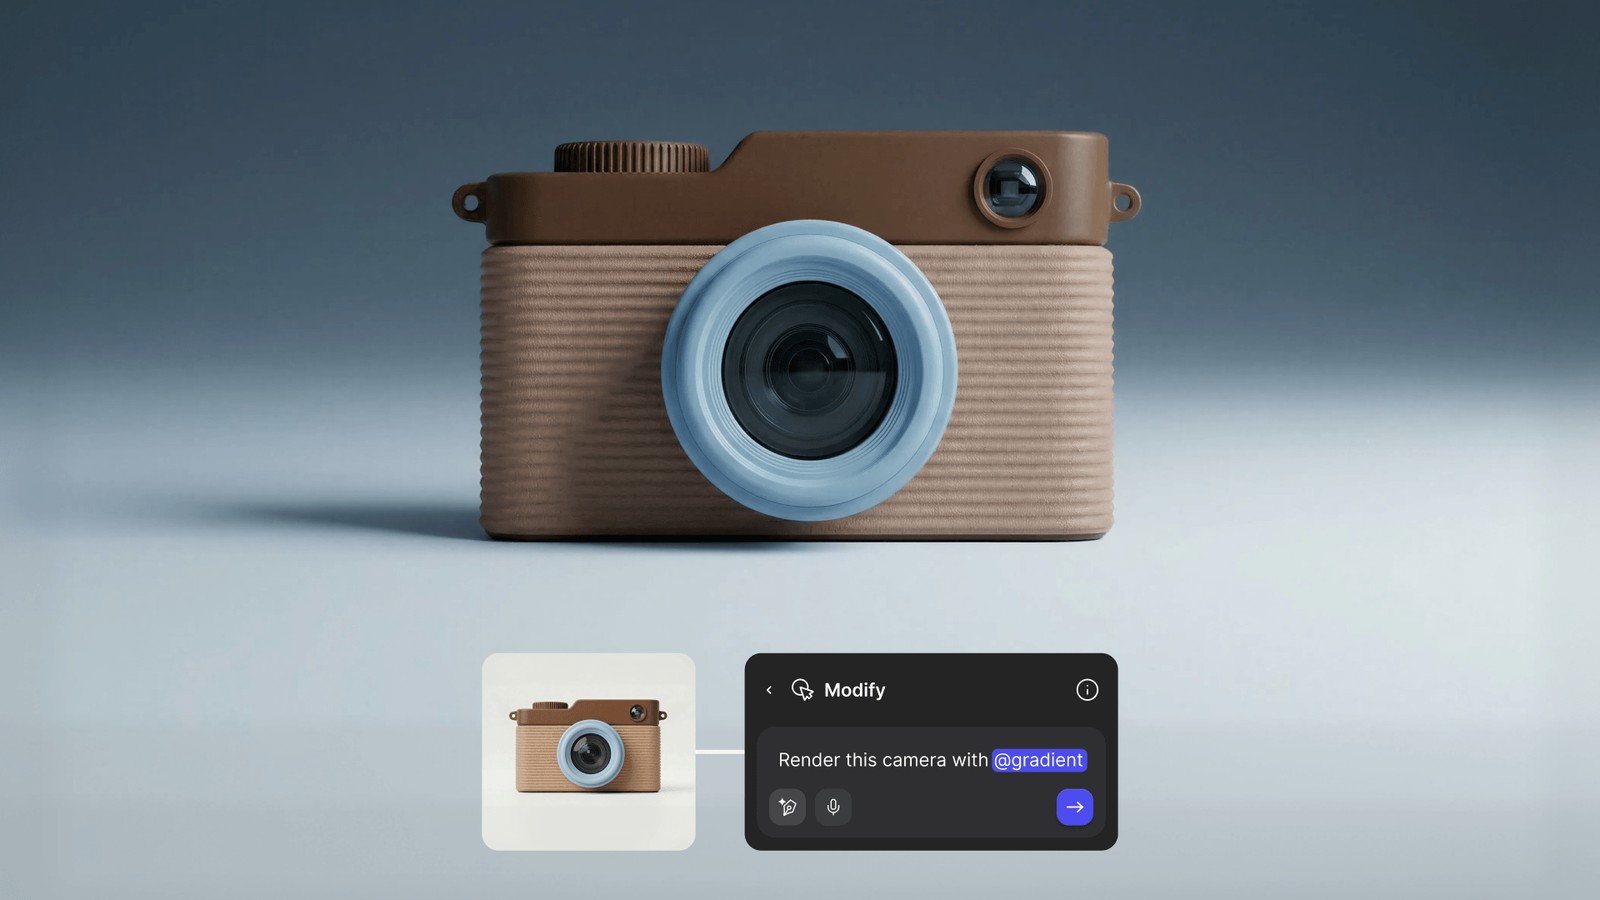
Render generates multiple design directions from a single sketch, exploring different materials, lighting, and styling treatments. Compare brushed aluminum versus matte polycarbonate for that product housing without committing hours to each variation, making it easier to show reviewers that you evaluated alternatives instead of just polishing your first idea.

Once you've landed on a direction worth developing, Modify lets you push that concept further by generating new views from different angles, exploring variations in form language, or extracting material swatches for production handoff.
When you need to evaluate form spatially, Make 3D converts your render into a rotatable model you can view from angles your original sketch didn't show, demonstrating how your concept works in three dimensions.
Throughout this workflow, your iteration history captures everything automatically, including the dead ends, pivots, and explorations that didn't work, without interrupting your creative flow.
Common Process Presentation Mistakes
Strong process documentation differentiates your portfolio, so avoid these mistakes:
- Showing only "the path that worked." Real design includes dead ends and failed experiments. Include sketches, research documents, and the rationale behind major decisions.
- Using a generic methodology for every project. Tailor research depth and iteration complexity to each project's actual requirements. Generic process signals inexperience.
- Jumping straight to solutions. Establish business context, user pain points, constraints, and success criteria before showing what you created.
- Skipping the journey between states. Before-and-after presentations fail to demonstrate problem-solving. Document how feedback and data influenced your direction.
- Being vague about collaboration. Use clear language: "I led the user research phase" or "I collaborated with two other designers on the visual system."
- Omitting measurable outcomes. Include metrics like improved task completion rates, conversion percentages, or user feedback scores.
Start Simple
Pick your next project and capture key decision points as they happen. Set up a camera position for physical work, a folder structure for digital iterations, and a 'notes' document for decision rationale. The documentation system should be barely noticeable while you're designing.
Studios want to see authentic problem-solving and clear reasoning behind your choices, not just polished renders. That's what gets you hired.
Ready to build process documentation into your workflow? Book a demo on Vizcom to see how you can turn sketches into photorealistic renders in seconds, explore material variations before committing to CAD, and let your iteration history capture how you think through design problems.
Explore
Explore more blog posts & resources to get inspired
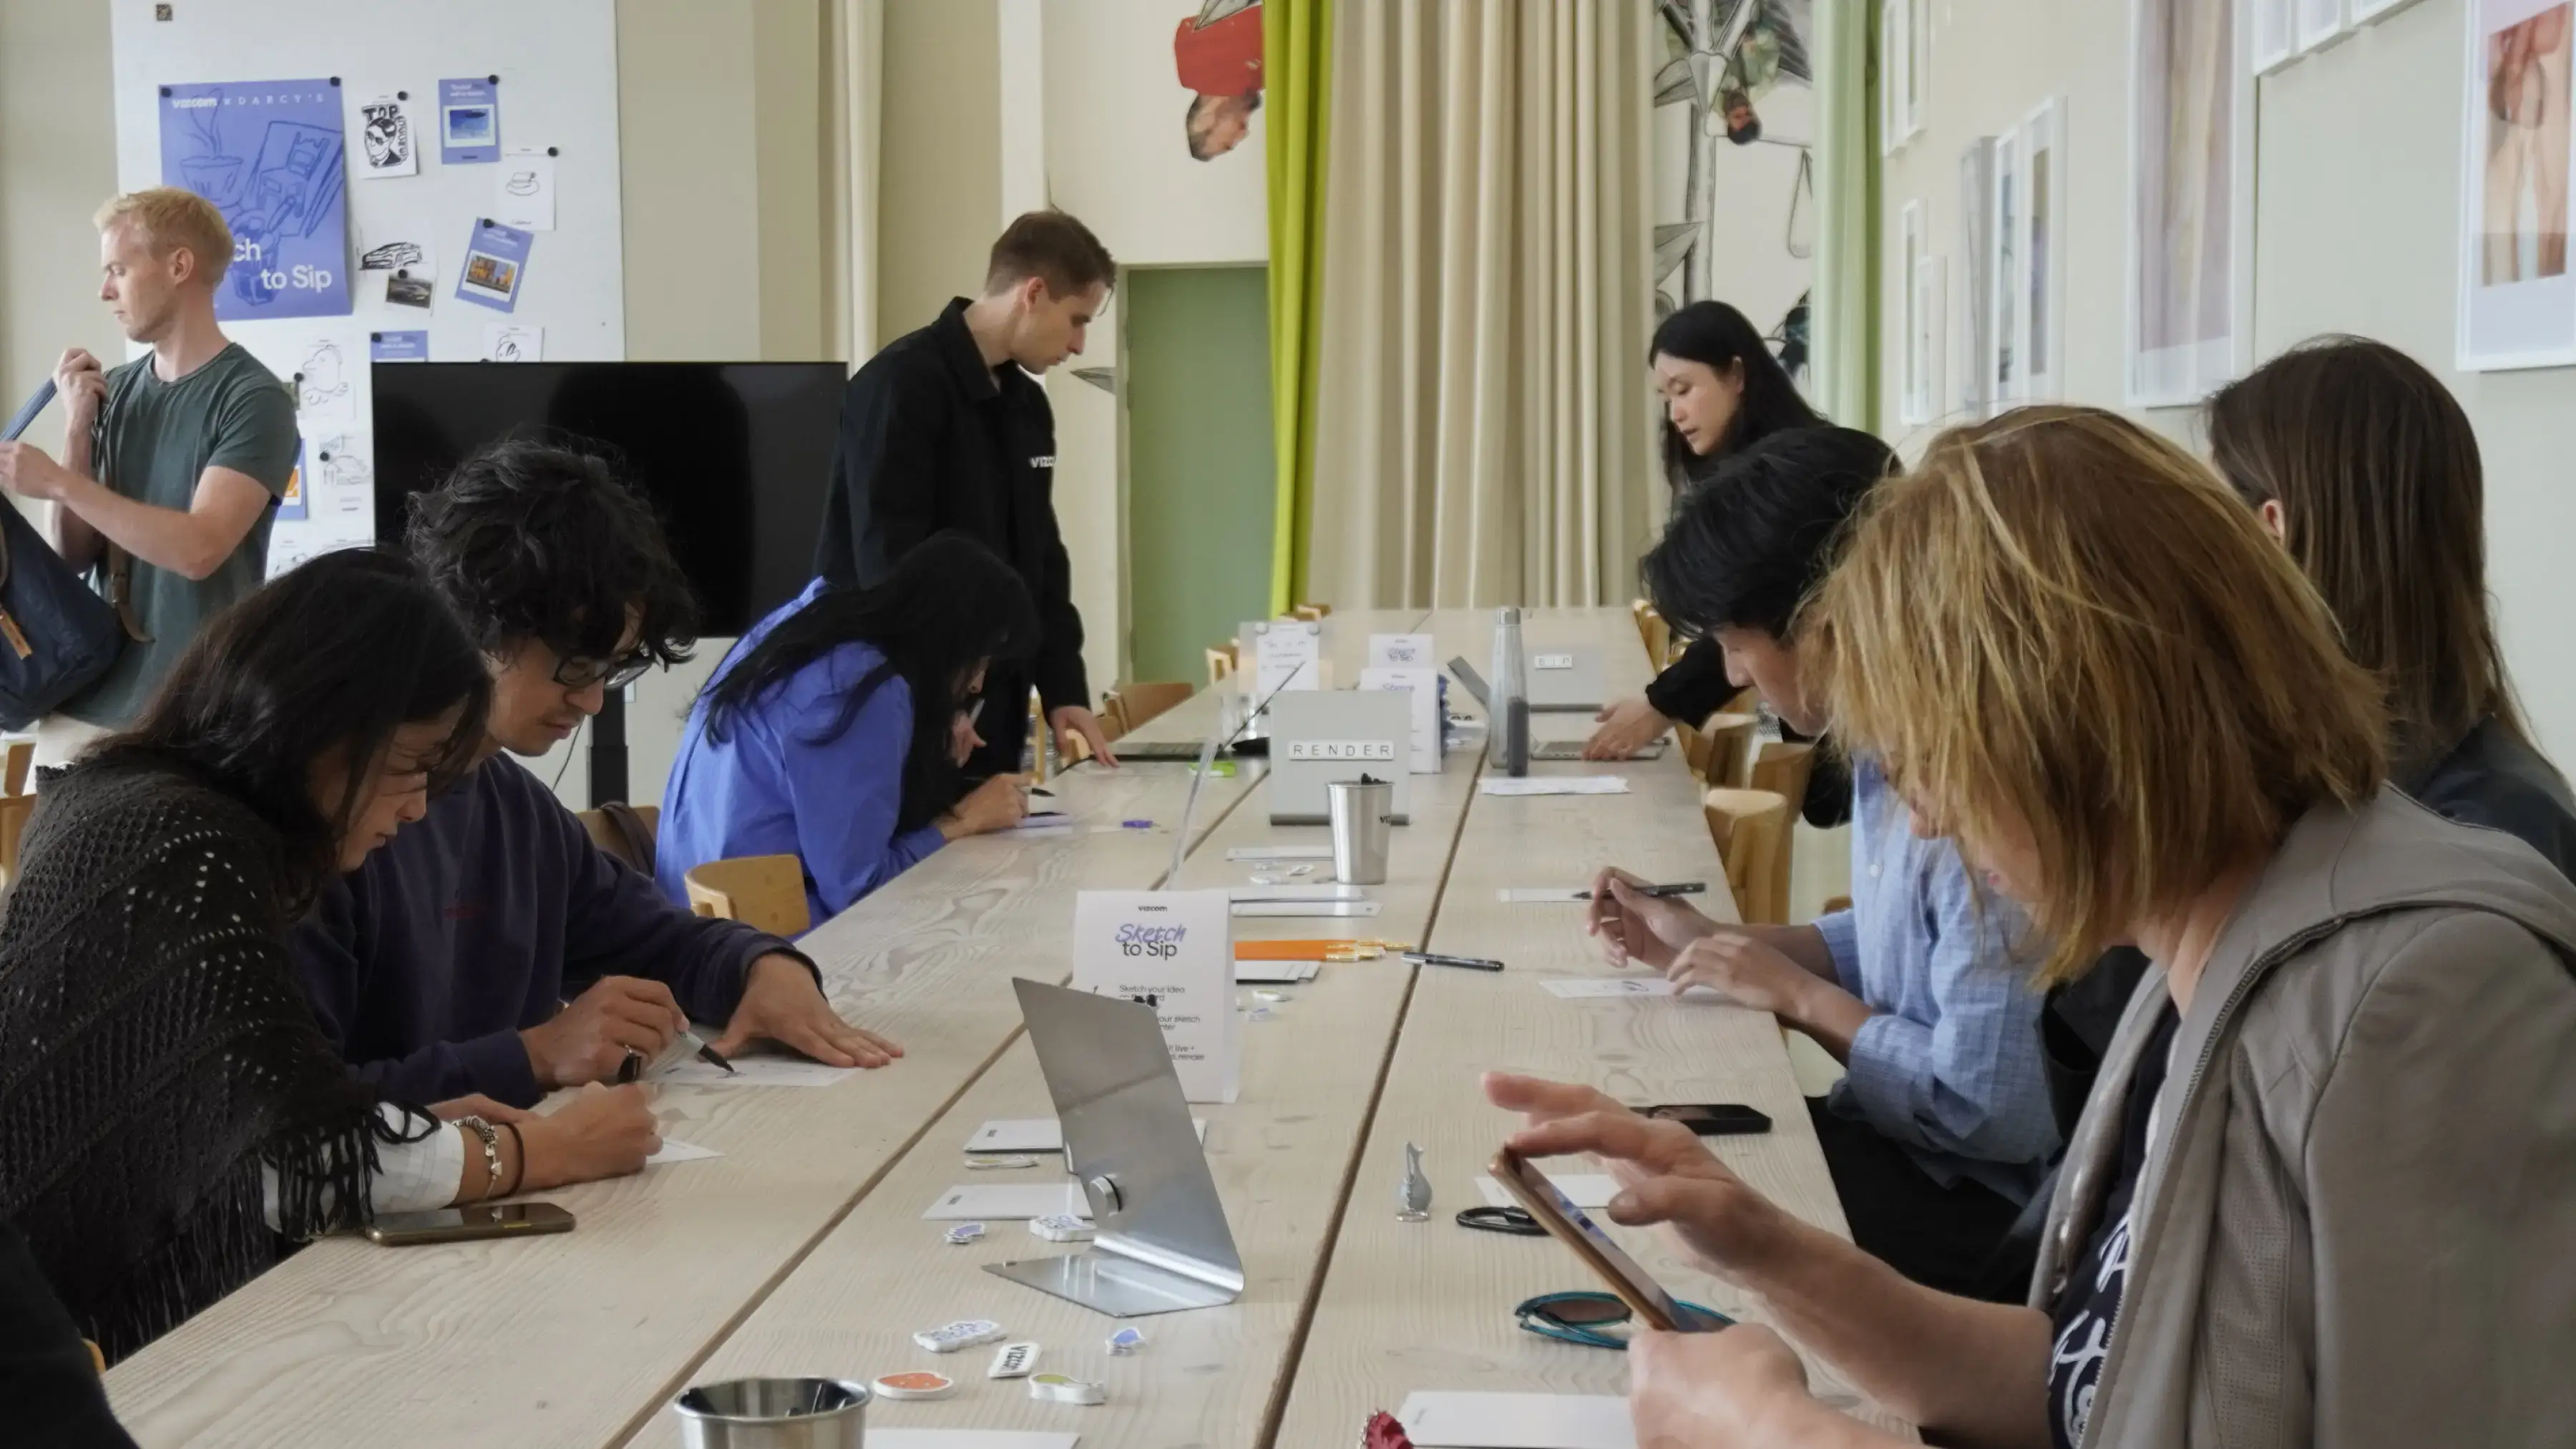
For one day during 3DaysofDesign in Copenhagen, Darcy's Cafe ran on a different currency — a sketch. Draw it, we'd render it live in Vizcom, and you'd walk out with a print — coffee included.
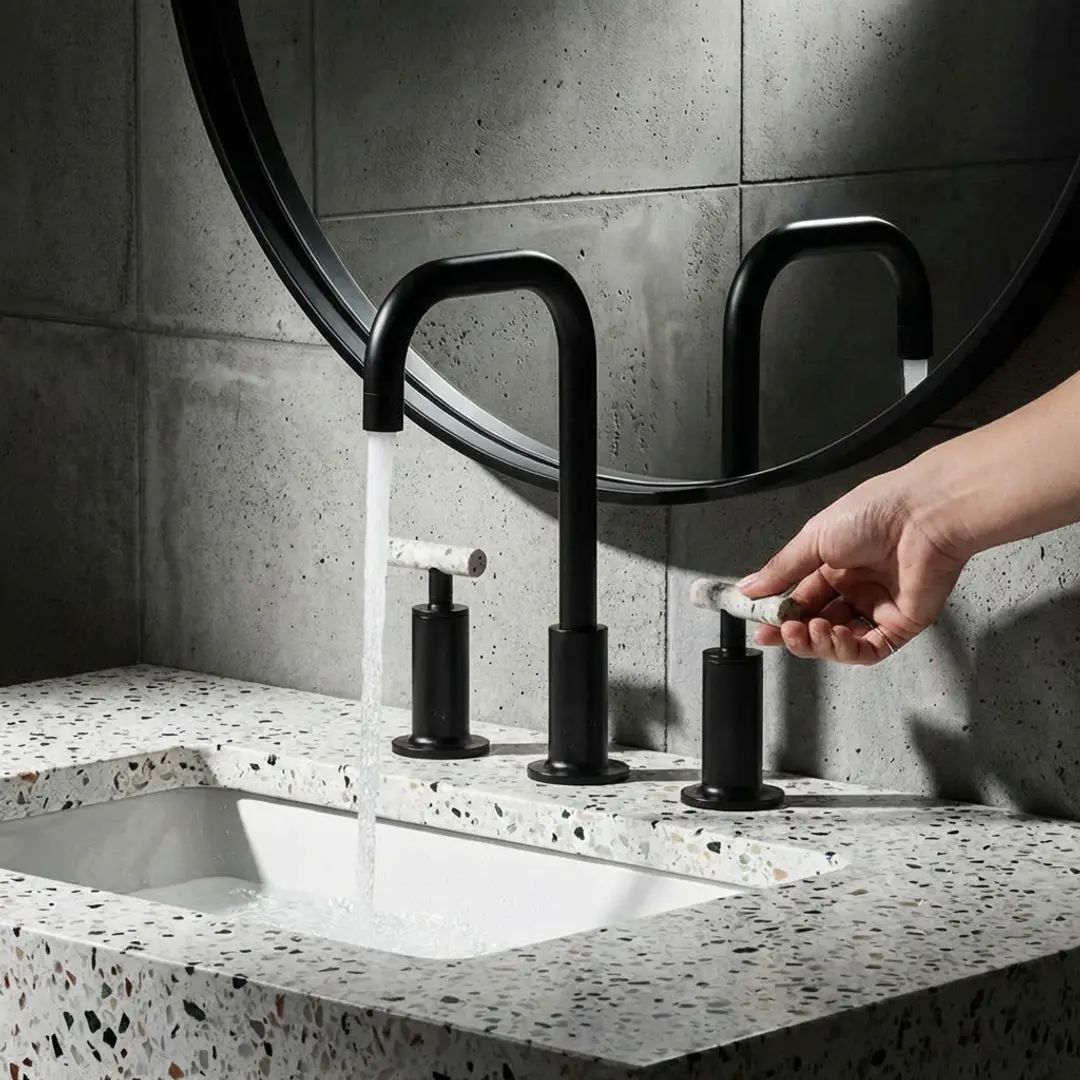
See how Kohler's industrial design team uses Vizcom to save time, speed up workflows, and create better work.
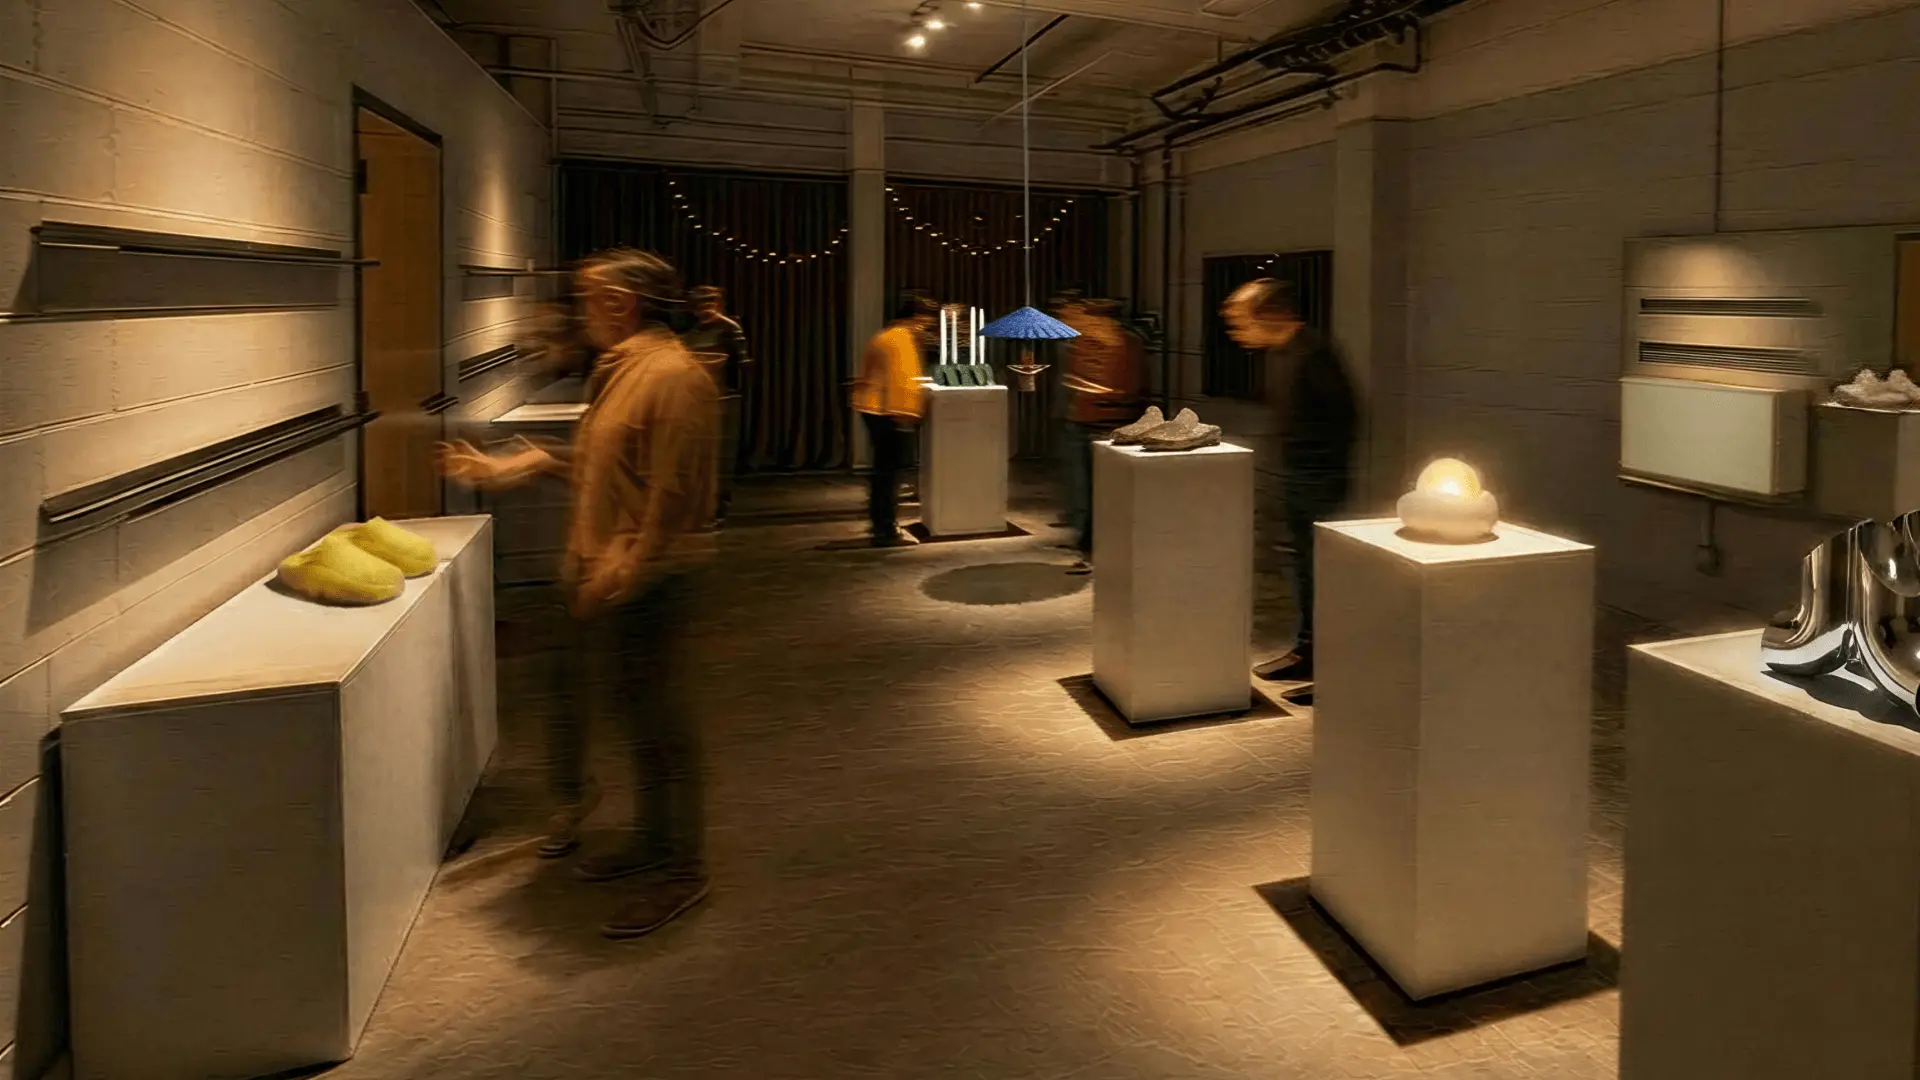
Explore the designs of Vizcom's San Francisco Design Week exhibition where furniture, footwear, lighting, and automotive concepts come to life through AI-powered visualization. Follow along as designers share the stories, sketches, and tools behind every piece on display.
Frequently asked questions
Yes of course! Our starter plan is completely free, no credit card required. This is a great plan to explore vizcom with.
We accept all major credit and debit cards.
Admins (paid) – can edit files, manage workspace settings, billing, teams, and invite members. Editors (paid) – can edit files but not manage settings, billing, or teams. Viewers (free) – can only view files in read-only mode.
Team billing is handled centrally by the Admin. All paid seats, whether Admins or Editors, are included in a single invoice under the same billing cycle, while Viewers remain free and do not affect the cost.
Yes, you can. An Admin can update the plan in the billing settings, and the switch will take effect on the next billing cycle at the annual rate.
Yes, you own everything you create in Vizcom. For free users, while Vizcom may use generated images to improve its services, it does not claim ownership of your designs, concepts, or original ideas—you keep full rights to them. For paid users, your images and designs remain entirely private and are only used to deliver the service. Every design, concept, and image you create or upload is fully yours and kept confidential.
Vizcom does not use your data to train AI models if you’re on a paid plan. Everything you create stays private and is only used to provide the service. Free users may have their generated images included to help improve Vizcom’s services, but even then, Vizcom does not claim ownership of your designs, concepts, or original ideas—you retain full rights.