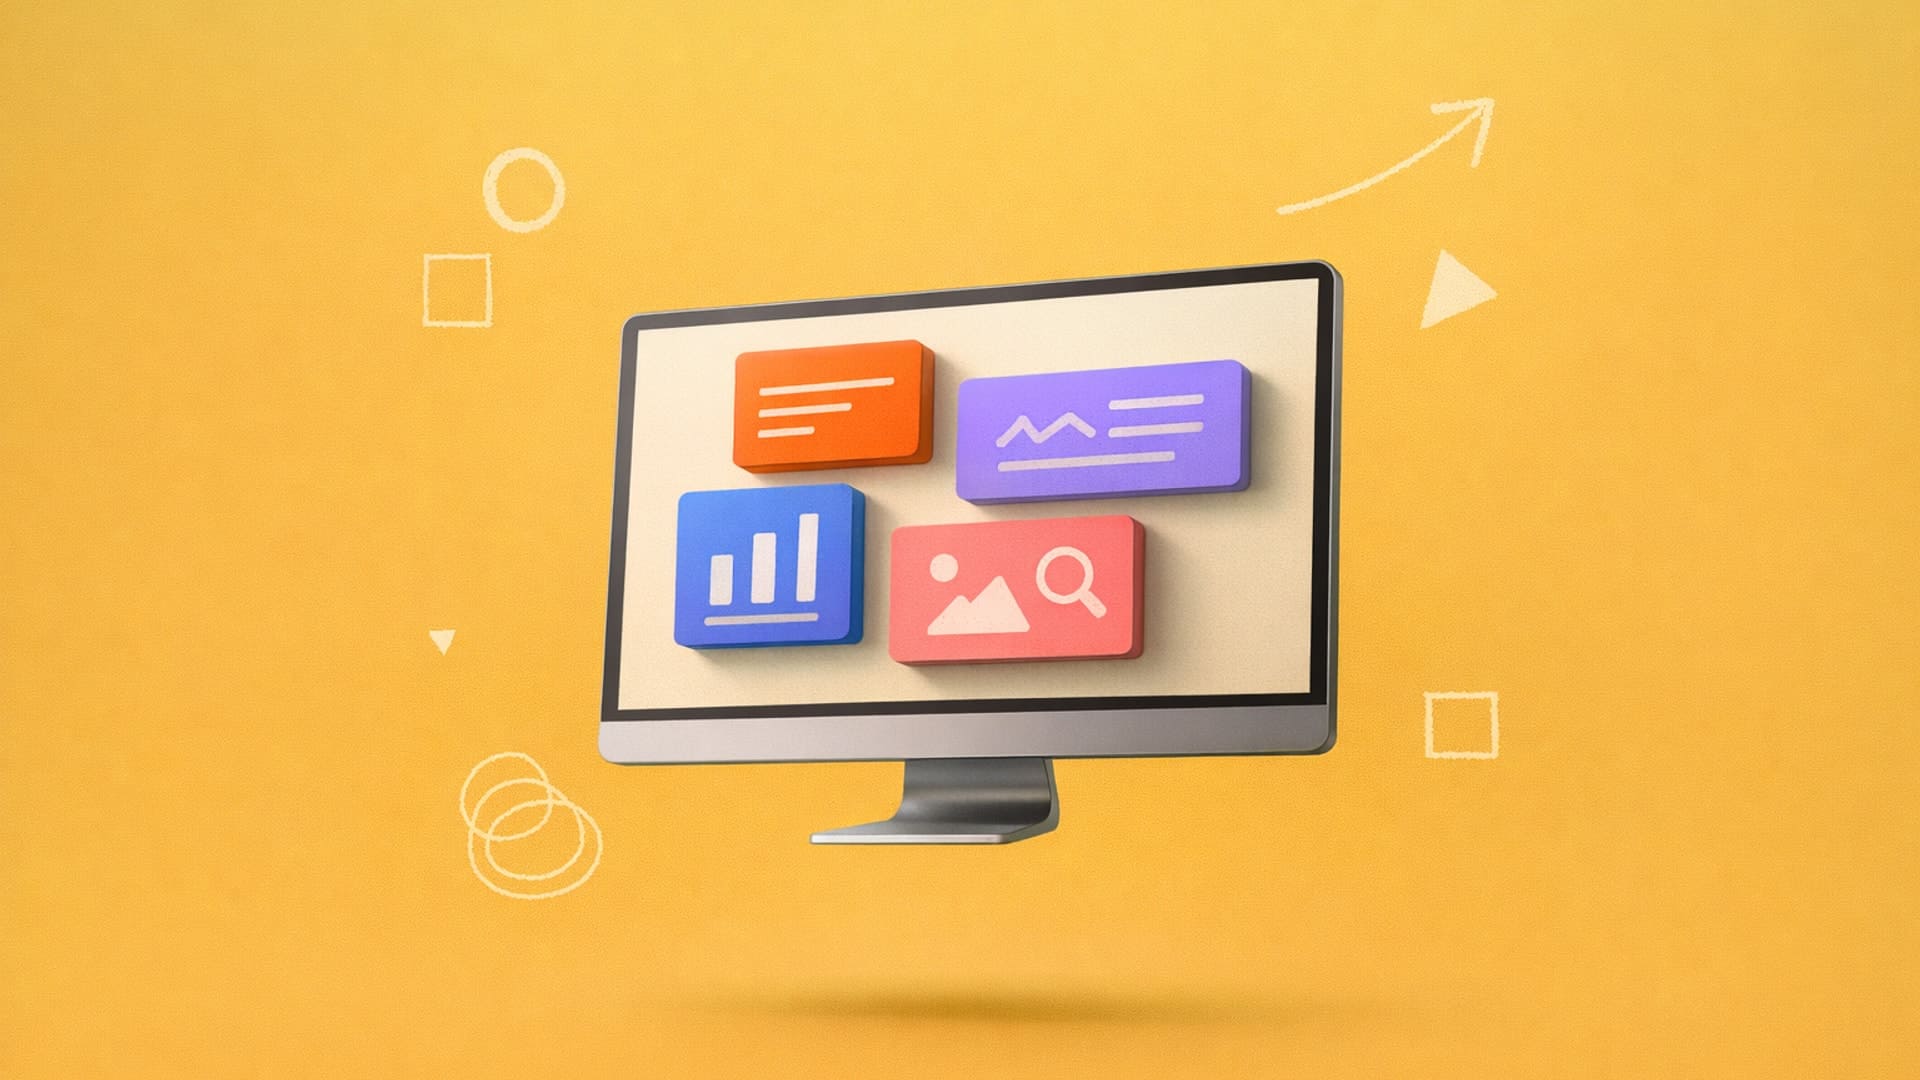
How to Use Text-to-Image AI in your Design Workflow
Learn how text-to-image AI speeds design iteration, turning 200 early concepts into 20 refined directions.

You sketch 200 concepts for a project, but rendering time limits you to developing maybe five to ten of them at higher fidelity. That gap between what you explore and what you can actually visualize shapes which ideas move forward and which stay buried in your sketchbook. Text-to-image AI tools close that gap by generating rendered images from descriptive text in seconds instead of hours.
What Is Text-to-Image AI and How Does It Work for Designers?
Text-to-image AI generates visuals from written descriptions using models trained on millions of images. You type a prompt like "minimalist desk lamp, warm wood base, brass accents, studio lighting" and the system produces images matching that description.
Designers can quickly conceptualize a variety of ideas they can iterate on by generating twenty variations of a concept direction in the time it takes to sketch two.
The best applications for text-to-image in design workflows include:
- Mood and direction exploration before committing sketch time, quickly visualizing whether "brutalist" or "organic" better fits the brief
- Reference gathering that's faster than hunting through Pinterest or stock photo sites for the right inspiration
- Communicating abstract concepts to clients or internal stakeholders who struggle to visualize verbal descriptions
- Testing design directions quickly, ensuring whether the concept reads as premium or playful before you invest in development
How Do You Write Effective AI Prompts for Design Work?
The key to good prompts is structuring them around design language rather than generic descriptions.
Here are a few techniques that improve output quality:
- Lead with form and proportion, then materials, then context. "Compact handheld device, rounded rectangular form, soft matte plastic, recessed buttons, neutral studio lighting" produces more controllable results than "futuristic gadget."
- Use design vocabulary that maps to visual outcomes. Terms like "form language," "surface transitions," "stance," and "parting lines" give the AI more specific targets. If you'd use the term in a design review, it's probably useful in a prompt.
- Reference specific materials with precision. "Anodized aluminum" gives better results than "metal." "Injection-molded ABS" beats "plastic." "Matte rubber overmold" is more useful than "grip material."
- Constrain the context to reduce randomness. Specify camera angle, lighting setup, and background. "Three-quarter view, soft studio lighting, white cyclorama background" eliminates variables that would otherwise be chosen arbitrarily.
What is the Difference Between Sketch-Based and Prompt-Based AI Design Tools?
The main difference between prompt-based and sketch-based tools is that sketching captures intent that words can't fully express: gesture, proportion relationships, form transitions. Sketch-based AI design closes the gap between what you're imagining and what gets generated, making it more practical for real design work. The messy middle of design iteration requires tools that build on previous work, not start over each time.
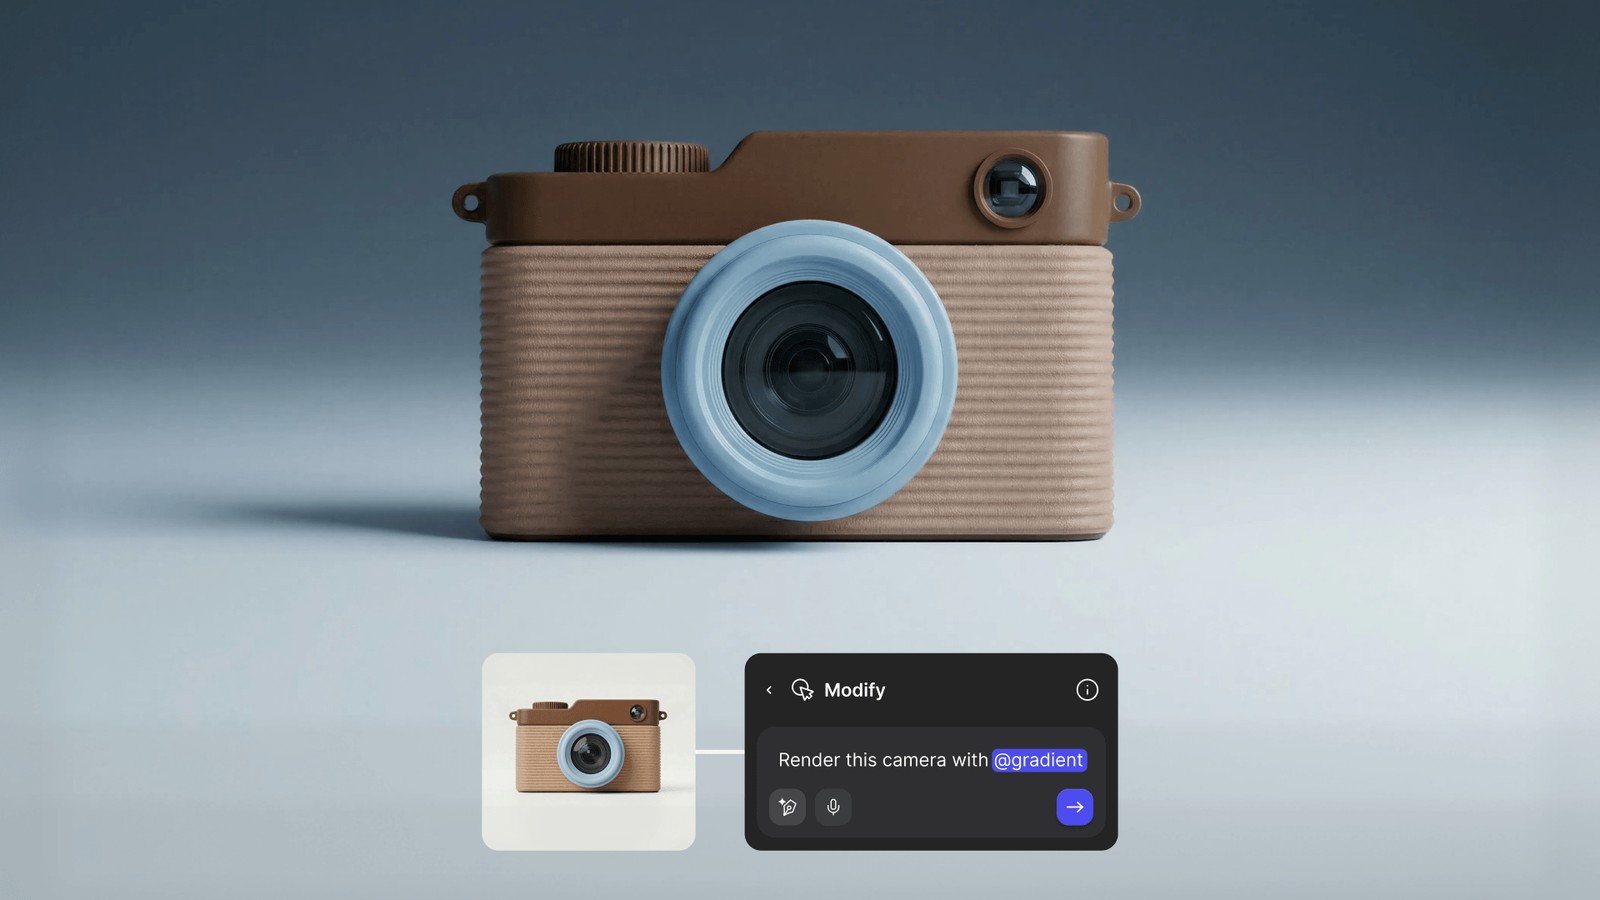
Vizcom addresses these gaps with multimodal input. You can sketch live using Brush Studio, upload images, use color swatches, and weave real-world references throughout iterations.
Render mode builds on your existing work, while refine mode enhances specific regions and preserves composition. Make 3D generates textured meshes when you're ready to show clients or internal reviewers how a product works in three dimensions.
Book a demo, and we'll show you how sketch-based rendering handles the specific workflows that prompt-only tools struggle with.
What Are the Limitations of Prompt-Only AI Tools for Product Design?
The limitation that matters most for professional designers isn't about image quality, but rather about specific gaps that prevent AI-generated concepts from becoming manufacturable products.
A designer in Core77's forums captured this precisely: AI accelerates progress from 0 to 30 mph, but to reach 100 mph, the tried-and-true methods remain essential. AI tools excel at accelerating initial conceptual phases but cannot complete the journey to production-ready designs. McKinsey calls this plainly: "no magic wand."
More specifically, text-to-image tools don't understand manufacturing constraints. You can generate a beautiful shoe design with undercuts that would require impossible mold geometry, or an automotive panel with surface transitions that can't be stamped from sheet metal. The AI has no awareness of tooling limitations, draft angles, or assembly sequences.
Material specifications get lost in translation. Prompting for "premium leather texture" might give you convincing visuals, but it won't tell you whether that surface finish works with the actual leather grades your supplier stocks, or how that material behaves during lasting and stitching. The rendered image looks correct but contains no data about material properties, costs, or sourcing feasibility.
Creative control represents another limitation. Prompts describe outcomes, not decisions. You can't tell text-to-image AI tools "adjust the radius on that corner" or "maintain these proportions but change the stance." You can only describe what you want and hope the system interprets your words the way you intended.
This is fundamentally different from multimodal approaches (sketch + AI) that let you integrate visual references directly and give you more precise creative control. Vizcom, for instance, lets you draw your intent. The Drawing Influence slider controls how closely the AI follows your lines, giving you precision that pure text-to-image can't match.
For brand consistency, Custom Palettes train the AI on your specific design language, whether that's an in-house style guide or a client's established visual identity. The AI learns your form vocabulary, your surface treatments, your material preferences. Every render reflects your brand DNA rather than generic training data.
How Do Professional Designers Integrate AI Tools into Their Workflow?
The most effective approach uses different tools for different phases of the design process. Early exploration benefits from the rapid generation that text-to-image provides. Core development needs the control that sketch-based tools offer. Refinement requires building on previous work. Presentation demands consistency and material accuracy.
Here’s a practical decision framework for choosing the right tool:
- Need inspiration or direction exploration? Text-to-image works well for early ideation when you're still figuring out which territory to pursue.
- Need specific proportions or forms? Sketch-based input gives you direct control. The Drawing Influence slider in Vizcom lets you dial in exactly how much the AI follows your lines.
- Need consistency across variations? An integrated platform with multimodal input maintains design intent across iterations.
- Need production-ready accuracy? Reach for tools trained on real-world products. Vizcom is trained on hard materials and real objects, ensuring dimensional accuracy that holds up to engineering scrutiny.
- Need to present to stakeholders? 3D models and animations communicate function better than static renders.
For designers who've moved past initial exploration and need to develop concepts with precision, Vizcom consolidates the sketch-to-render-to-3D workflow in one workspace. You're not bouncing between a prompt tool for ideation, a sketch app for development, and a renderer for presentation because everything lives in the same workbench.
Making AI Work for Your Design Process
Text-to-image AI has earned a place in design workflows, just not the central place some marketing suggests. The tools work best for early exploration and inspiration, less well for the controlled iteration that professional industrial design requires.
Understanding the difference helps you build a workflow that accelerates your process instead of adding friction. The most effective AI workflows combine prompt flexibility with sketch precision. As these tools mature, the distinction between approaches will likely blur. For now, knowing when to describe and when to draw remains a practical skill worth developing.
The designers who figure out this balance (using text-to-image for rapid exploration and sketch-based tools like Vizcom for controlled development) will move faster than those who try to force one approach to handle everything.
Ready to move beyond prompt-only workflows? Try Vizcom and see how sketch-first AI rendering gives you control that text-to-image tools can't match.
Explore
Explore more blog posts & resources to get inspired
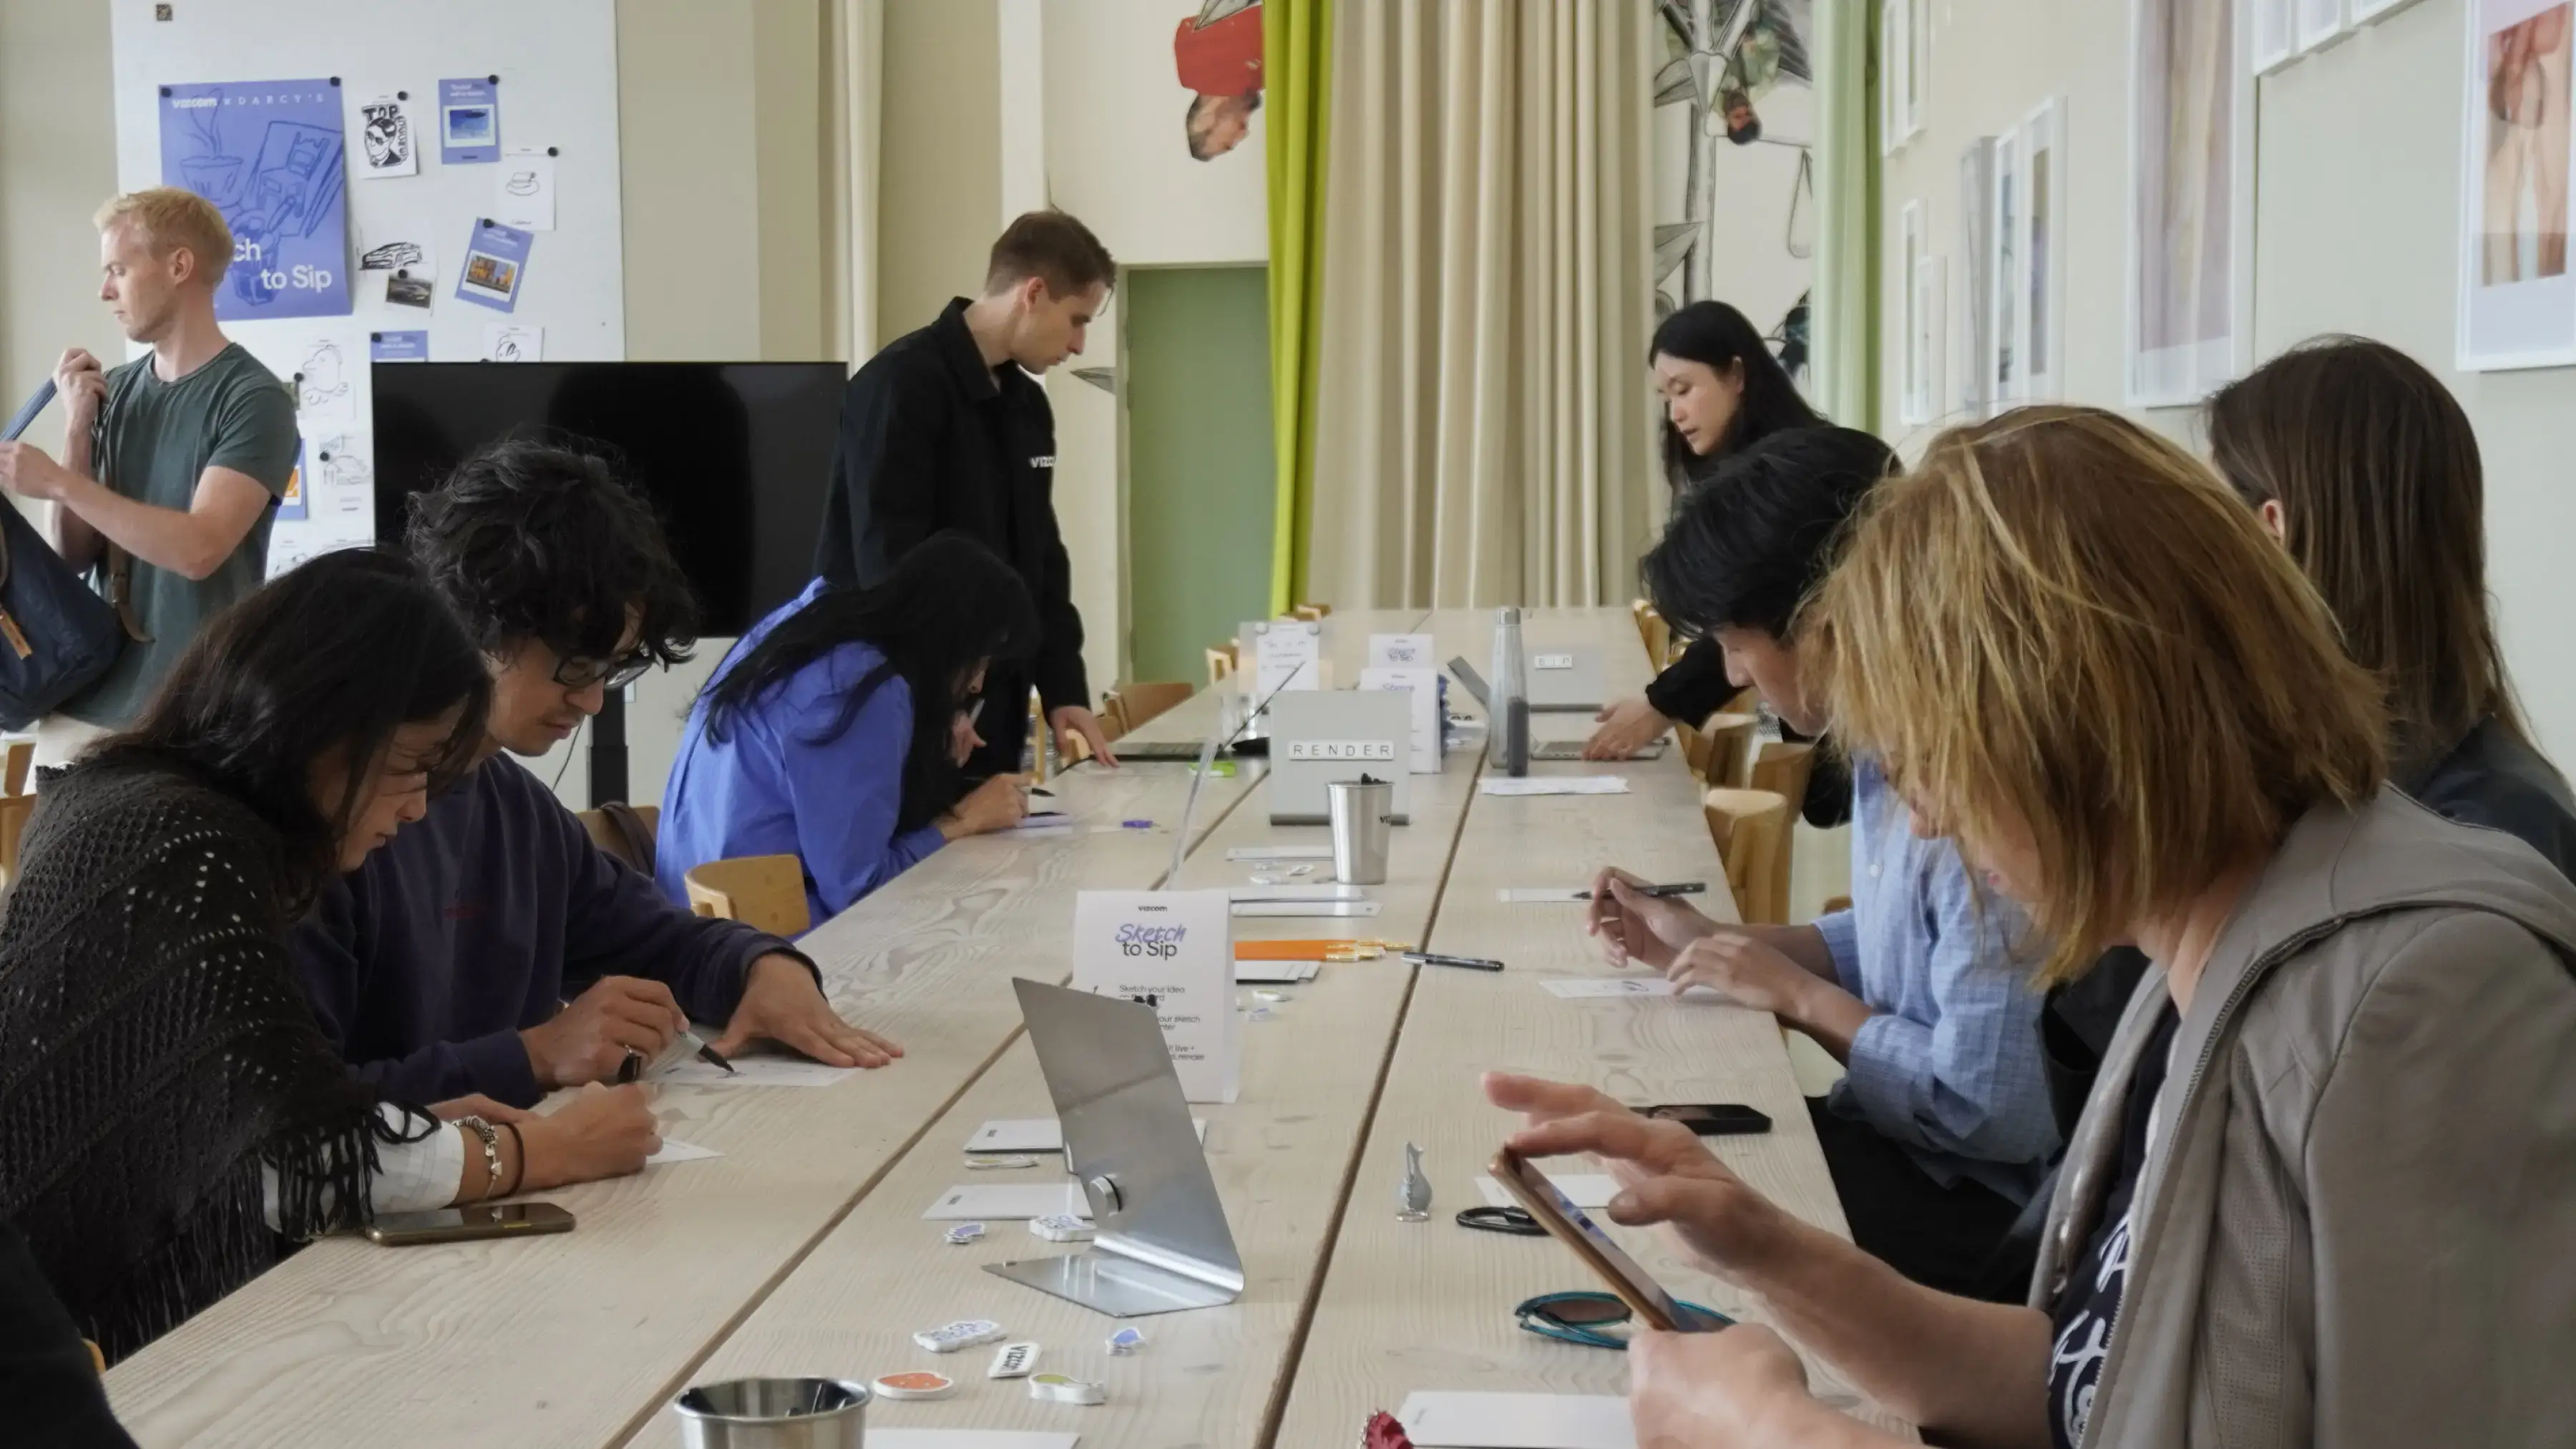
For one day during 3DaysofDesign in Copenhagen, Darcy's Cafe ran on a different currency — a sketch. Draw it, we'd render it live in Vizcom, and you'd walk out with a print — coffee included.
See how Kohler's industrial design team uses Vizcom to save time, speed up workflows, and create better work.
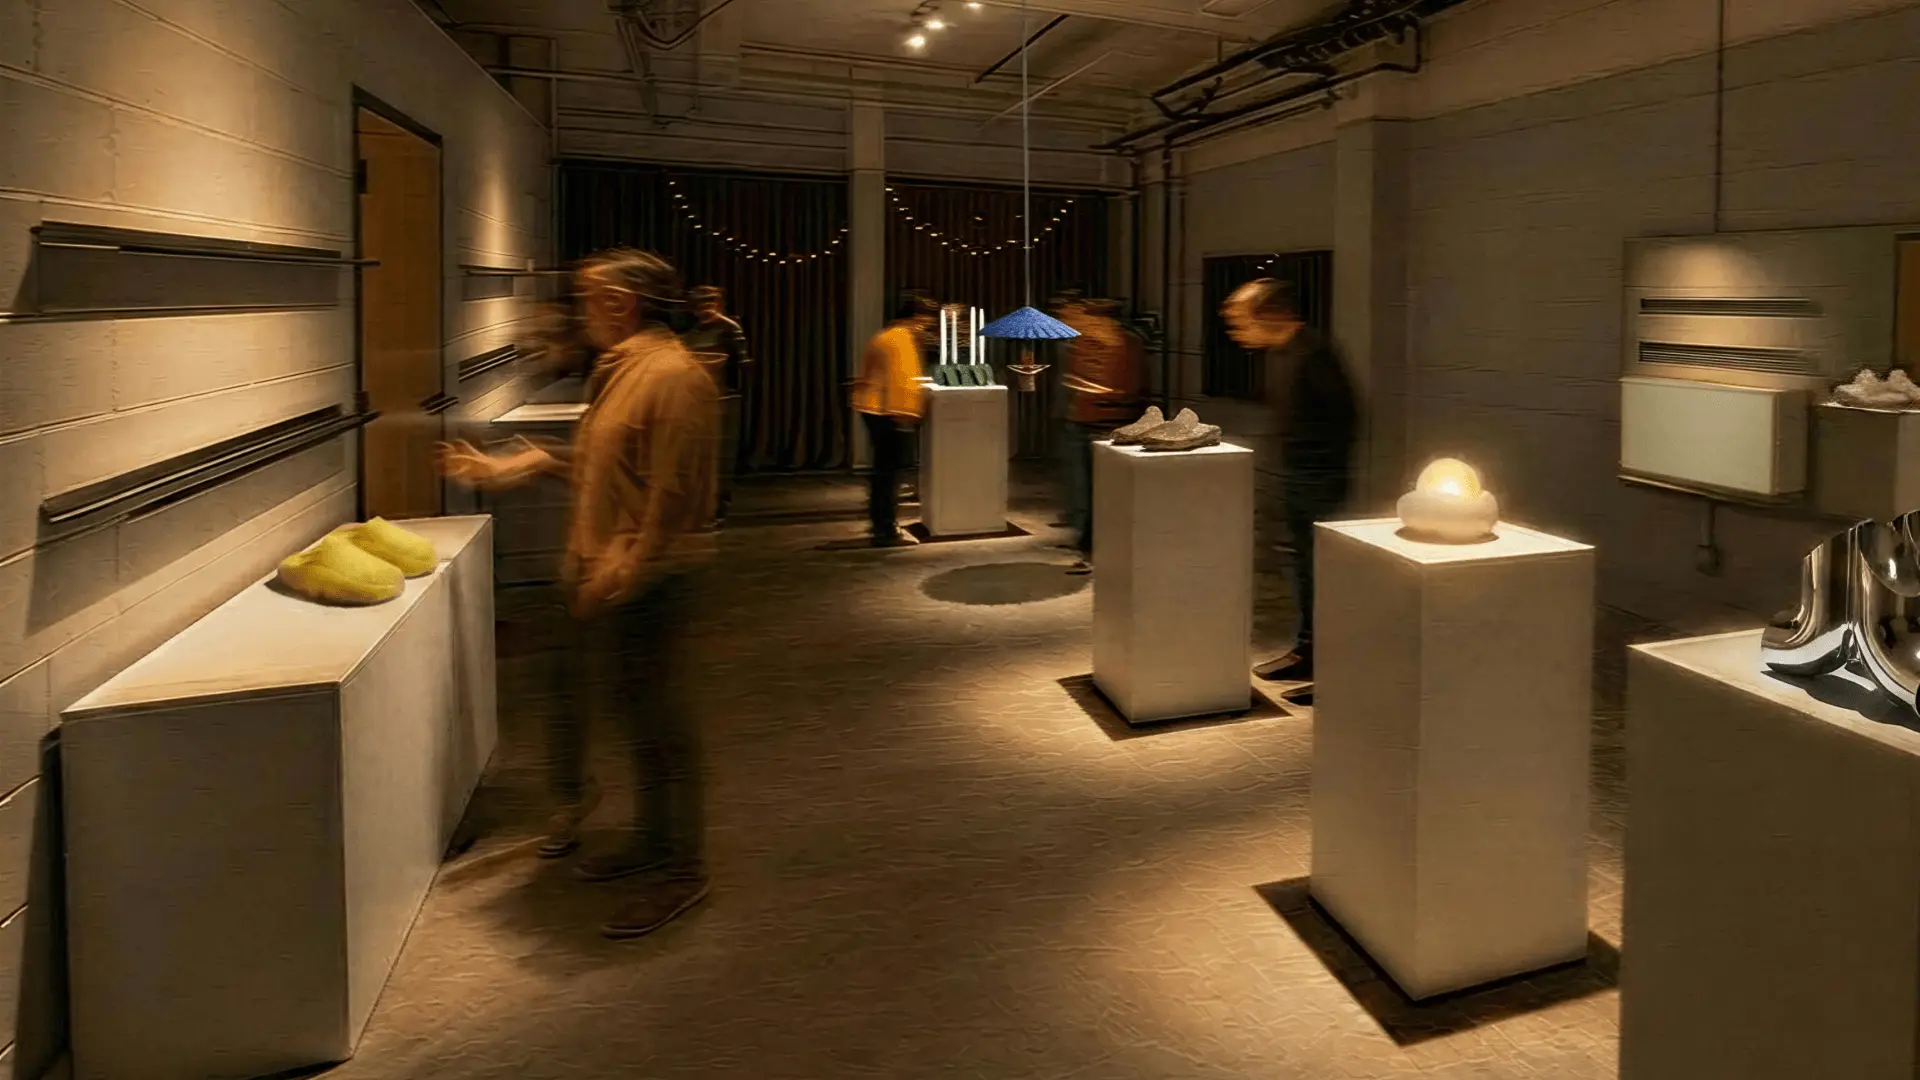
Explore the designs of Vizcom's San Francisco Design Week exhibition where furniture, footwear, lighting, and automotive concepts come to life through AI-powered visualization. Follow along as designers share the stories, sketches, and tools behind every piece on display.
Frequently asked questions
Yes of course! Our starter plan is completely free, no credit card required. This is a great plan to explore vizcom with.
We accept all major credit and debit cards.
Admins (paid) – can edit files, manage workspace settings, billing, teams, and invite members. Editors (paid) – can edit files but not manage settings, billing, or teams. Viewers (free) – can only view files in read-only mode.
Team billing is handled centrally by the Admin. All paid seats, whether Admins or Editors, are included in a single invoice under the same billing cycle, while Viewers remain free and do not affect the cost.
Yes, you can. An Admin can update the plan in the billing settings, and the switch will take effect on the next billing cycle at the annual rate.
Yes, you own everything you create in Vizcom. For free users, while Vizcom may use generated images to improve its services, it does not claim ownership of your designs, concepts, or original ideas—you keep full rights to them. For paid users, your images and designs remain entirely private and are only used to deliver the service. Every design, concept, and image you create or upload is fully yours and kept confidential.
Vizcom does not use your data to train AI models if you’re on a paid plan. Everything you create stays private and is only used to provide the service. Free users may have their generated images included to help improve Vizcom’s services, but even then, Vizcom does not claim ownership of your designs, concepts, or original ideas—you retain full rights.