Mood Board Creation: Build Visual Direction Before Sketching
Learn professional mood board creation techniques that guide concept sketches and prevent unfocused design iterations. Essential workflow for designers.

Thirty sketches in, and something still feels wrong with all of them. Without clear visual parameters, you explore directions that looked promising in your head but fail to coordinate with brand identity, user expectations, or manufacturing reality when rendered. Professional designers in automotive, footwear, and industrial design use mood boards to establish that direction before formal concept development begins.
What Are Mood Boards in Product Design?
Mood boards translate abstract project requirements into a concrete aesthetic direction through visual research. Professional industrial design workflows commonly include mood board creation as an important pre-sketching step, with designers often creating comprehensive visual references before or alongside exploring multiple design directions.
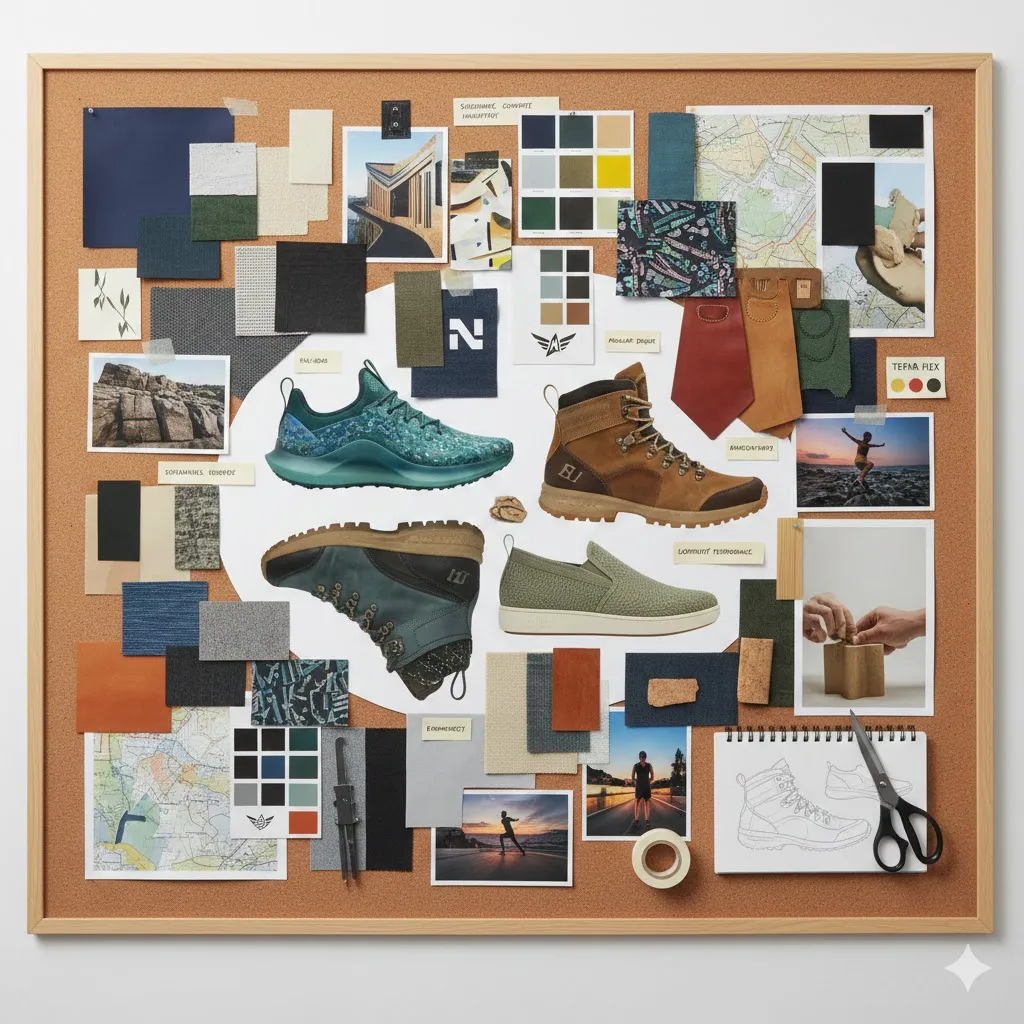
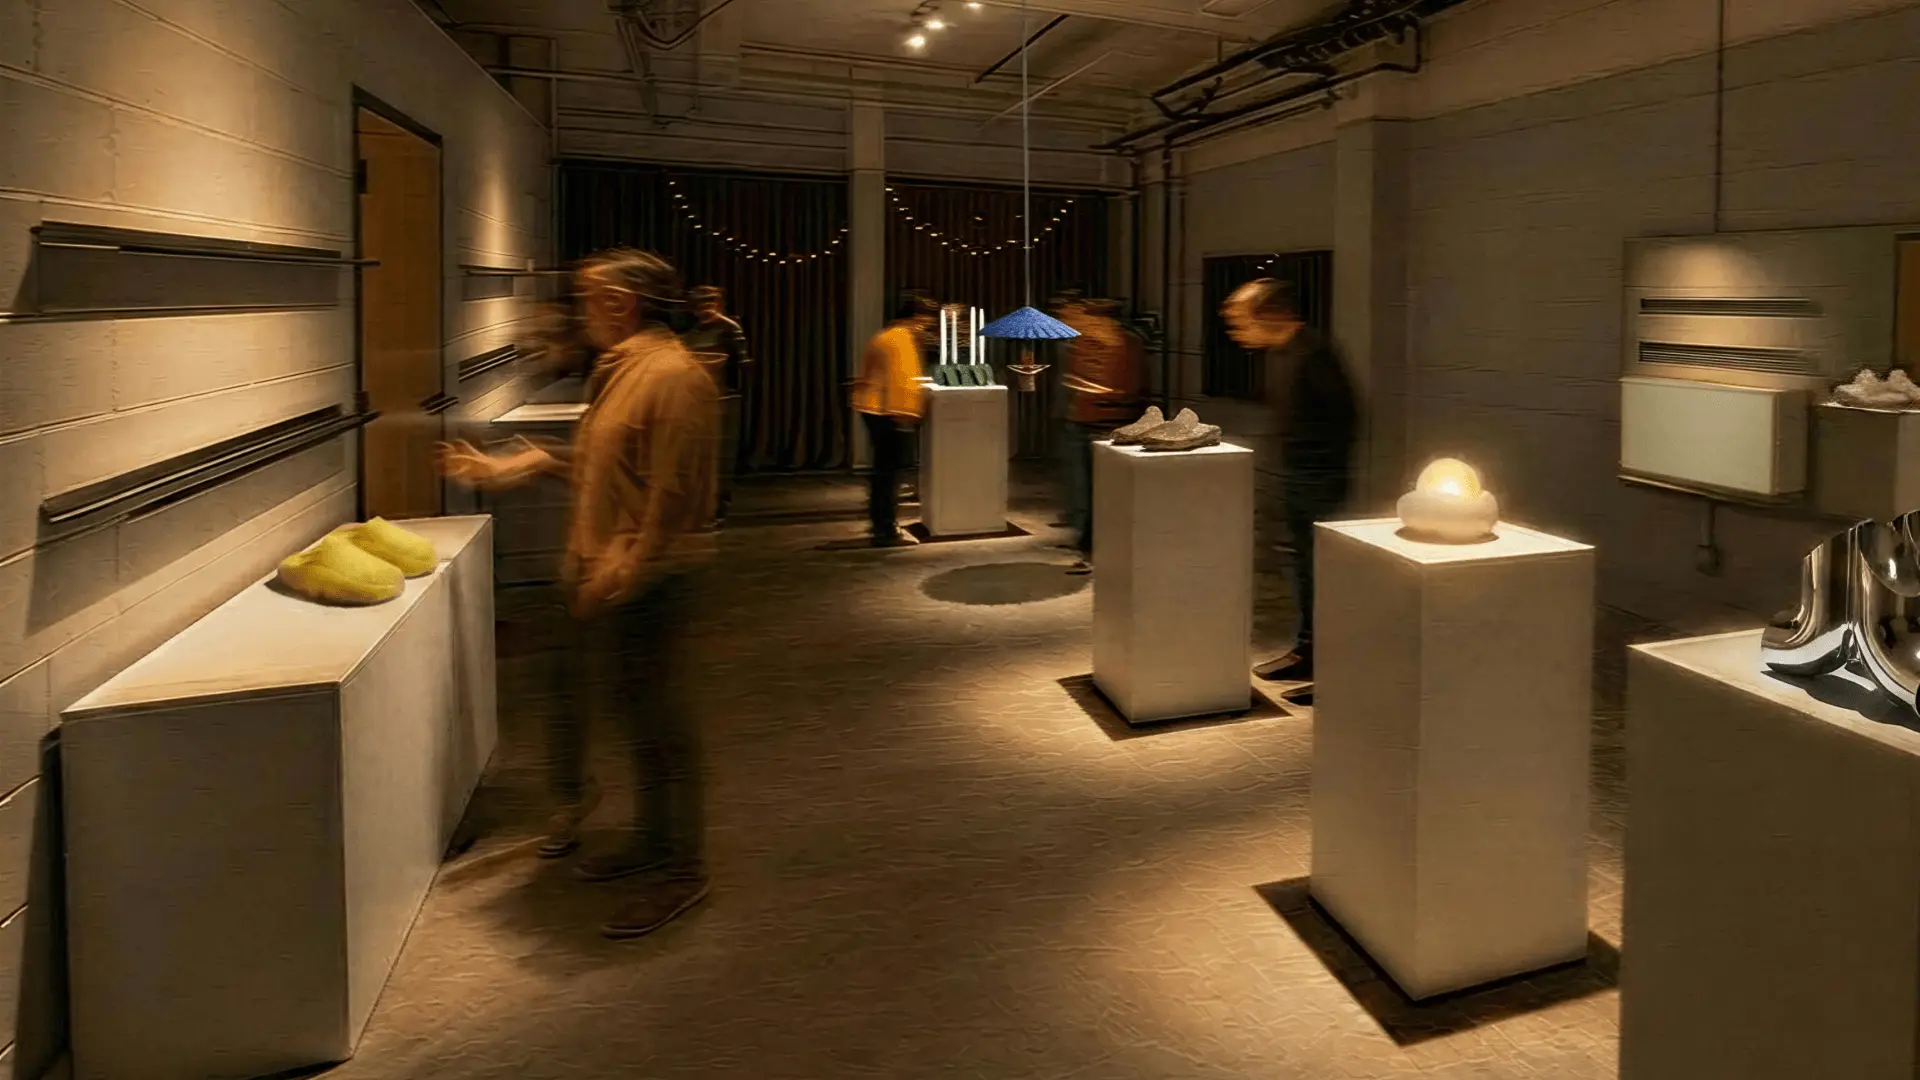
For example, this is what a mood board for a new shoe design might look like:
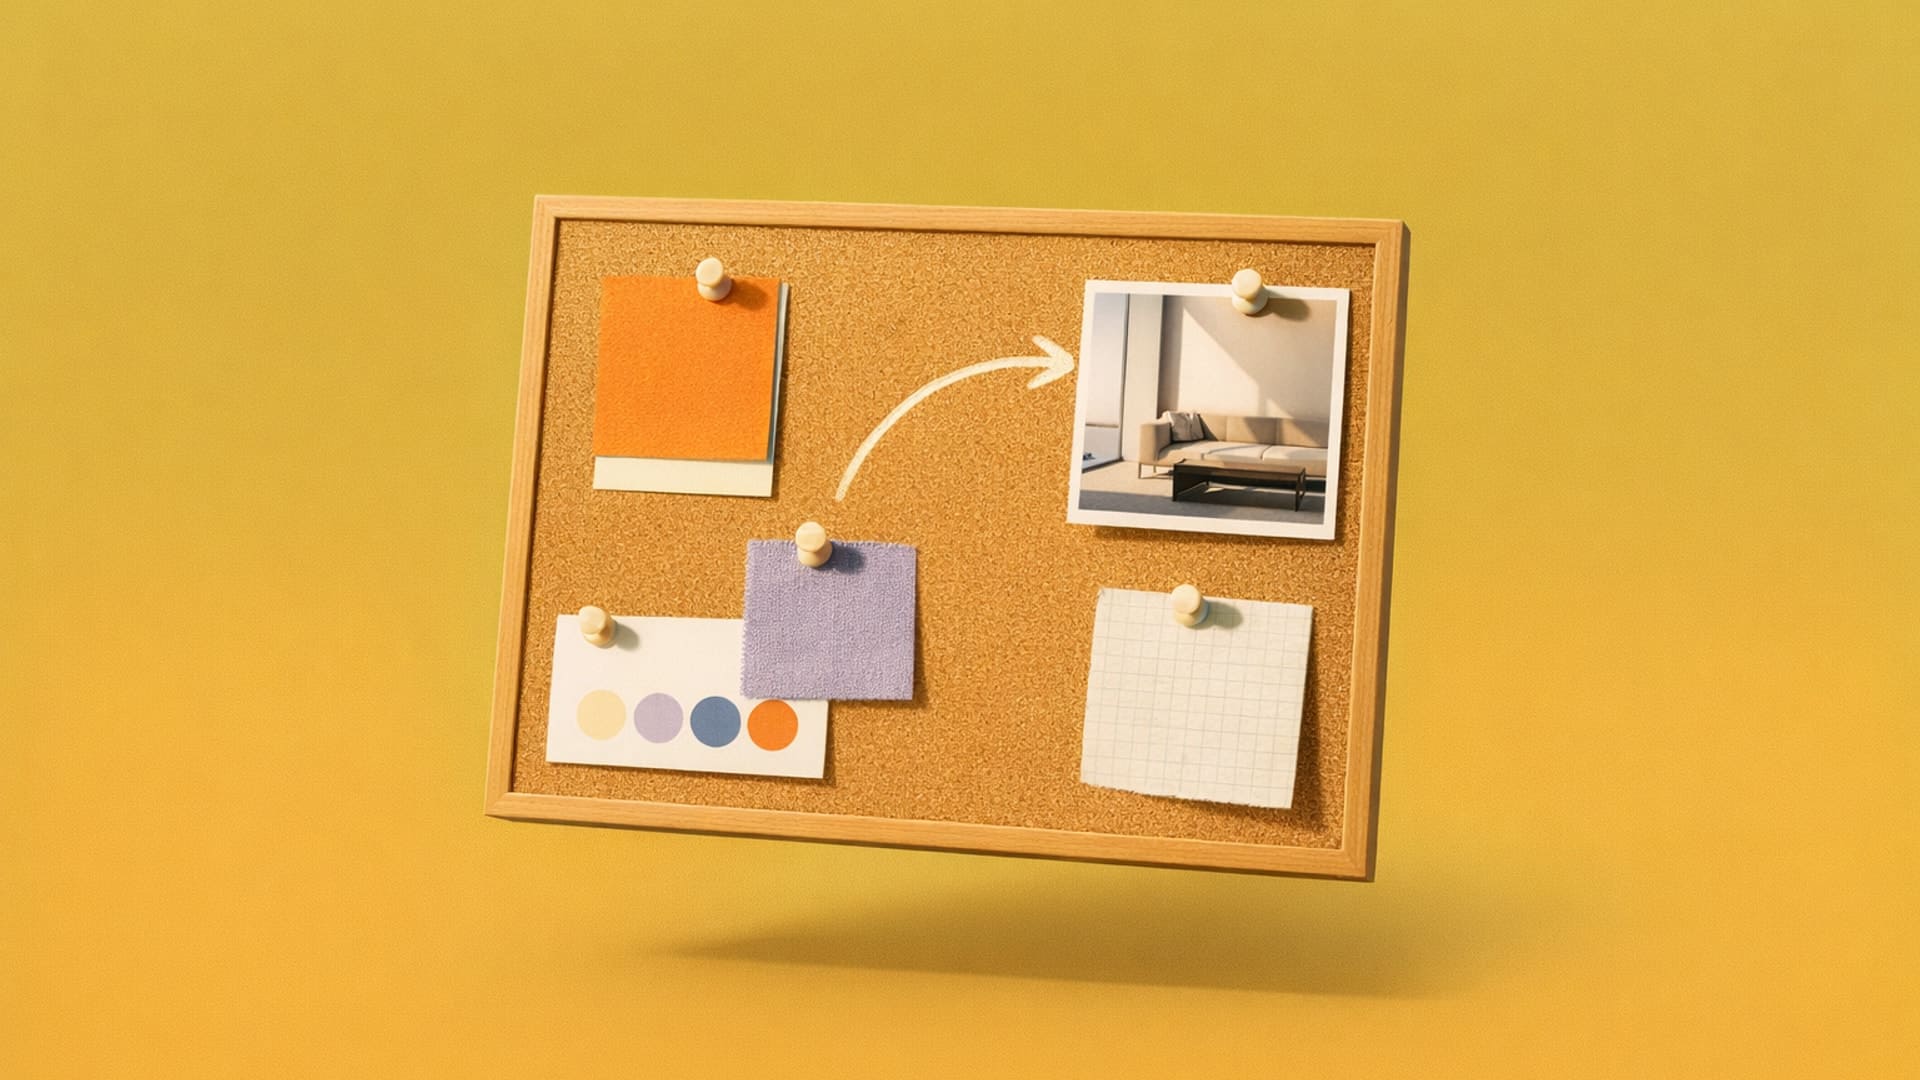
This workflow sequence (mood board first, then sketches) demonstrates their function as a foundational reference that guides industrial design.
How Do Professional Designers Build Effective Mood Boards?
Professional methodology varies by industry, but in every effective approach, each image answers a specific design question rather than just looking good.
Automotive Design: The Two-Board System
Automotive designers generally employ a two-board approach, as documented by professional instructor Leandro Trovati, who documents methodologies used by top designers at Porsche and Lamborghini.
The first board focuses on the user persona, defining the target driver's lifestyle, values, and aspirations through images representing their world, activities, and cultural references. This establishes an emotional connection between the design concept and the customer.
The second board curates inspiration from sources outside automotive design. Architecture provides proportion and surface transition references, while nature offers organic form language, and art and adjacent industries contribute visual rhythms and unexpected treatments to create differentiated product concepts.
Color, Material, and Finish Design: Material-Focused Methodology
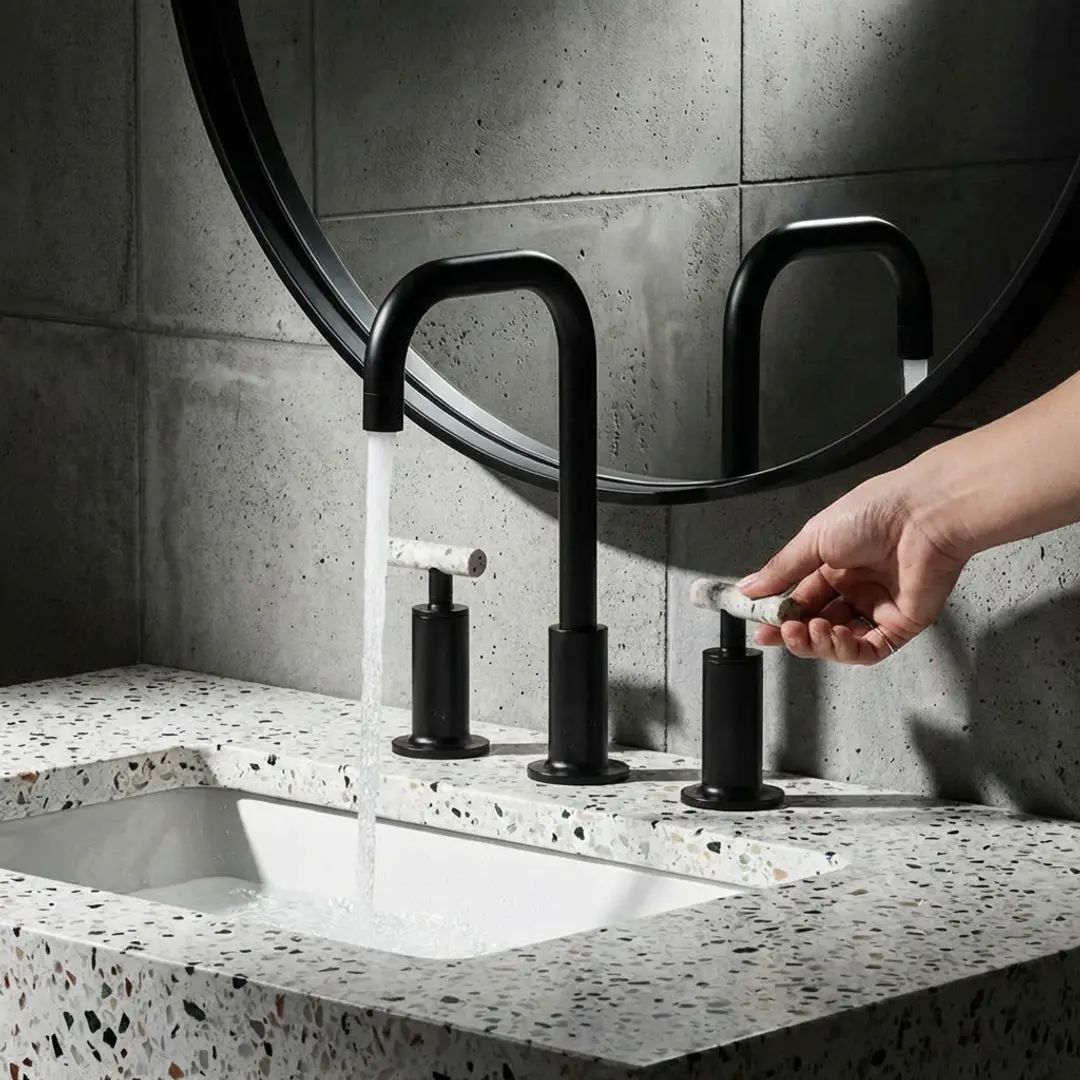
Color, material, and finish (CMF) designers usually start with lifestyle and emotional references drawn from target users or brand culture, then systematically extract color and material relationships using professional CMF methodology. This translates to specifying exact finishes like glossy, matte, or textured surface treatments that factories can reliably execute at scale and within budget constraints.
This approach ensures your sketches reference manufacturable materials with documented production feasibility during early-stage design iteration instead of aesthetic selections that may be beautiful but impossible to produce efficiently.
Footwear Design: Manufacturing-Integrated Approach
Professional footwear designers may improve sketch-to-production success rates by deliberately curating mood boards for factory feasibility, though reported success rates typically vary and are often much lower than 80%.
Professional footwear mood boards must be portable, referenced in factory settings during production visits, supporting iterative design decisions. Experienced designers sometimes develop concepts quickly, using sketches at the factory, and may prefer mood boards that emphasize feasible materials — though in practice, mood boards often combine both feasible and aspirational references.
What Are the Most Common Mood Board Mistakes?
Professional designers identify essential errors that undermine mood board effectiveness:
- Including too many irrelevant elements dilutes design direction. Each image should answer specific questions about form language, proportion, or material treatment instead of just looking visually appealing.
- Poor visual hierarchy undermines your credibility. Create intentional groupings organized by theme, color family, or design element type instead of placing elements wherever they fit.
- Skipping the editing process results in unfocused boards. Define clear objectives before collecting visual content, then curate deliberately through multiple editing passes.
- Failing to get stakeholders aligned early causes expensive rework. Present mood boards in kickoff meetings, before significant design work begins.
- Limiting source diversity constrains creative iteration and risks derivative work. If all your references come from a single design publication, your designs may fail to differentiate, which constrains creative problem-solving.
- Omitting annotations and context leaves stakeholders guessing. Add brief text annotations explaining why you chose specific elements and connecting them to project goals, user needs, or business objectives.
How Do Digital Tools and AI Integration Change Mood Board Creation?
Sketch-to-render tools accelerate iteration in modern design workflows while keeping you in control of core design decisions. In practice, designers insert AI at specific workflow stages, typically after initial conceptual development, to accelerate iteration while retaining control over core decisions.
Footwear designers document completing full workflows (sketch the last, sketch the upper/outsole, clean lines, then use AI with prompts to test materials) in one hour, supporting rapid concept validation. AI lets you visualize dozens of material combinations that would take days to render manually, while you maintain control over core design concept through traditional sketching.
AI can create a "getting stuck" phenomenon where tools intended to expand iteration paradoxically narrow creative direction if you don't carefully iterate prompts.
How Do You Build a Mood Board That Actually Improves Your Design Work?
Start by defining a clear purpose before collecting any visual content. Establish specific emotions or values your product should convey before curating your first image. This provides a filter for all subsequent curation decisions.
Curate deliberately. Follow a progressive curation process:
- Initial research: Collect broadly, saving anything potentially relevant
- First editing pass: Remove content that doesn't directly support your stated objectives
- Second pass: Further refinement to identify truly essential references
- Final review: Confirm each element answers specific design questions
This progressive refinement forces you to identify which references truly matter versus which just looked interesting before committing to detailed sketching.
Invest in a thoughtful layout that explicitly shows relationships between components. Create intentional groupings organized by theme, color family, or design element type. Before collecting images, define the emotional qualities and design values your product should convey. Extract primary colors from your selected images using digital eyedropper tools and display them as a defined palette directly on the board.
For professional product design contexts like automotive and footwear, supplement color palettes with material samples, finish specifications (glossy, matte, textured), and context images showing materials in real-world use that inform sketch-to-CAD transitions. This multi-layered approach moves your mood board from aesthetic inspiration to manufacturing-ready specifications that guide both sketching decisions and production feasibility.
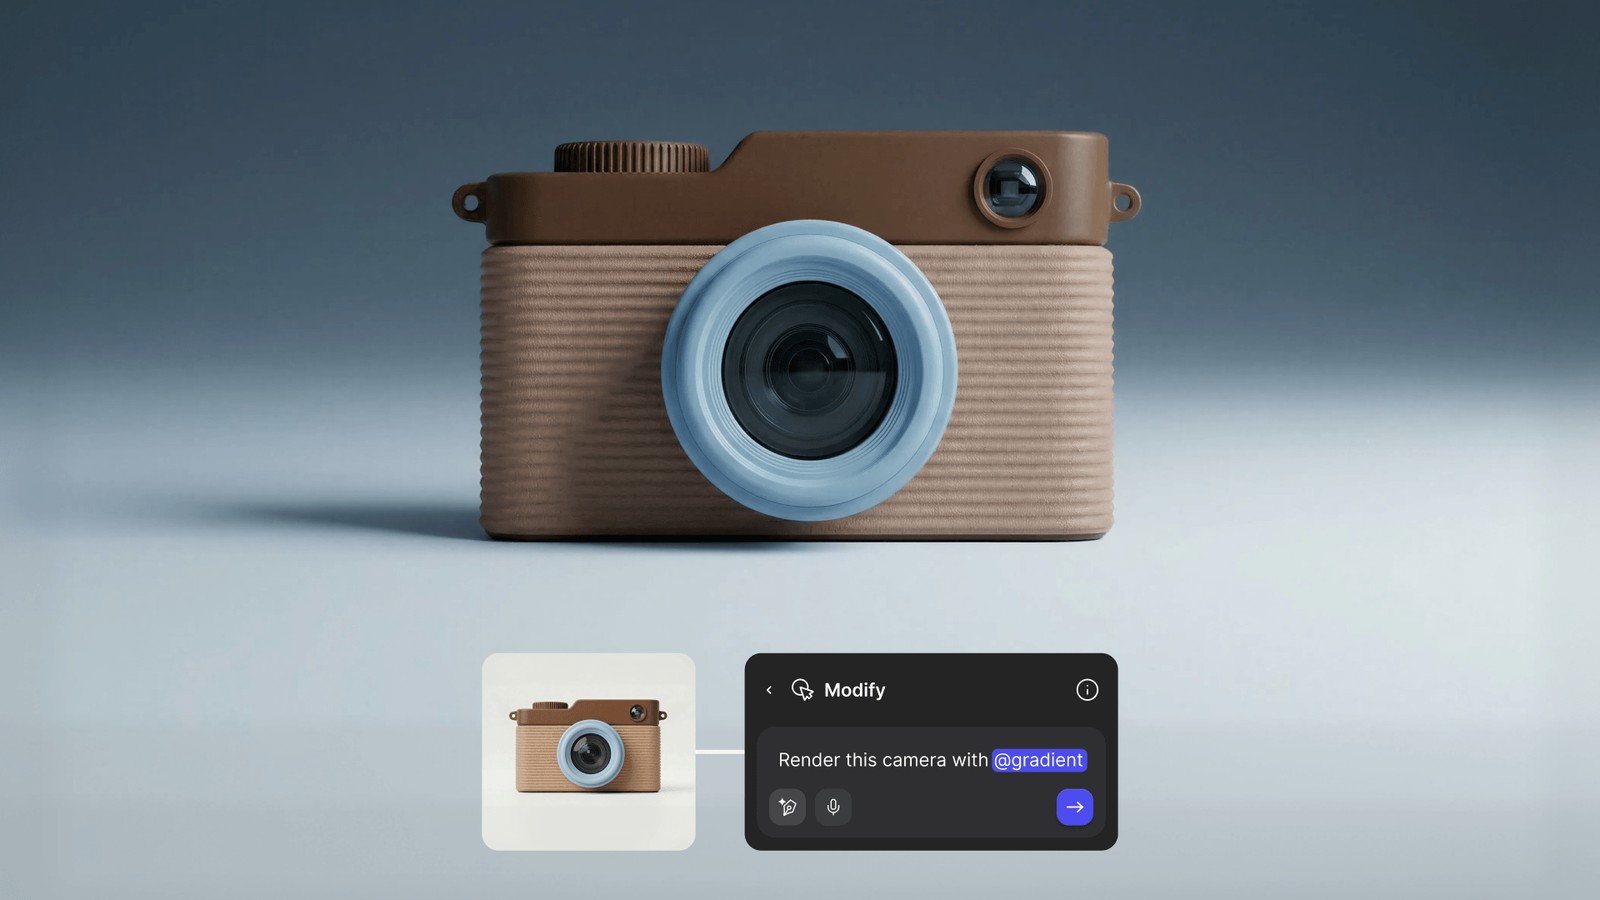
The Render feature lets you test whether material treatments from your mood board actually work on your geometry in seconds instead of hours. When you're building mood boards, the Color Match feature removes the wait between collecting inspiration and validating those exact color selections on your specific product. Color Match maintains exact color consistency from sketch to render, which matters for CMF work where you need to apply exact material combinations across multiple concept variations.
Present mood boards early for stakeholder coordination. Show them in discovery or kickoff meetings before you've committed to specific concepts. This prevents the common scenario where you develop concepts based on assumptions about aesthetic direction, only to discover during review that stakeholders envisioned something completely different.
Include annotations explaining why you chose specific elements and how they connect to project goals. This practice directly supports professional mood board methodology, where thorough research, original imagery, and clear annotations create resources that keep you and your clients coordinated throughout your design process.
Start Using Mood Boards Effectively
Mood boards work when they establish clear visual parameters that guide sketching without constraining iteration. Industry approaches differ, but references that answer design questions create better foundations than aesthetic inspiration alone.
Digital tools permit faster iteration on material iteration and concept visualization. However, this speed only helps after you've done the foundational work of defining what you're communicating, who you're designing for, and what constraints matter. This clarity ensures tools amplify your design intent instead of accelerating unfocused iteration.
Start by defining clear emotional direction, curate deliberately, then test whether those material selections actually work on your geometry before committing to detailed CAD.
Try Vizcom to build mood boards directly in Workbench — an infinite canvas where you and your team can collect references, annotate design decisions, and stay aligned throughout the project.
Explore
Explore more blog posts & resources to get inspired
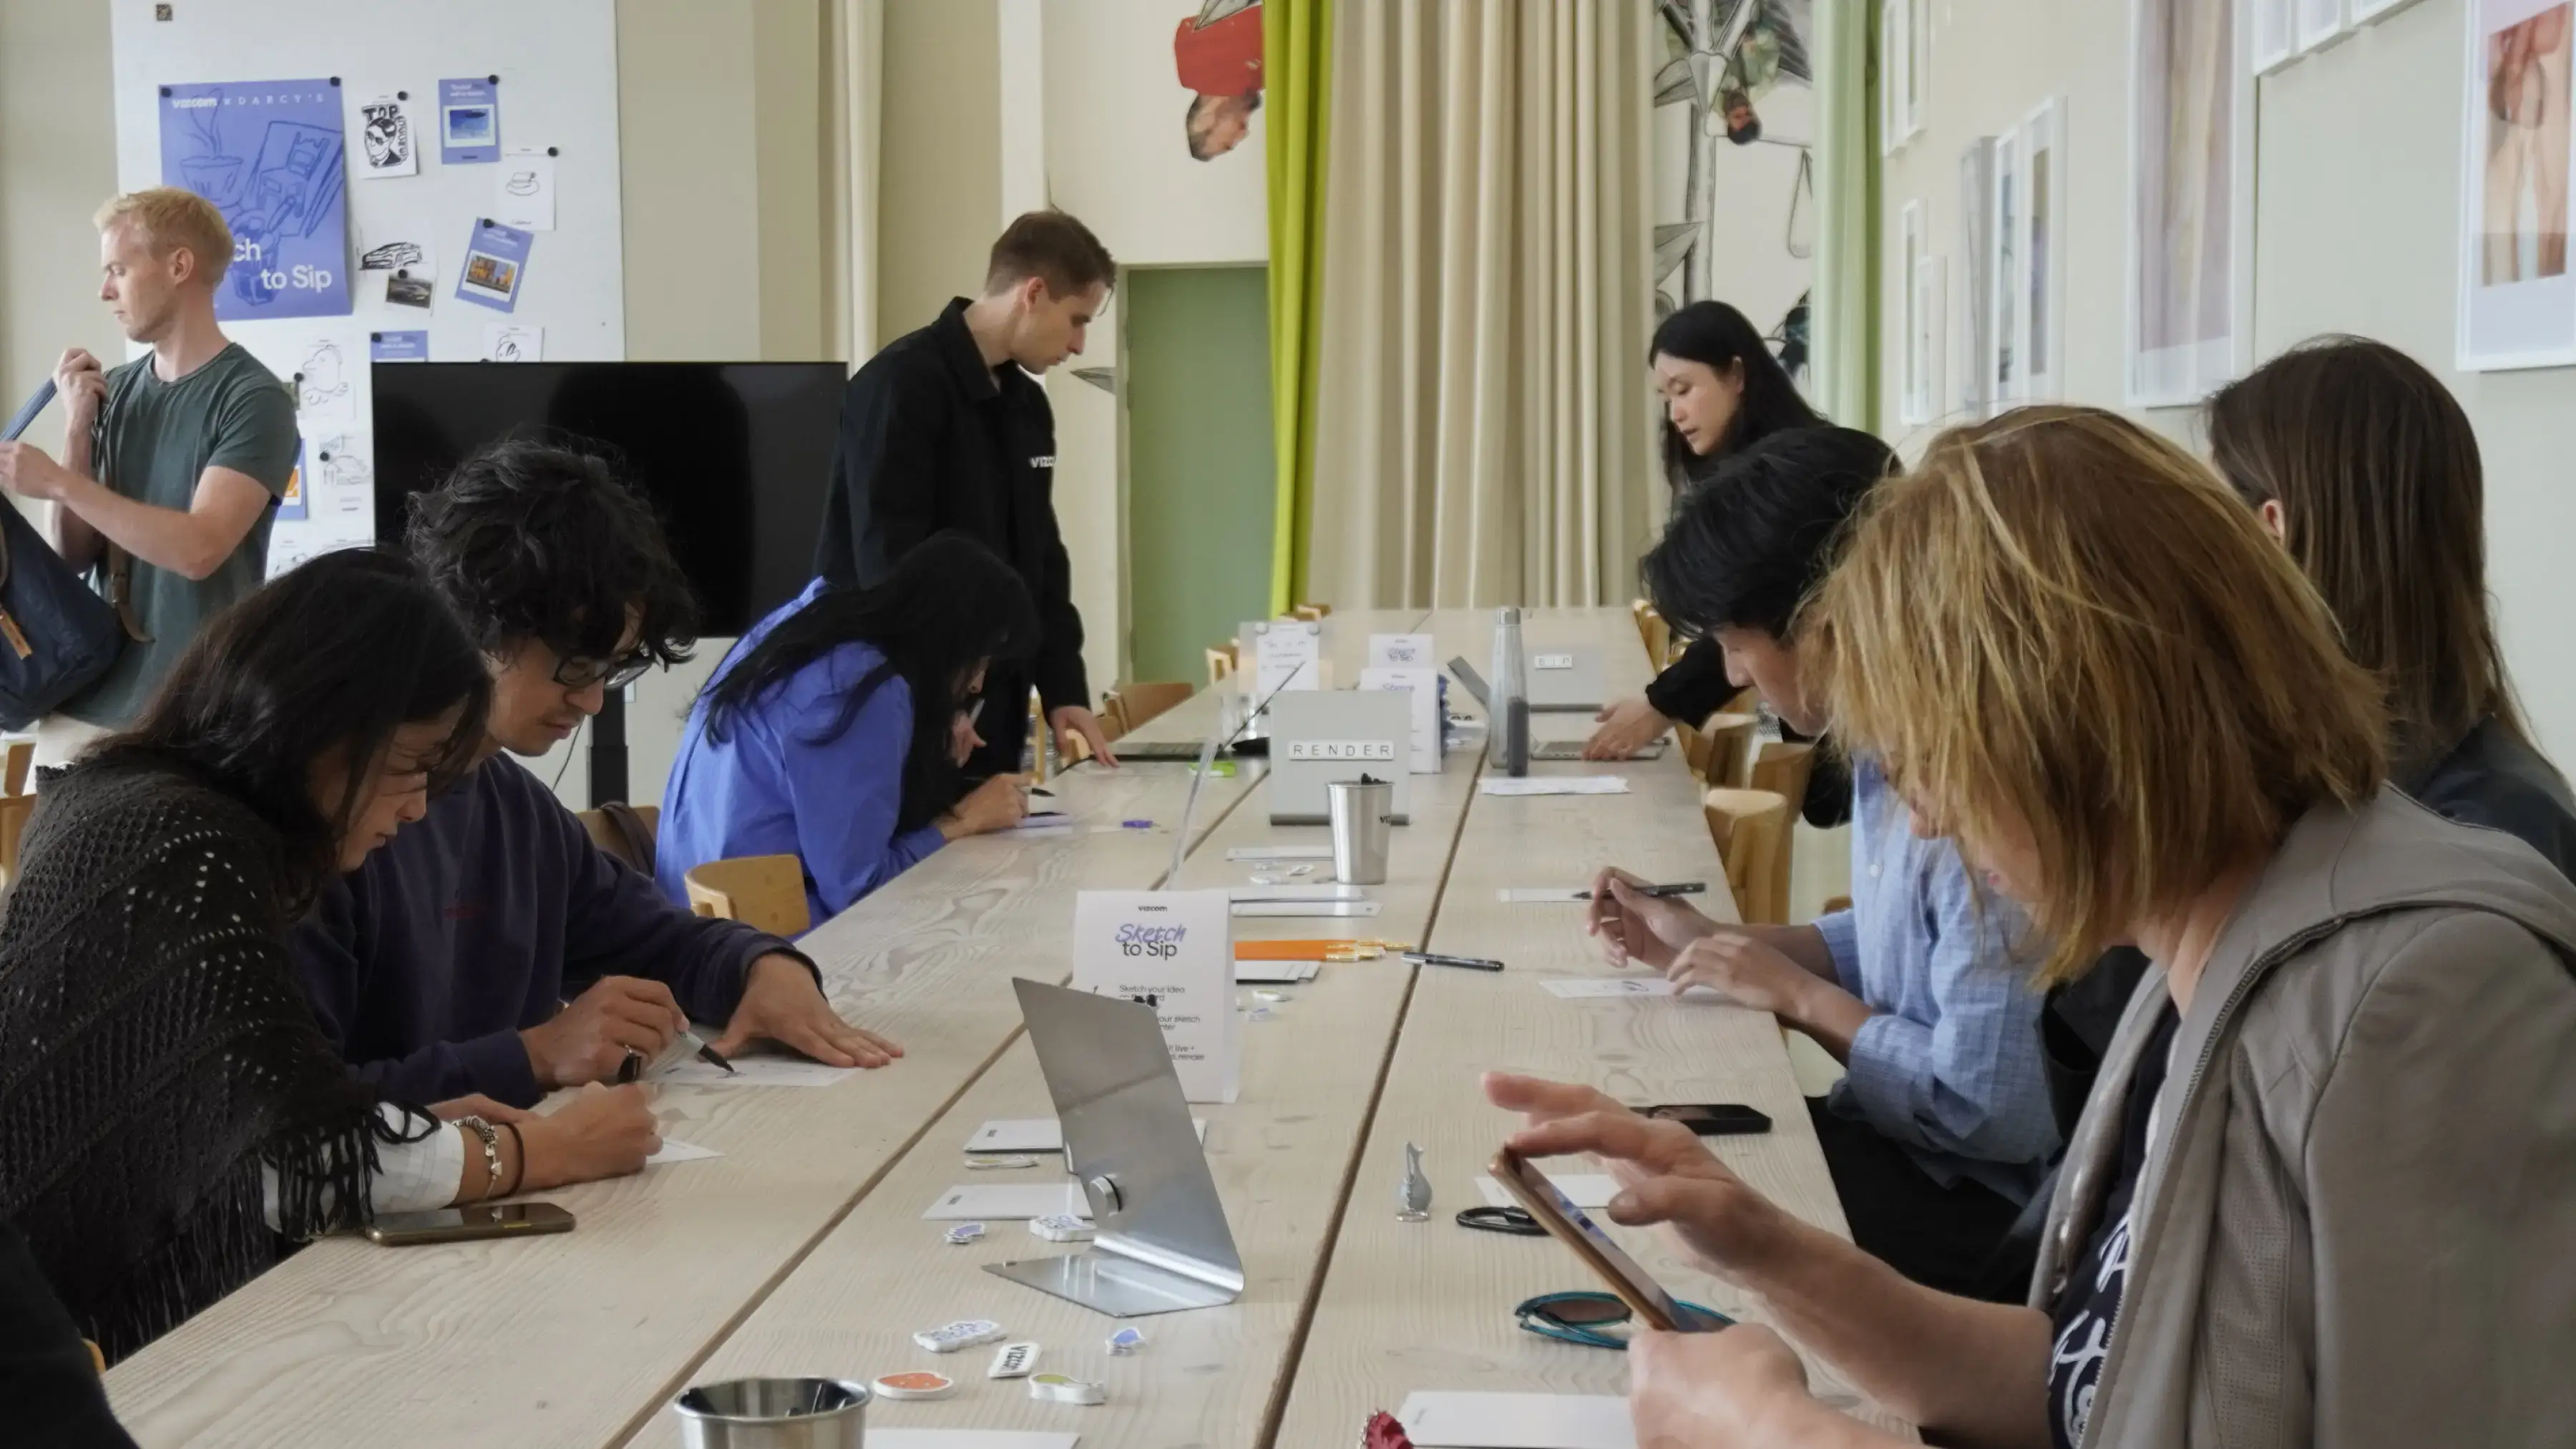
For one day during 3DaysofDesign in Copenhagen, Darcy's Cafe ran on a different currency — a sketch. Draw it, we'd render it live in Vizcom, and you'd walk out with a print — coffee included.
See how Kohler's industrial design team uses Vizcom to save time, speed up workflows, and create better work.
Explore the designs of Vizcom's San Francisco Design Week exhibition where furniture, footwear, lighting, and automotive concepts come to life through AI-powered visualization. Follow along as designers share the stories, sketches, and tools behind every piece on display.
Frequently asked questions
Yes of course! Our starter plan is completely free, no credit card required. This is a great plan to explore vizcom with.
We accept all major credit and debit cards.
Admins (paid) – can edit files, manage workspace settings, billing, teams, and invite members. Editors (paid) – can edit files but not manage settings, billing, or teams. Viewers (free) – can only view files in read-only mode.
Team billing is handled centrally by the Admin. All paid seats, whether Admins or Editors, are included in a single invoice under the same billing cycle, while Viewers remain free and do not affect the cost.
Yes, you can. An Admin can update the plan in the billing settings, and the switch will take effect on the next billing cycle at the annual rate.
Yes, you own everything you create in Vizcom. For free users, while Vizcom may use generated images to improve its services, it does not claim ownership of your designs, concepts, or original ideas—you keep full rights to them. For paid users, your images and designs remain entirely private and are only used to deliver the service. Every design, concept, and image you create or upload is fully yours and kept confidential.
Vizcom does not use your data to train AI models if you’re on a paid plan. Everything you create stays private and is only used to provide the service. Free users may have their generated images included to help improve Vizcom’s services, but even then, Vizcom does not claim ownership of your designs, concepts, or original ideas—you retain full rights.