.jpg)
Iterative Design Process: How Small Changes Lead to Better Products
Learn the 5 stages of the iterative design process and how repeated cycles of prototyping, testing, and refinement lead to better products.

Every designer knows the feeling: you're three concepts deep, deadline looming, and something tells you the best solution is still out there, buried in a direction you haven't had time to explore. Traditional workflows make this trade-off feel inevitable.
But what separates good products from great ones often comes down to how many ideas you can genuinely evaluate before committing. The iterative design process gives structure to that exploration, turning the back-and-forth of sketching, testing, and refining into an advantage.
What Is the Iterative Design Process?
The iterative design process is a cyclical methodology where designers prototype, test, analyze, and refine their work repeatedly until the product meets user needs and project goals.
If you're a designer, you probably already iterate intuitively. You sketch something, it feels wrong, so you try again. Maybe the proportions are off, or the form language doesn't match what you're seeing in your head.
This back-and-forth is where the actual work happens.
Rather than attempting to design the perfect solution on the first try, you create a version, learn from it, and improve, with each iteration building on lessons from the previous one.
The iterative design process simply formalizes what you're already doing, giving structure to the exploratory phase of design work. It also stands in contrast to linear approaches, where requirements are locked up front, and changes can be expensive.
Traditional methods assume you can predict everything before you begin. Iteration, on the other hand, assumes requirements will evolve as you learn, and that flexibility is a feature rather than a flaw.
Why Is Iterative Design Important for Product Development?
The iterative design process is important because it mirrors the way strong design is achieved. No initial version of a product is perfect. Each round of feedback, testing, and revision (i.e., each iteration) becomes an opportunity to improve your product and ultimately reach a well-refined solution.
In fact, according to MIT Professional Education, the most common reason roughly 95% of new products fail is that organizations don't take their customers' needs into account when launching. Iteration addresses this directly by building continuous feedback into the development process.
Another reason iterative design is important is that small, incremental changes catch problems early on, making them cheaper to fix. Discovering that your chair’s ergonomics don't work during the sketch phase costs little to nothing. But discovering the same flaw after you’ve mass-produced your product will be a more costly fix.
That said, to consistently catch these issues early, designers need to explore a wide range of options. The more variations you can test, the greater the chance you’ll uncover a flaw or an opportunity before it becomes expensive to address. However, traditional design workflows slow this process down, often limiting teams to just five to ten design revisions within a project timeline.
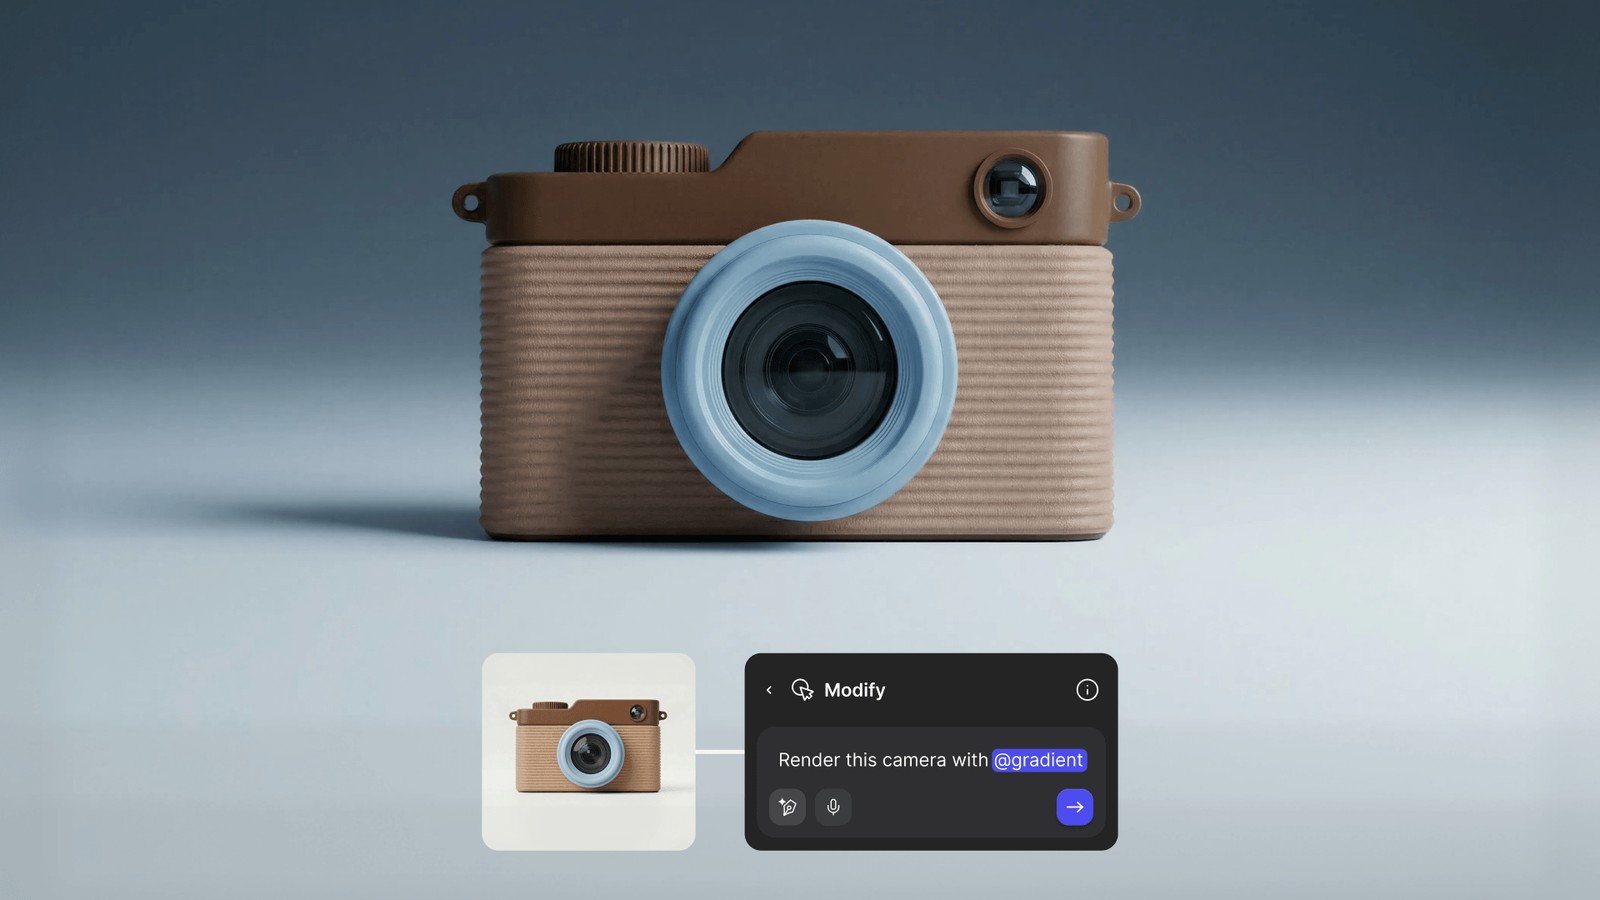
Tools that speed up visualization and prototyping expand this exploration window. When designers can generate and compare 50, 100, or more directions at the same pace, they greatly increase their chances of identifying both problems and promising ideas. Vizcom supports this broader exploration by showing design variations in real time as designers sketch.
<iframe width="560" height="315" src="https://www.youtube.com/embed/HouFu_ogiLk?si=9z324a6EnfoocMCL" title="YouTube video player" frameborder="0" allow="accelerometer; autoplay; clipboard-write; encrypted-media; gyroscope; picture-in-picture; web-share" referrerpolicy="strict-origin-when-cross-origin" allowfullscreen></iframe>
The Five Stages of the Iterative Design Process
Most iterative frameworks follow five core stages:
1. Research and Requirements
Every iteration cycle begins with understanding the problem you're solving. This means identifying user needs through research, whether that's user interviews, competitive analysis, or stakeholder conversations. What does your audience actually need? What constraints are you working within? What are your timeline, budget, or technical limitations? Do you have brand guidelines?
This foundation remains constant across iterations. Your goals don't change with each cycle, but your solutions evolve to meet them more effectively.
2. Ideation and Concept Development
With requirements defined, you generate design directions. Quantity matters here more than quality. Sketch loosely without obsessing over details and test different form languages, proportions, and approaches on paper before investing hours in any single concept.
This stage creates tension that every designer knows: the pull between wanting to polish one promising concept versus exploring many options. Resist the urge to commit too early. Each sketch is a hypothesis that answers the question, "Will this form solve the user's problem?" And you need multiple hypotheses to find the right answer.
3. Prototyping
Prototyping transforms concepts into something testable. This could mean paper mockups, digital renders, 3D models, or physical samples; whatever representation lets you evaluate whether the design is working.
Fidelity should match your current questions. Early iterations might use rough sketches to test overall direction. Later iterations might require photorealistic renders to evaluate material choices and surface finishes.
This is where traditional workflows hit a bottleneck. Rendering a single concept can take four to eight hours using conventional methods, which limits how many directions you can realistically explore. But, AI-powered design tools can reduce product development cycle times by up to 70% when used properly throughout the development lifecycle. Render mode in Vizcom, for instance, lets designers visualize concepts rapidly, transforming quick sketches into photorealistic images.
4. Testing and Feedback
With a prototype in hand, gather feedback. Present your work to users, stakeholders, clients, or colleagues and observe their reactions. What confuses them? What excites them? Where do they hesitate?
The key is listening to what people are actually struggling with rather than just accepting their suggested solutions. A client who says they want something "more modern" might really be worried their product will look dated next to competitors.
Testing can mean usability testing with target users, client review sessions, internal design critiques, or A/B testing between variations. Whatever method you choose, document insights systematically. Take note of what worked, what didn't, and what surprised you the most.
5. Evaluation and Refinement
The final stage asks a simple question: Does this iteration get us closer to our goals? To answer that question, analyze feedback against your original requirements and figure out what needs to change.
Make targeted improvements based on what you learned and resist the temptation to change everything at once. Changing too many elements simultaneously prevents you from knowing which adjustments helped and which caused setbacks.
After evaluating the changes, decide on whether you need to iterate again with refinements, move toward production, or pivot to an entirely different direction if the current path isn't working.
How Do Designers Use Iterative Design? Real-World Examples
Consider smartphone evolution. Each generation refines camera placement, screen-to-body ratio, and button layout based on how millions of users actually interact with the previous version. No single model represents a final answer; each is an iteration informed by real-world data.
Automotive design follows similar patterns. A concept car goes through dozens of iterations before reaching production, with designers refining form language, interior ergonomics, and manufacturing feasibility at each stage. What starts as a clay model becomes a prototype, then a pre-production vehicle, with feedback loops at every transition. Companies like Ford use Vizcom to accelerate concept visualization and explore more design directions before committing to expensive tooling.
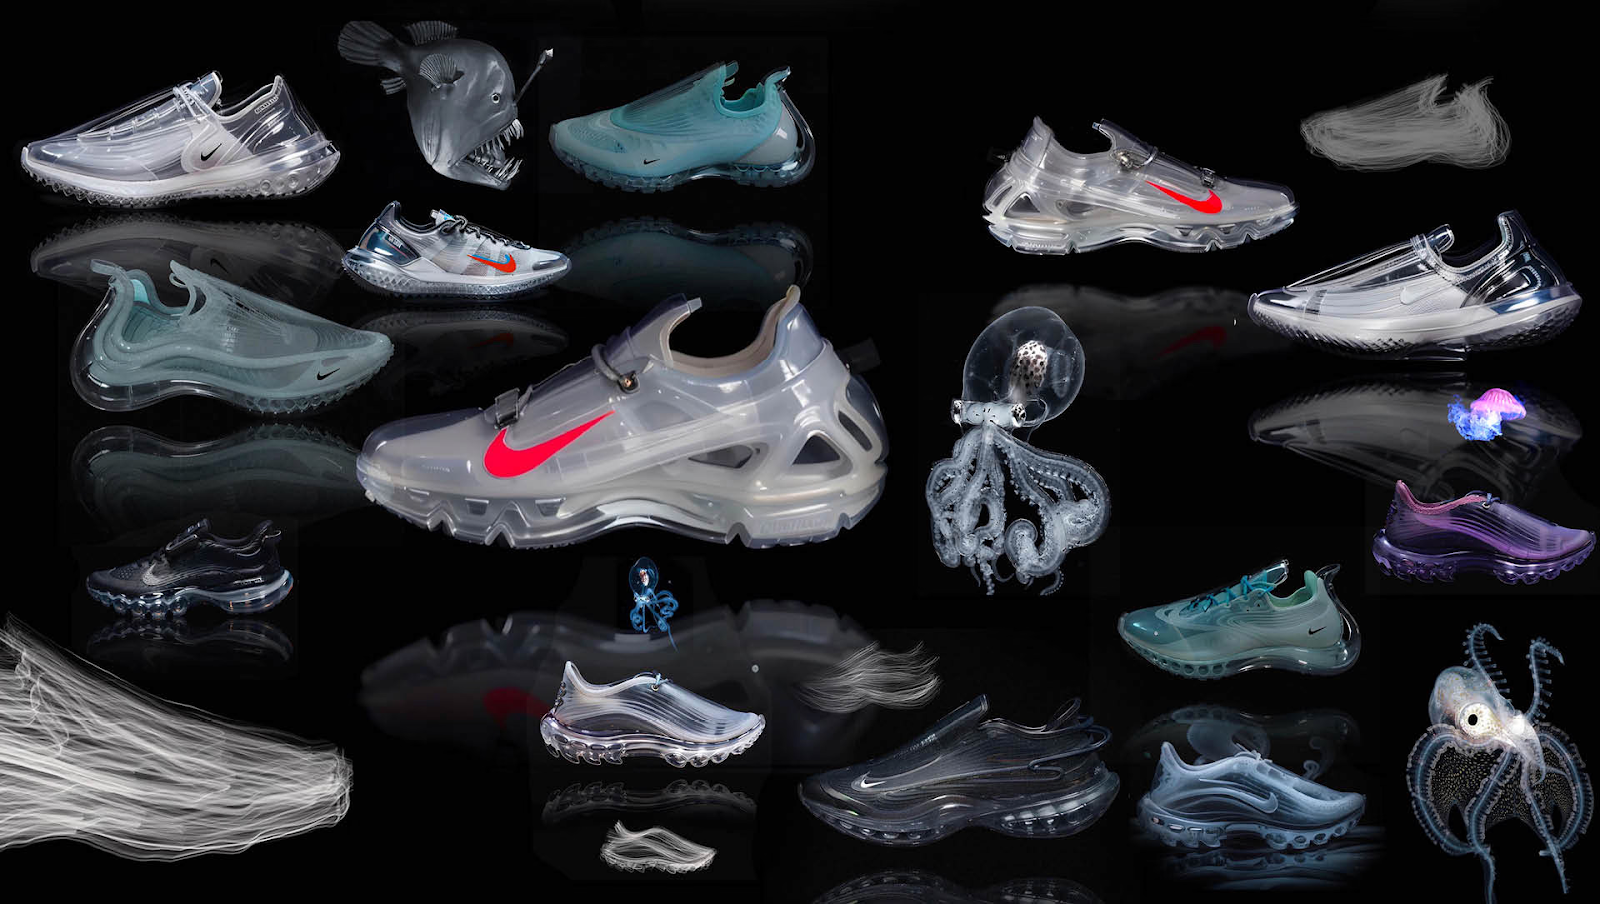
Footwear development cycles through wear-testing prototypes, adjusting cushioning systems, fit, and materials based on athlete feedback. Footwear designer Dennis Johann Mueller describes his iterative workflow as starting with hand-drawn sketches in Procreate, then moving into Vizcom Render to polish concepts or explore new directions. He treats each rendering not as a final destination but as another step in the creative conversation, noting details that might blend with other designs, shapes, or materials later.
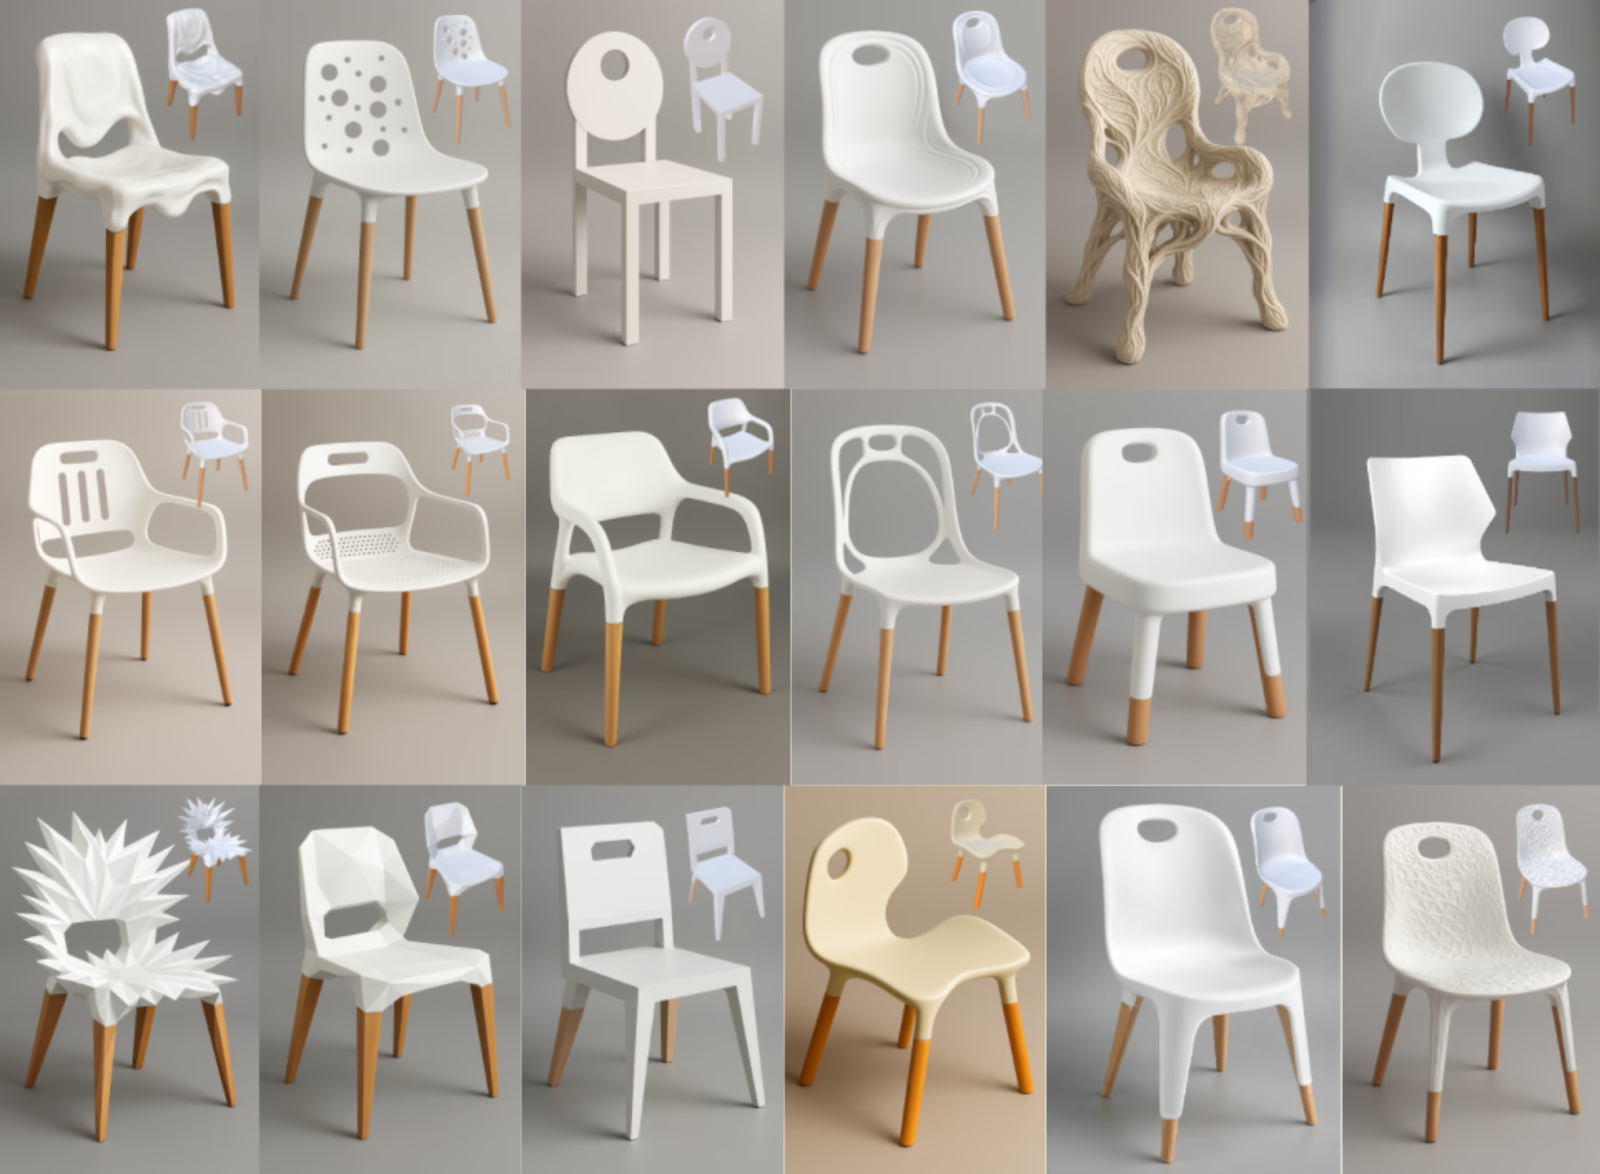
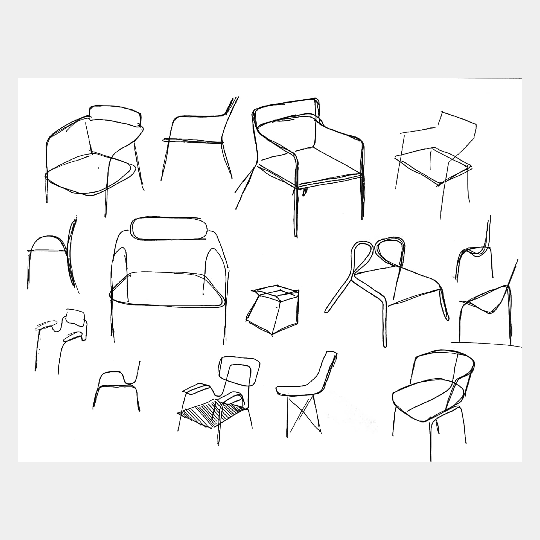
Furniture design offers another window into iteration at work. Claas Kuhnen, an educator at Wayne State University, demonstrated a playful chair design workflow that shows how quickly ideas can evolve when tools don't slow you down. Starting from a simple photo reference, he used Live Render to explore variations in real time, then pushed concepts further with multi-view 3D and Modify features in Vizcom.
That same iterative spirit drove a 48-hour chair design exploration by Vizcom team member Chris, who took a concept from initial sketch all the way to 3D print. The compressed timeline forced constant decision-making: sketch, render, evaluate, refine. Each iteration revealed what worked and what needed adjustment, with the physical prototype serving as the final test of whether the design held up in the real world.
Turning Iteration into Your Competitive Advantage
The designers who iterate most effectively, who can move from sketch to evaluation and back again quickly, have a structural advantage over those stuck in slower workflows.
Take a hard look at your own process. Where are the bottlenecks that slow your iteration cycles? Is it rendering time? Feedback turnaround? Decision-making delays? Each bottleneck you remove multiplies your capacity to explore and refine.
As AI-powered tools continue to reduce visualization time, the gap between fast iterators and slow ones will widen. Vizcom accelerates the exploratory phase of design, taking you from sketch to photorealistic render quickly.
Ready to accelerate your design iteration? Try Vizcom and see how AI-powered rendering can help you explore more concepts, gather feedback faster, and bring better products to market.
Explore
Explore more blog posts & resources to get inspired
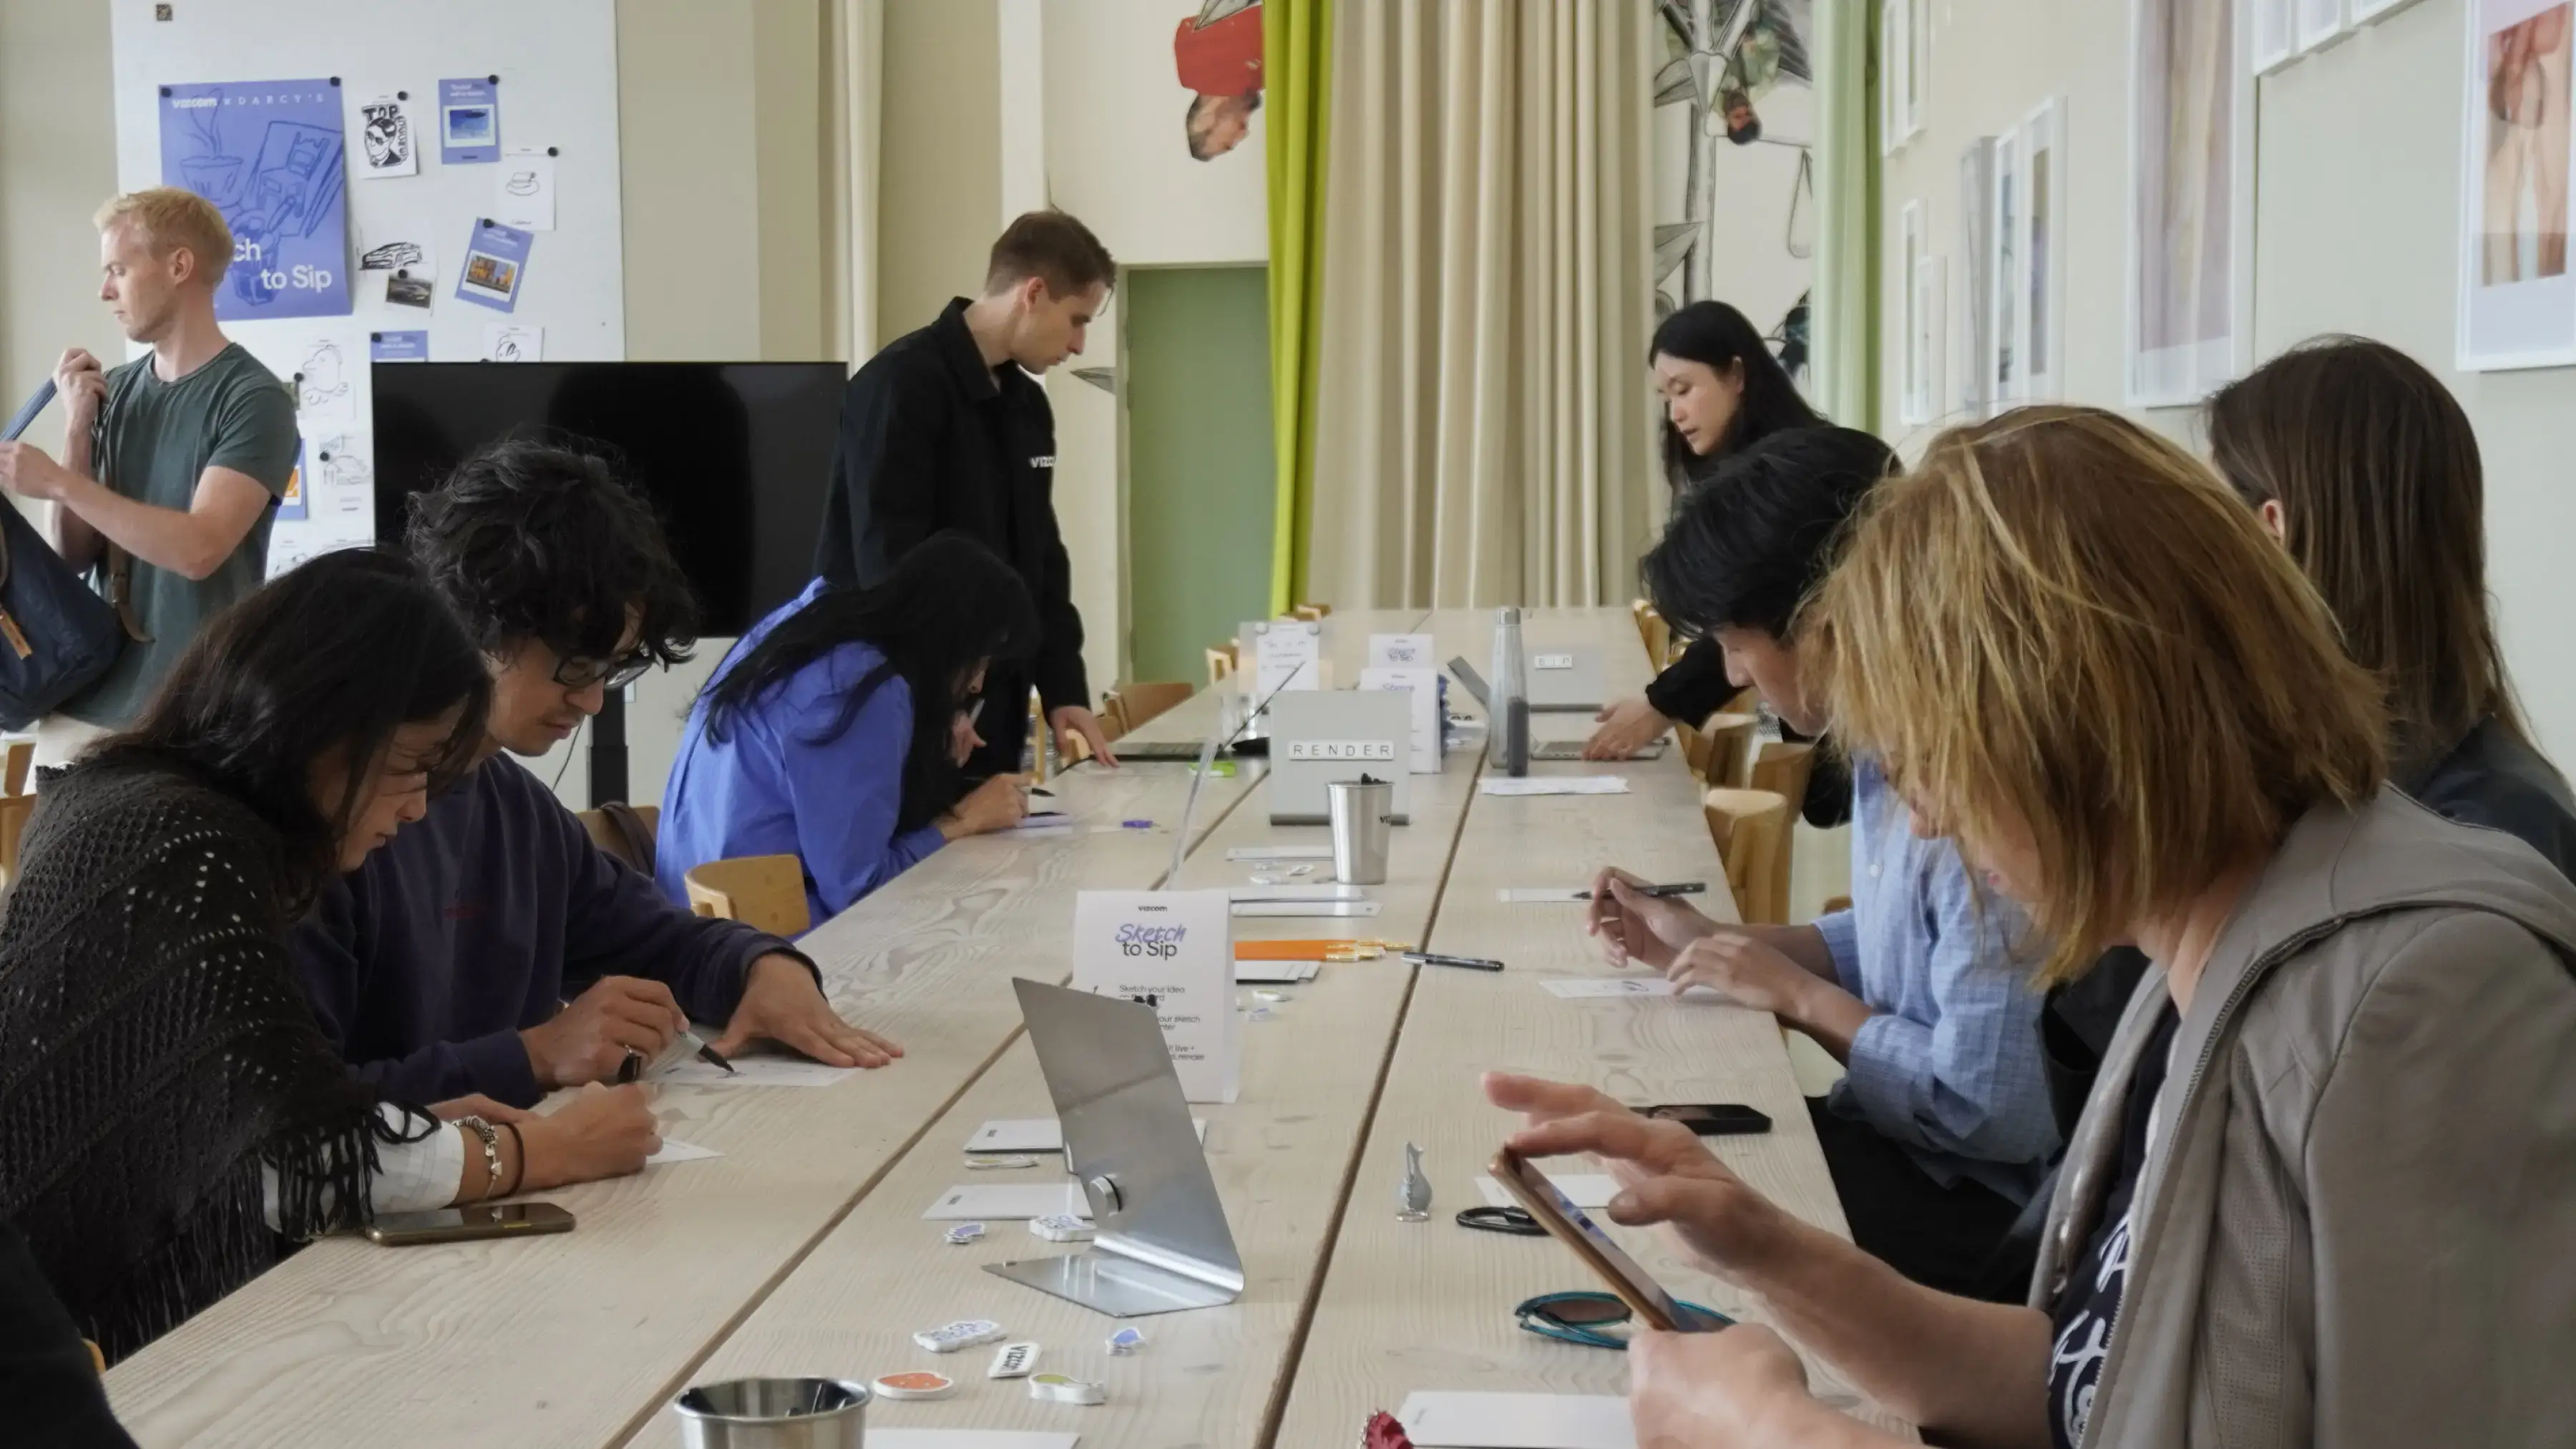
For one day during 3DaysofDesign in Copenhagen, Darcy's Cafe ran on a different currency — a sketch. Draw it, we'd render it live in Vizcom, and you'd walk out with a print — coffee included.
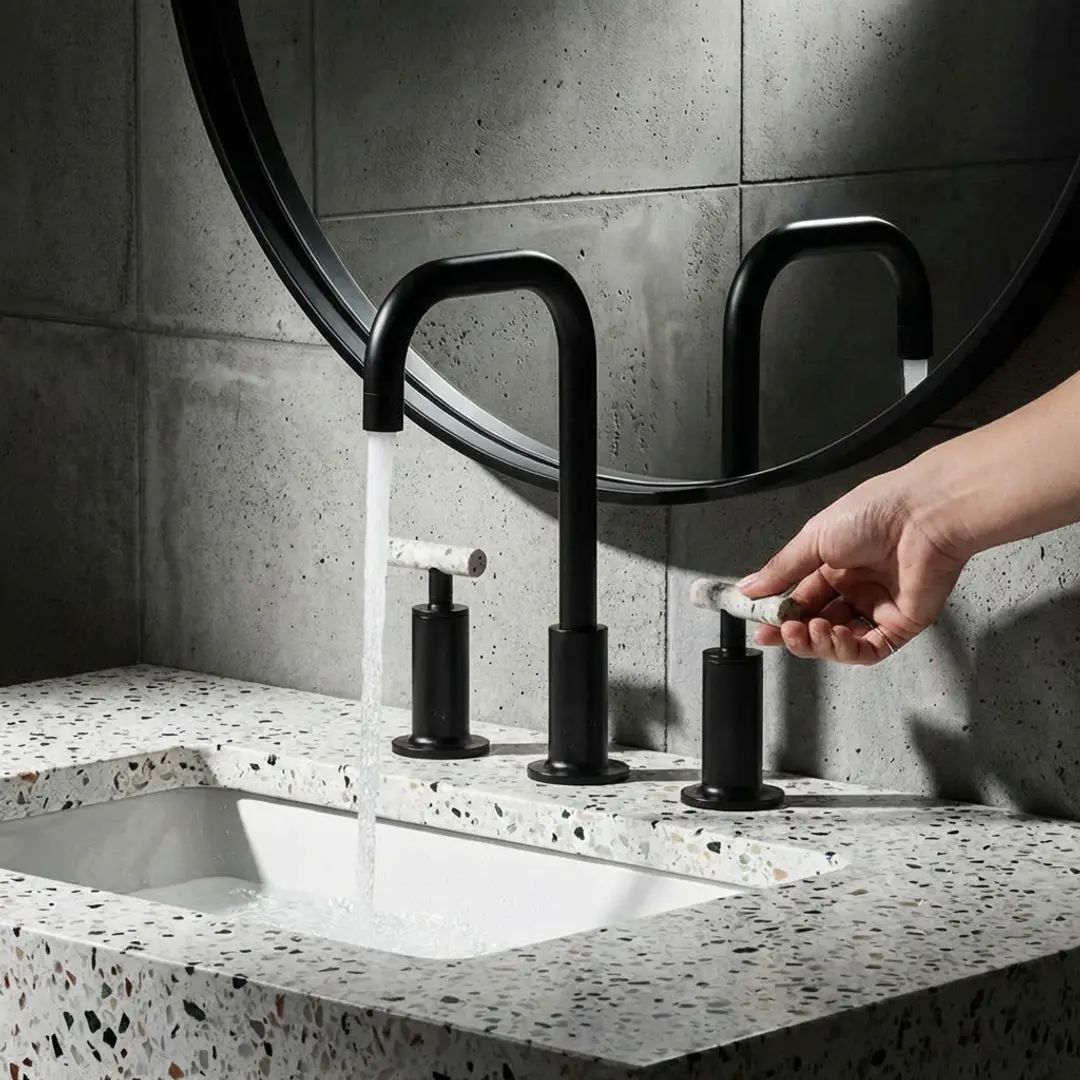
See how Kohler's industrial design team uses Vizcom to save time, speed up workflows, and create better work.
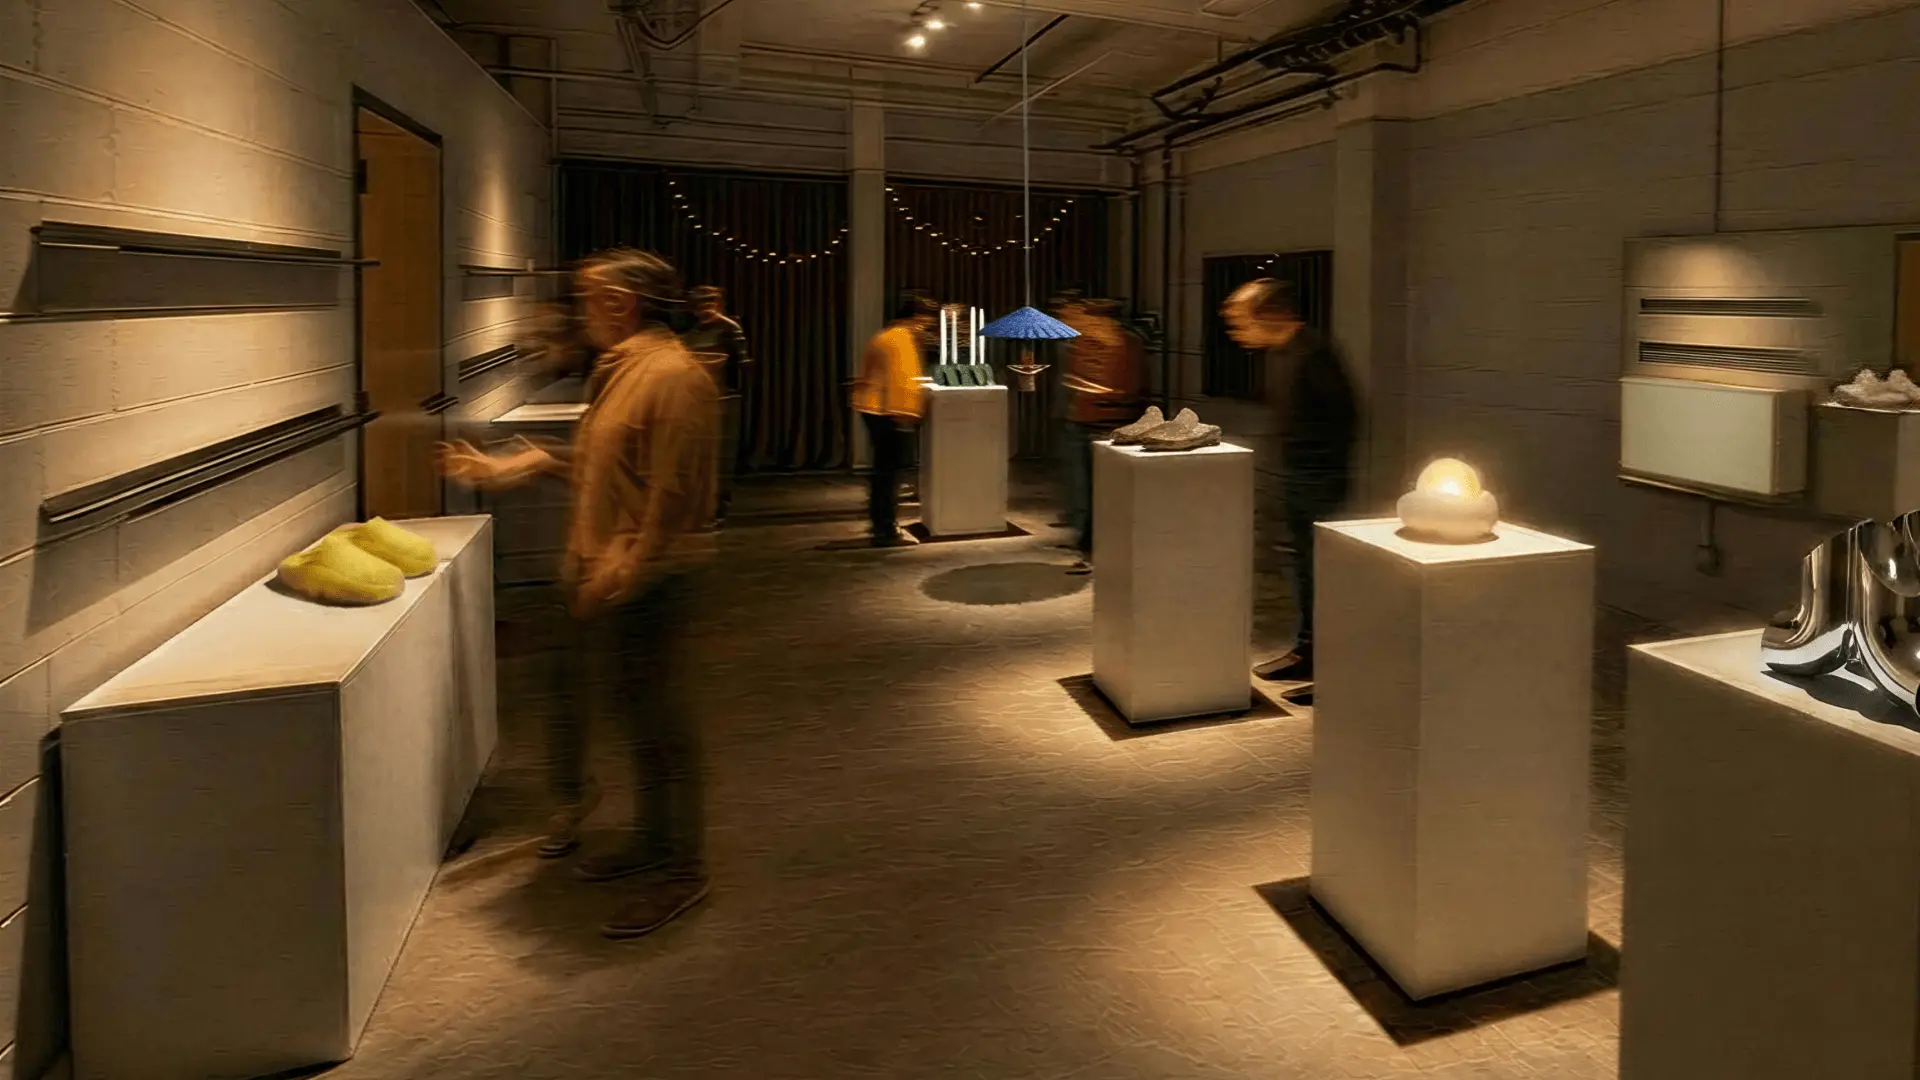
Explore the designs of Vizcom's San Francisco Design Week exhibition where furniture, footwear, lighting, and automotive concepts come to life through AI-powered visualization. Follow along as designers share the stories, sketches, and tools behind every piece on display.
Frequently asked questions
Yes of course! Our starter plan is completely free, no credit card required. This is a great plan to explore vizcom with.
We accept all major credit and debit cards.
Admins (paid) – can edit files, manage workspace settings, billing, teams, and invite members. Editors (paid) – can edit files but not manage settings, billing, or teams. Viewers (free) – can only view files in read-only mode.
Team billing is handled centrally by the Admin. All paid seats, whether Admins or Editors, are included in a single invoice under the same billing cycle, while Viewers remain free and do not affect the cost.
Yes, you can. An Admin can update the plan in the billing settings, and the switch will take effect on the next billing cycle at the annual rate.
Yes, you own everything you create in Vizcom. For free users, while Vizcom may use generated images to improve its services, it does not claim ownership of your designs, concepts, or original ideas—you keep full rights to them. For paid users, your images and designs remain entirely private and are only used to deliver the service. Every design, concept, and image you create or upload is fully yours and kept confidential.
Vizcom does not use your data to train AI models if you’re on a paid plan. Everything you create stays private and is only used to provide the service. Free users may have their generated images included to help improve Vizcom’s services, but even then, Vizcom does not claim ownership of your designs, concepts, or original ideas—you retain full rights.