
Fashion Design Portfolio: Showing Process, Not Just Final Looks
Build a fashion portfolio that proves you can design, not just style. Create mood boards, sketch evolutions, and other designs hiring managers want to see.
Your fashion design portfolio needs to demonstrate how you think, not just what you can produce. Hiring managers see dozens of portfolios filled with polished final shots and perfectly styled garment photos. Those images prove you can finish projects, but they reveal nothing about how you solve design problems.
Show the work that happens before the final garment exists. Include mood boards that trace concept development, early sketches with crossed-out ideas, iterations that didn't make the cut, and technical documentation proving you understand production constraints. This demonstrates you can work through uncertainty without constant direction.
How To Document Research and Inspiration
Research documentation separates designers who make intentional choices from those who make arbitrary ones. When you show how inspiration translates into design decisions, you prove your work comes from rigor rather than personal preference.
Mood Boards That Show Connections
Effective mood boards connect disparate inspiration sources into a cohesive design direction.
The strongest boards combine magazine clippings, photographs, color swatches, and actual fabric samples. You need physical materials, not just pretty pictures. Fashion design requires understanding how textiles drape, how fabrics move, and how texture translates to the final garment.
Show clear connections from inspiration to final design. Create visual flow diagrams or annotated layouts showing how specific elements (architectural details, art movements, natural forms) translate into concrete choices (silhouettes, construction techniques, embellishment details).
Fabric and Material Samples
Mount physical fabric samples directly on your portfolio pages. If you're working digitally, scan them at 300-600 DPI to capture texture and weight. Flat photos don't communicate the same information.
Include technical specifications alongside your swatches, like fiber content, fabric weight, and weave structure. This proves your material knowledge goes beyond aesthetics.
Color Palette Development
Your color palette needs to develop visibly through your entire research and design workflow.
Include both digital swatches and material samples showing how colors translate from screen to physical materials. Add standardized color codes (Pantone, CMYK, RGB) alongside visual samples, proving you can communicate precise specifications to manufacturers.
How To Show Sketch Evolution
Ideas develop through distinct stages, each revealing different aspects of your design thinking. Your portfolio needs both early rough sketches and refined illustrations. They demonstrate different capabilities.
Early Concept Sketches
Early sketches prove you can generate multiple ideas quickly and explore diverse directions before committing. The rough exploration stage shows you won't get stuck on your first idea.
Most portfolios only show refined work. This makes it look like you can execute someone else's vision but can't generate ideas yourself.
Refined Illustrations vs. Technical Flats
Fashion illustrations convey creative vision through styled presentations: how designs look when worn, how fabrics drape and move, how pieces work together in a collection.
Technical flat sketches communicate construction specifications for manufacturing. Two-dimensional drawings showing garments as if laid flat, with clear construction information: seam placement, topstitching details, hardware specifications, trim positioning, and exact proportions.
You need both. Hiring managers evaluate creative vision separately from technical execution capability. Present both types side by side for major pieces.
Testing Materials Faster
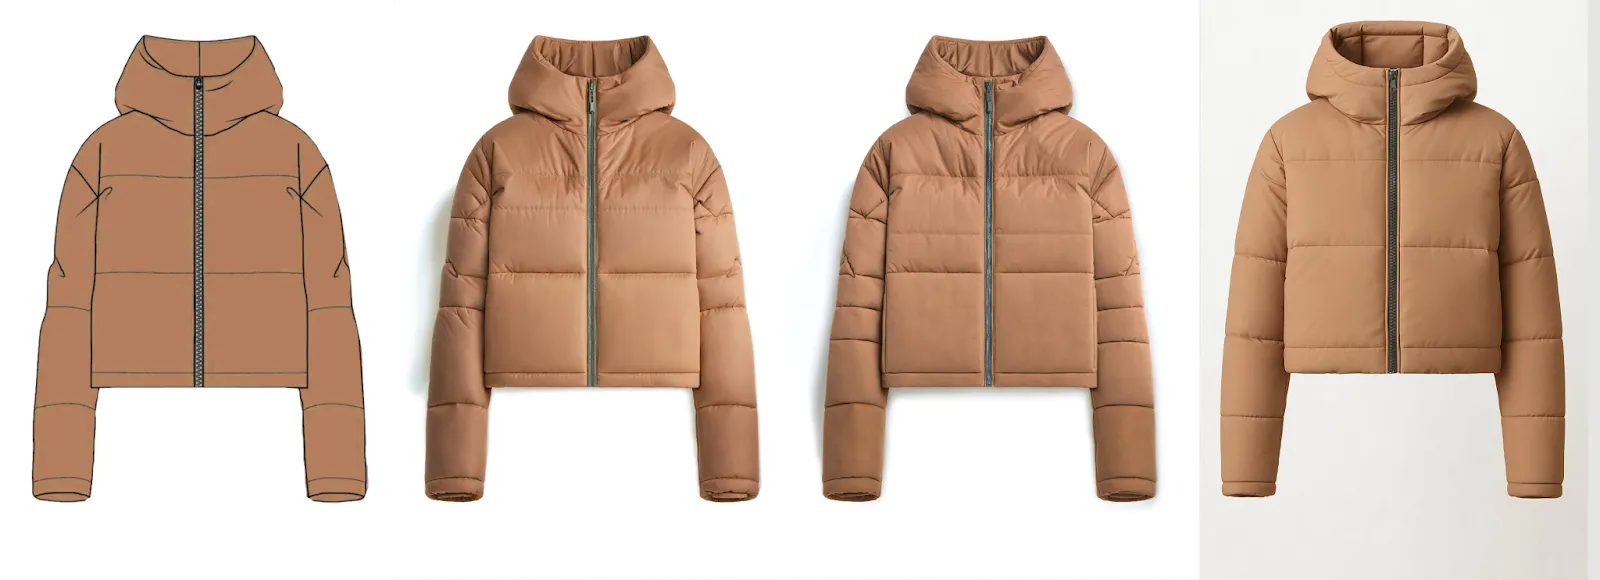
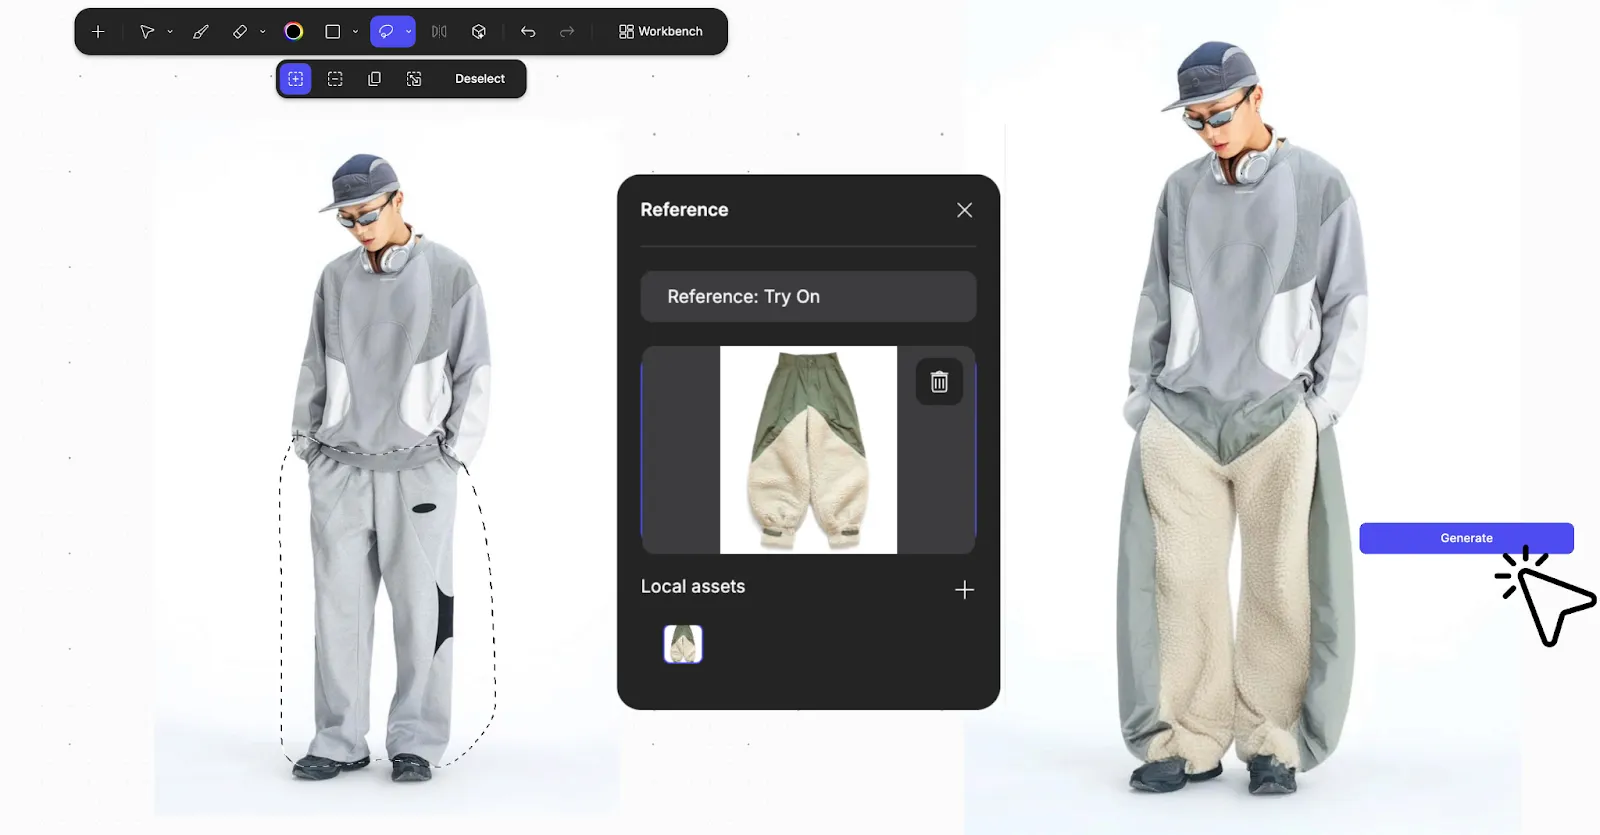
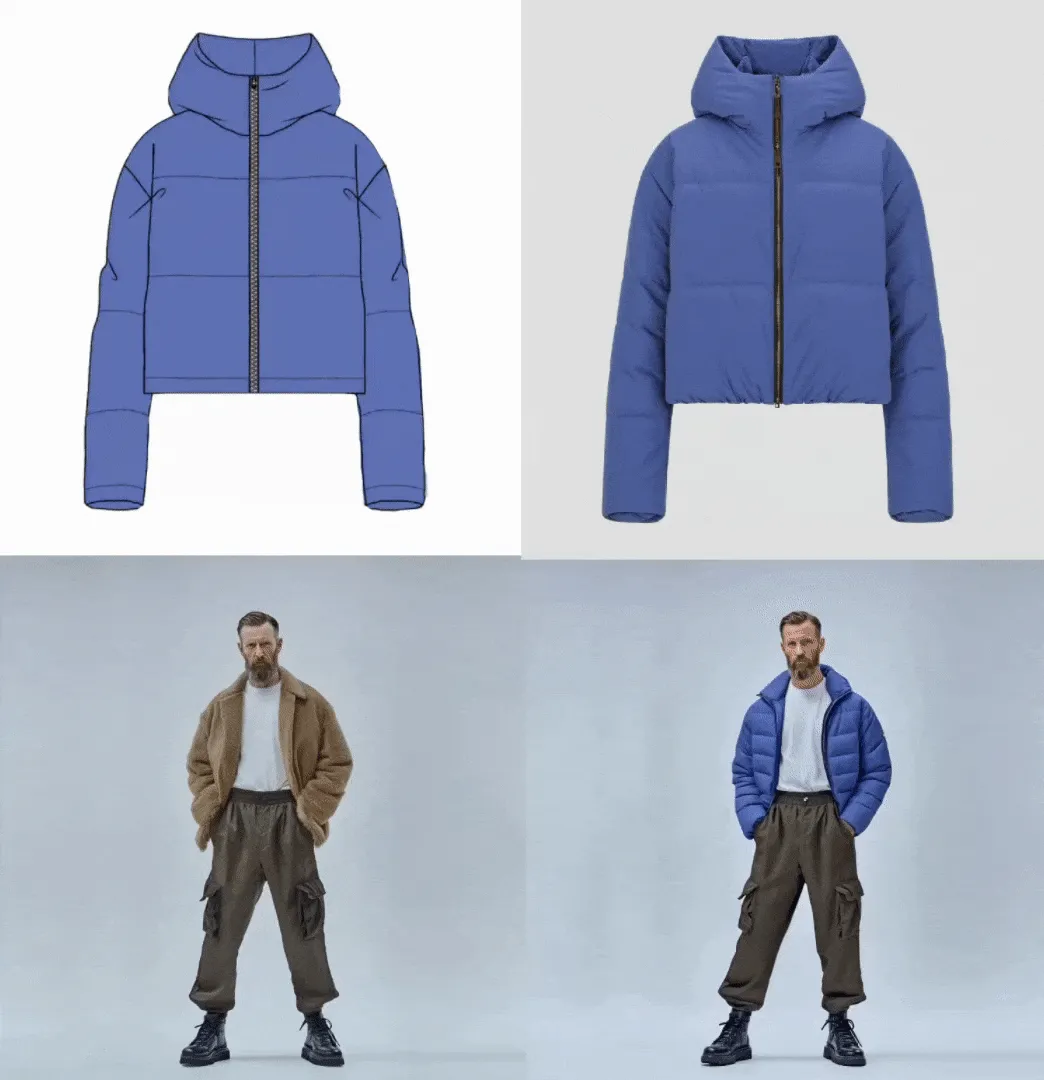
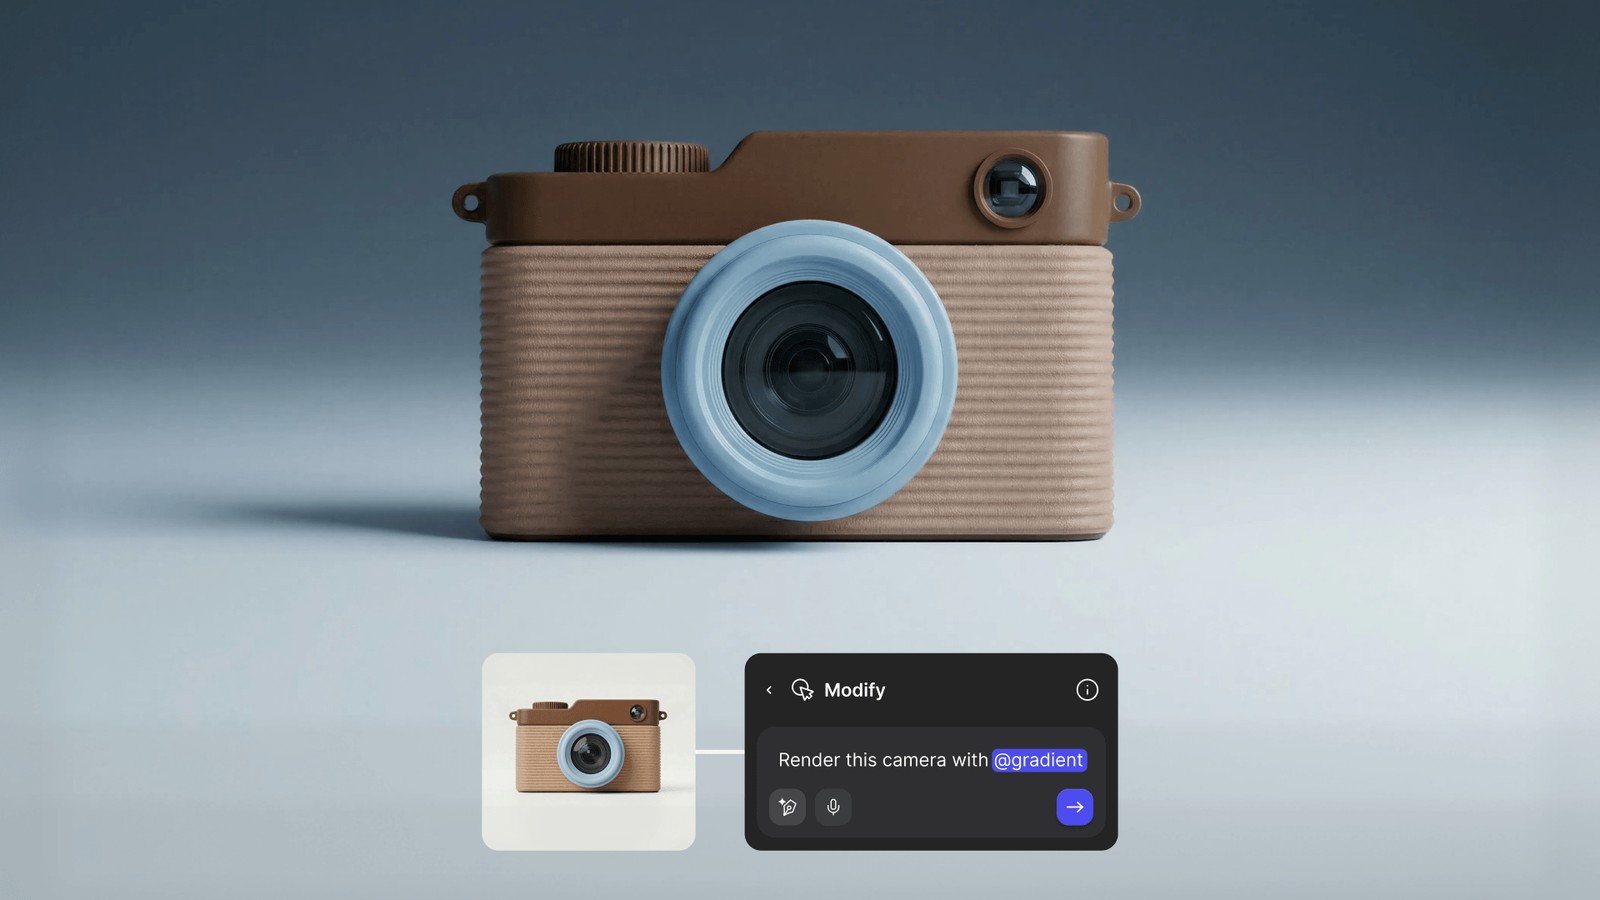
When moving from initial sketches to developed work, the Render feature turns your rough linework into photorealistic output in seconds.
Let’s say you want to create a jacket with material that matches the material of your previous boot design. All you need to do is upload a picture of that boot and Render will create your jacket using the material in your uploaded image:
Now, you can test how wool crepe drapes versus silk charmeuse before committing to sample yardage. Evaluate ponte knit against scuba in ten seconds instead of spending four hours rendering each option manually.
Your sketch defines form and silhouette. Your prompt and reference images specify materials ("silk organza with subtle sheen" or "raw denim with visible selvedge"), lighting, and presentation context. You test 20 to 30 colorway options and material combinations in the time it used to take to render three.
You're choosing based on seeing everything, not guessing which directions might work before committing to expensive samples.
Technical Documentation You Need
Technical documentation proves production readiness. You can create specifications that a factory can work from without constant clarification.
Tech Pack Components
A complete tech pack includes:
- Technical flat sketches: Front, back, and detail views with construction callouts
- Measurement spec sheets: Points of measurement, tolerance ranges (±1/4" to ±1/2"), grade rules across sizes
- Bill of materials: Every fabric and trim with fiber content, weight (oz/yd² or g/m²), supplier codes
- Construction details: Stitch types per industry standards, seam allowances, assembly order
- Colorway options: Pantone codes for every color in the collection
This comprehensive documentation proves you can bridge the gap between creative concept and manufactured product.
Measurement Specifications
Your spec sheets prove you understand fit and grading. Include exactly where each measurement is taken, tolerance ranges, and grade rules showing how measurements change across sizes.
Bills of Materials
List fabric specifications, including fiber content percentages, weight, width, finish treatments, and supplier identification codes. Include hardware specifications for zippers, buttons, and trims with exact part numbers. Add labeling requirements and packaging specifications.
This granular detail proves you understand every component in a finished garment. This is essential for roles involving production oversight or vendor communication.
How To Structure Your Portfolio
Portfolio architecture controls the narrative about how you work. Organization matters as much as content.
Project Organization
Open with your strongest project. Arrange subsequent work to demonstrate range while maintaining quality consistency.
Each project should include:
- Mood boards and concept development
- Early sketches and design iterations
- CAD flats and technical drawings
- Tech packs with production-ready documentation
- Fashion illustrations for artistic presentation
Show 4-6 strong projects rather than 10+ mediocre pieces. Use this constraint to force strategic selection.
Digital vs. Physical Formats
Digital portfolios work for initial applications and broad distribution. Your digital version needs to function across multiple platforms, including a dedicated website, a PDF under 10MB for email submissions, and a mobile-responsive presentation.
Physical portfolios matter for final-round interviews where material quality and craftsmanship details matter.
LinkedIn serves as your primary professional platform for recruiter visibility. Behance or similar networks provide broader community engagement.
Faster Iteration, Better Documentation
Digital workflows let you explore more design directions before committing to expensive sample production.
Traditional rendering takes hours per concept, so you explore only the directions you're already confident about. When you can evaluate options in seconds, you test approaches that might surprise you.
Material and Color Consistency
Custom Palettes lock in your collection's color story. When you're exploring thirty silhouette variations, every render maintains consistent colorways rather than random AI interpretations.
Color Match maintains Pantone accuracy across every variation. The navy you approve in jersey stays consistent when you evaluate it in denim. Reviewers notice when colorways drift between presentation boards. Maintaining accurate specifications proves you understand the technical precision manufacturing requires.
3D Evaluation
Make 3D converts your 2D renderings into rotatable meshes.
Reviewers want to see how the back details and side seams work. Rotating 3D views proves you've considered construction from every direction without requiring multiple hand-drawn views. Catch fit and styling issues before pattern-making, like a back detail that looks great from the front but reads as unbalanced in three-quarter view.
Documentation as Professional Advantage
Your portfolio succeeds when it proves you can work independently through the complete design cycle: research concept directions, generate multiple ideas, evaluate which show promise, develop chosen concepts with technical precision, solve construction problems, and deliver production-ready specifications.
Technical documentation and iteration work prove all of this. Polished final shots alone cannot.
Every mood board that shows clear conceptual connections, every sketch sequence that reveals iterative refinement, every tech pack that proves manufacturing readiness builds the case that you can navigate professional fashion design without needing constant direction.
Building a fashion portfolio that shows methodology, not just final looks? Book a demo to see how Render, Custom Palettes, and 3D help you test materials and document iterations faster.
Explore
Explore more blog posts & resources to get inspired
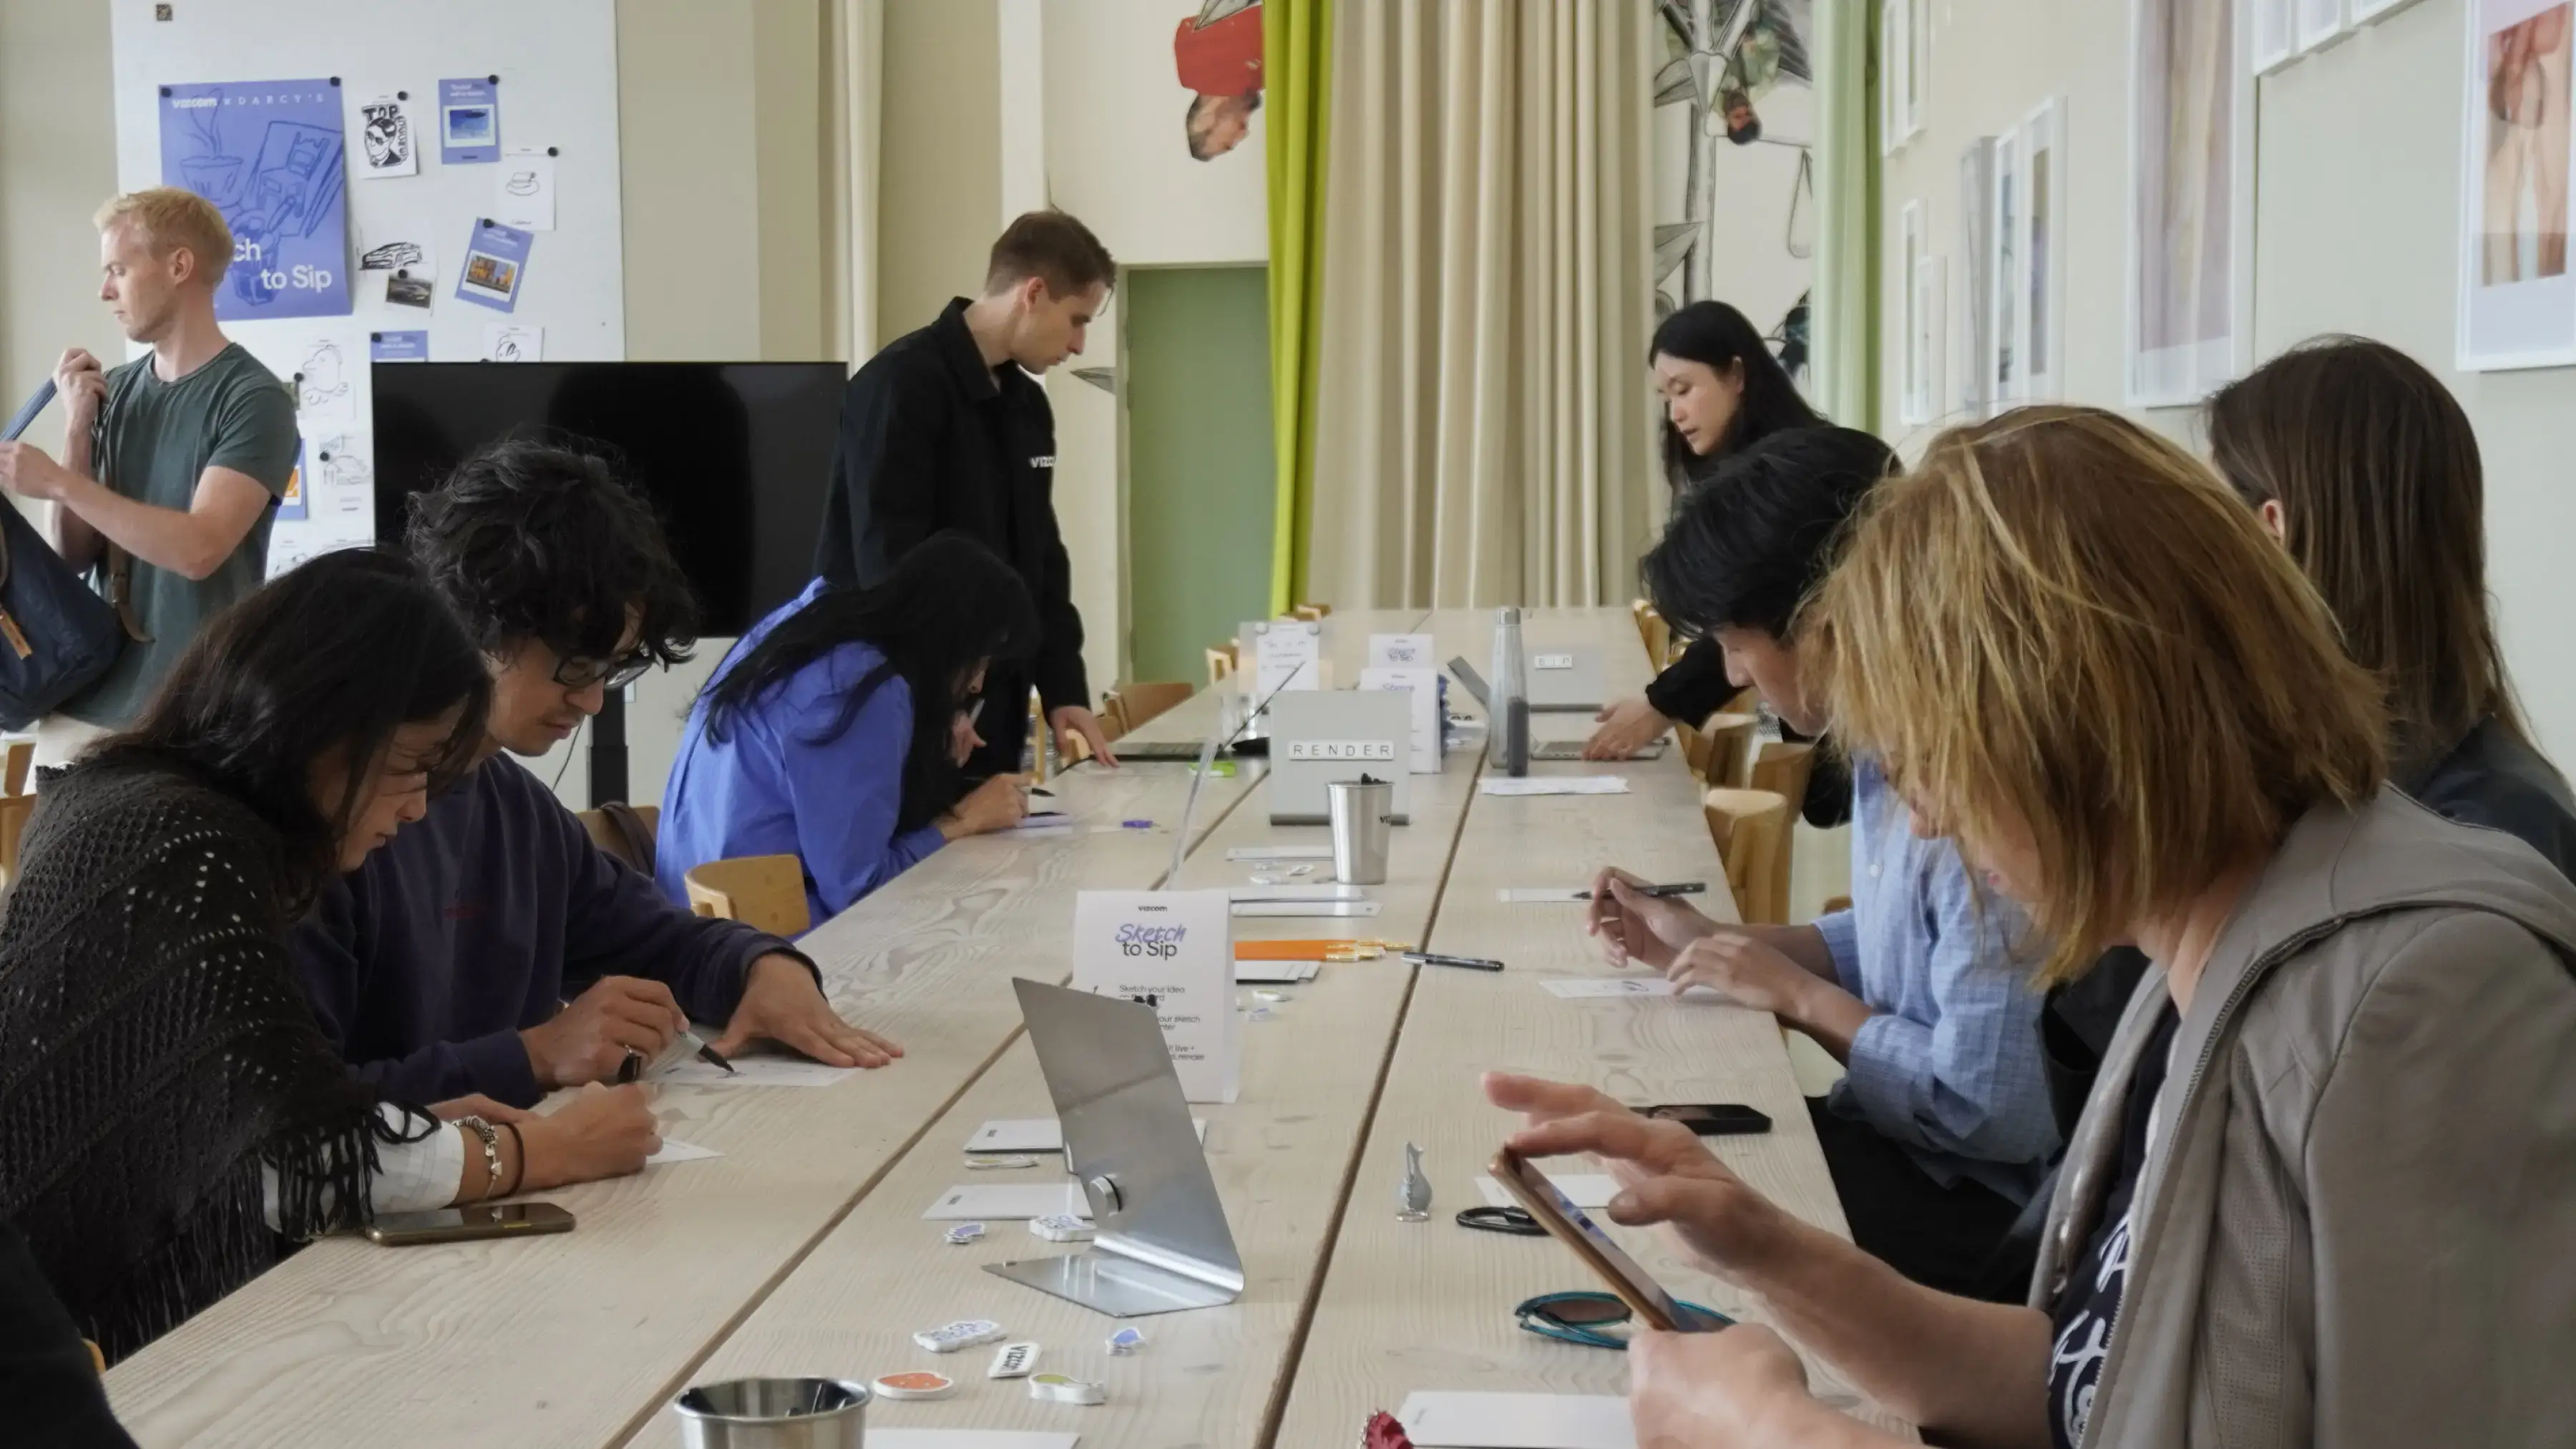
For one day during 3DaysofDesign in Copenhagen, Darcy's Cafe ran on a different currency — a sketch. Draw it, we'd render it live in Vizcom, and you'd walk out with a print — coffee included.
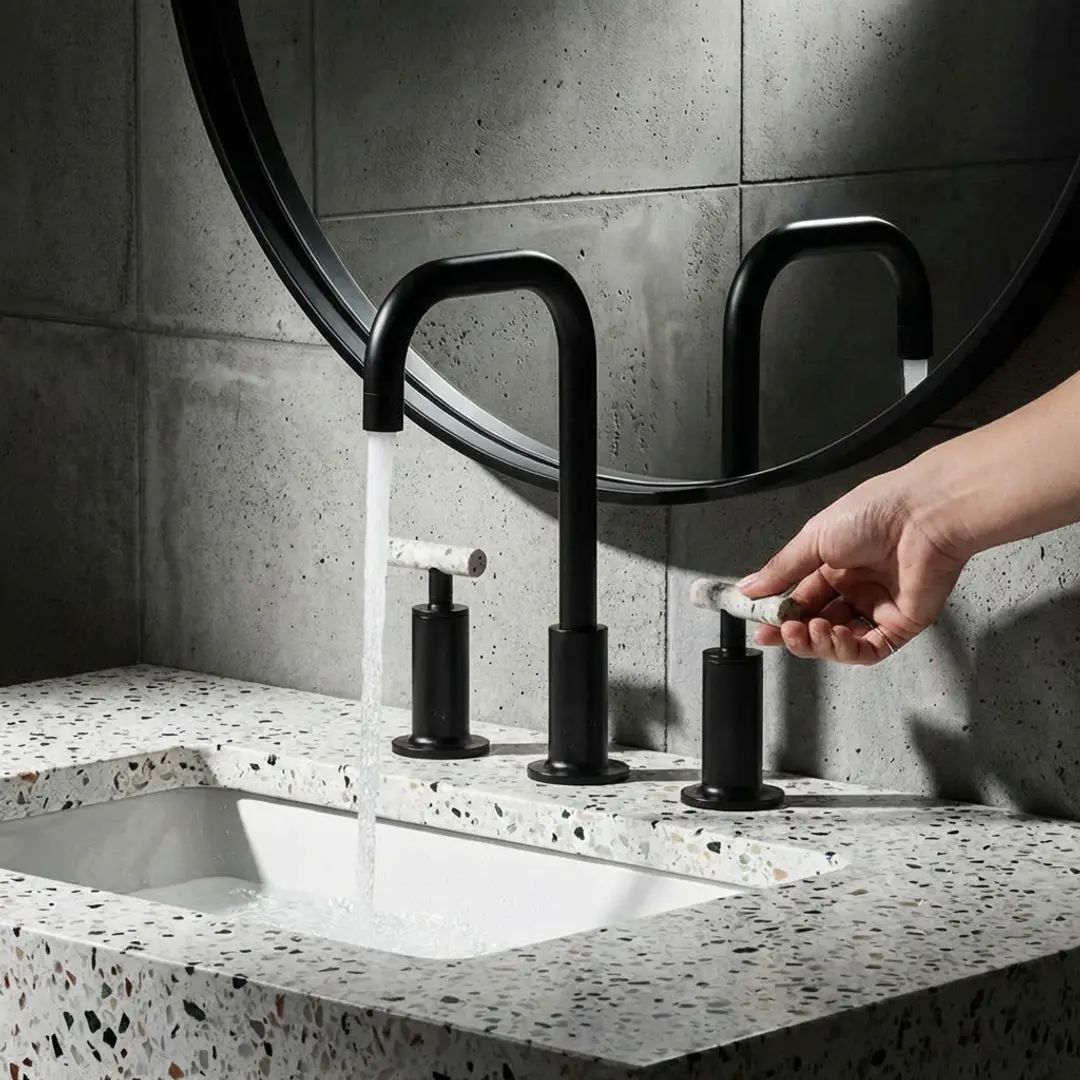
See how Kohler's industrial design team uses Vizcom to save time, speed up workflows, and create better work.
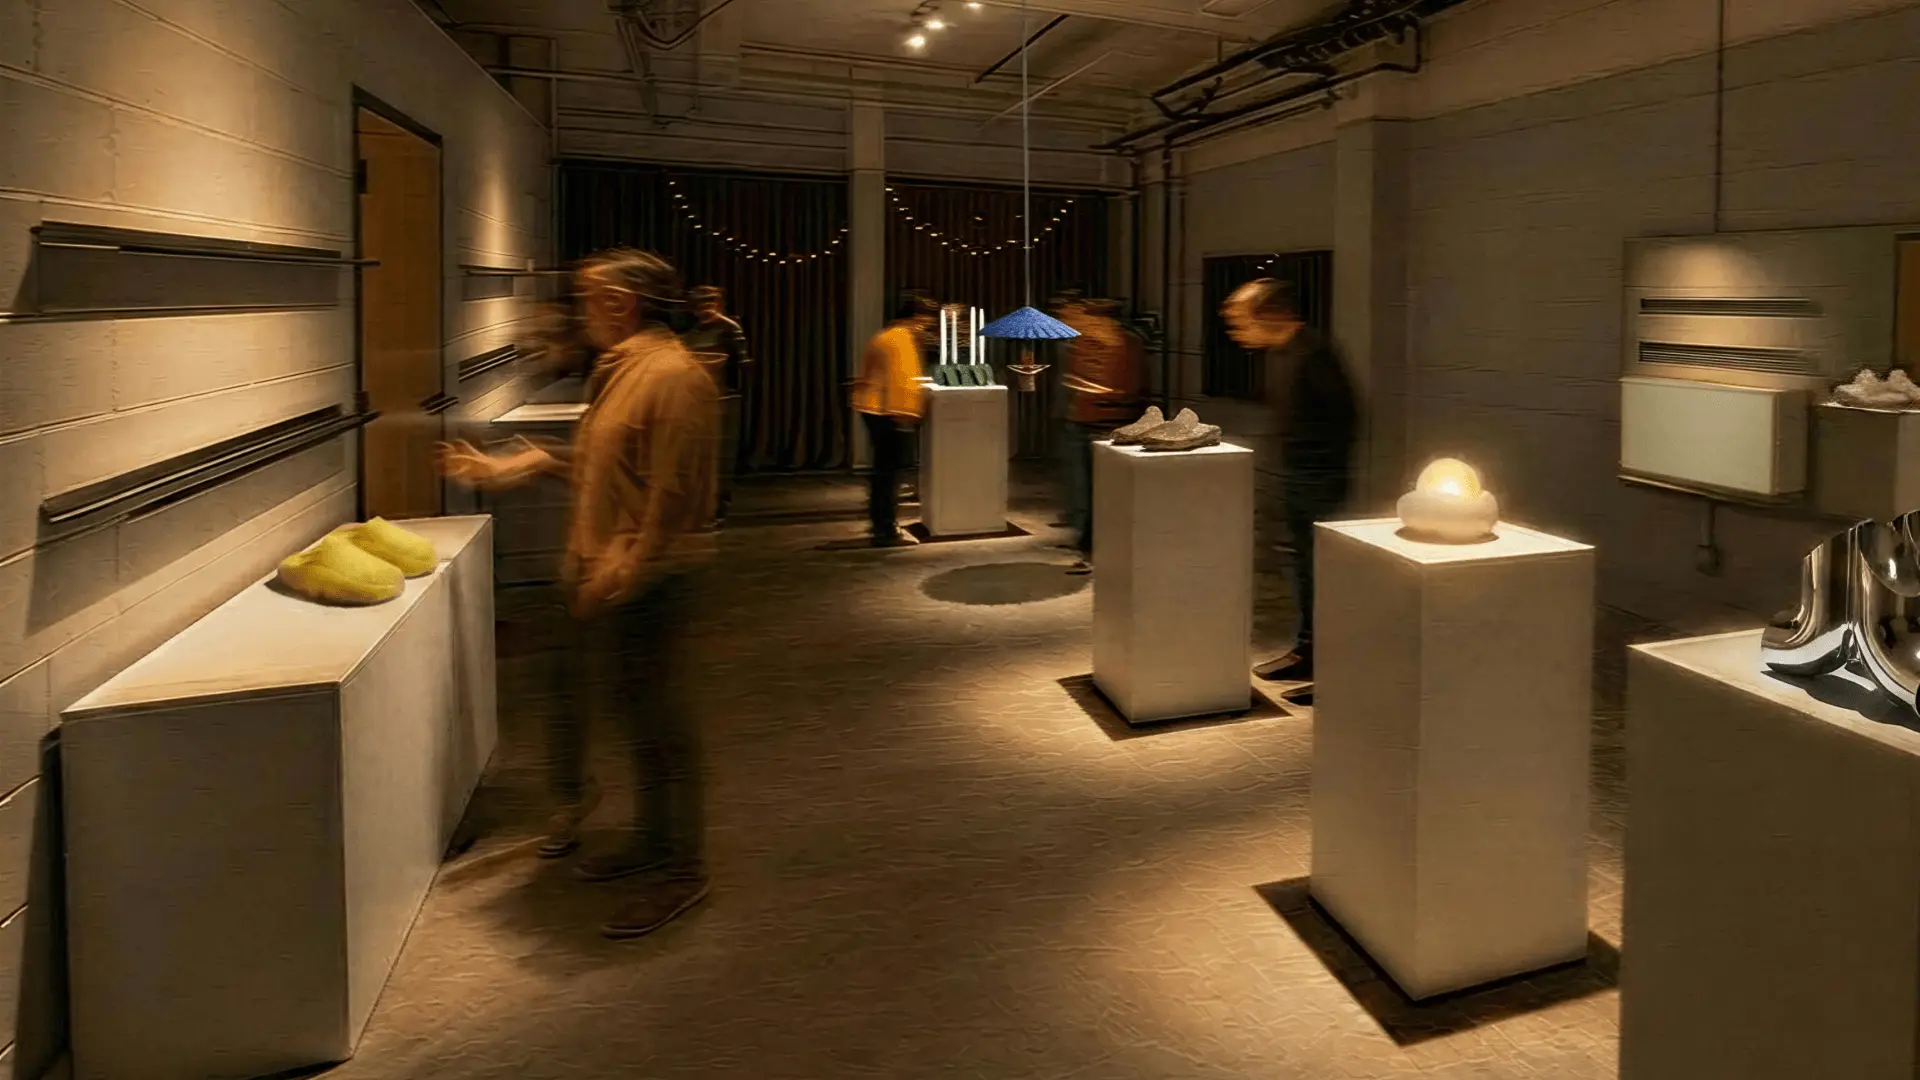
Explore the designs of Vizcom's San Francisco Design Week exhibition where furniture, footwear, lighting, and automotive concepts come to life through AI-powered visualization. Follow along as designers share the stories, sketches, and tools behind every piece on display.
Frequently asked questions
Yes of course! Our starter plan is completely free, no credit card required. This is a great plan to explore vizcom with.
We accept all major credit and debit cards.
Admins (paid) – can edit files, manage workspace settings, billing, teams, and invite members. Editors (paid) – can edit files but not manage settings, billing, or teams. Viewers (free) – can only view files in read-only mode.
Team billing is handled centrally by the Admin. All paid seats, whether Admins or Editors, are included in a single invoice under the same billing cycle, while Viewers remain free and do not affect the cost.
Yes, you can. An Admin can update the plan in the billing settings, and the switch will take effect on the next billing cycle at the annual rate.
Yes, you own everything you create in Vizcom. For free users, while Vizcom may use generated images to improve its services, it does not claim ownership of your designs, concepts, or original ideas—you keep full rights to them. For paid users, your images and designs remain entirely private and are only used to deliver the service. Every design, concept, and image you create or upload is fully yours and kept confidential.
Vizcom does not use your data to train AI models if you’re on a paid plan. Everything you create stays private and is only used to provide the service. Free users may have their generated images included to help improve Vizcom’s services, but even then, Vizcom does not claim ownership of your designs, concepts, or original ideas—you retain full rights.