Design Feedback Loops That Actually Improve Work
Learn how to set up design feedback loops that improve your work through faster cycles, better timing, and smarter iteration.

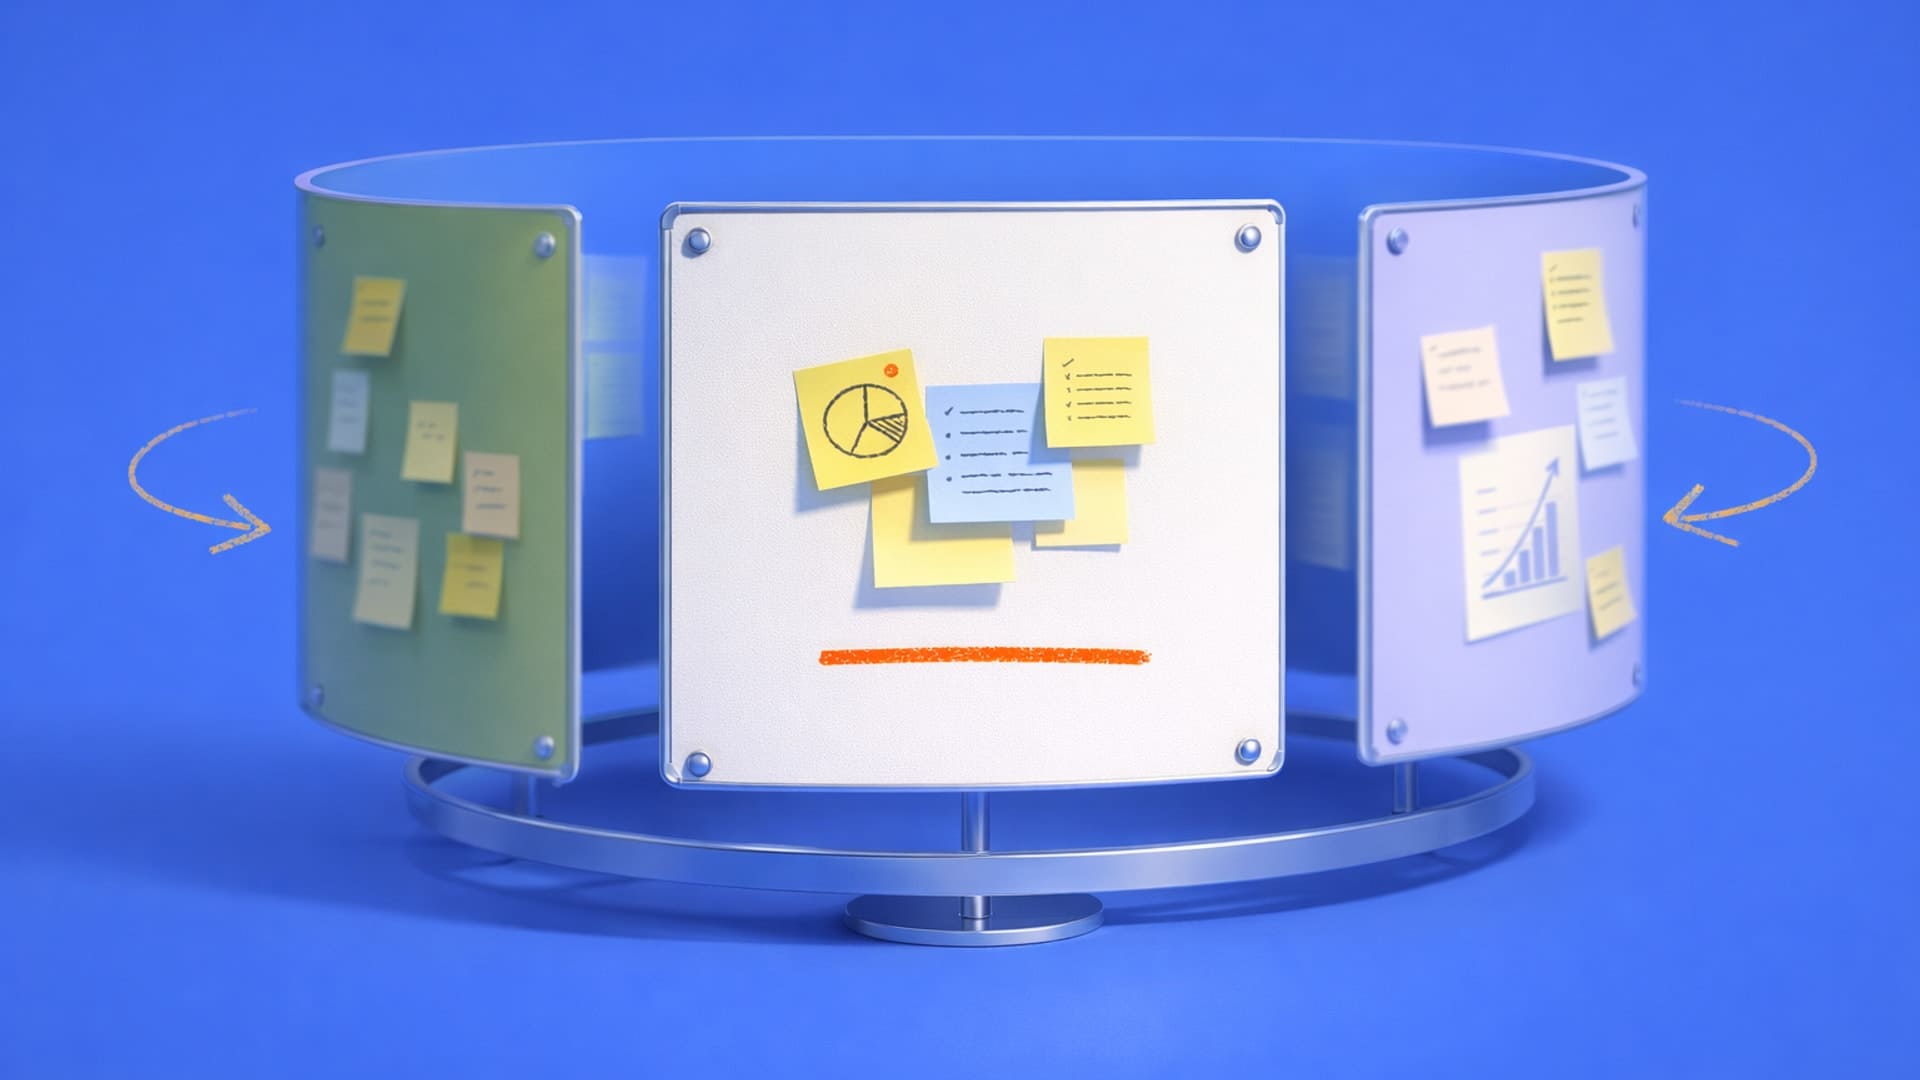
You sketch something, show it to your team, and immediately gather feedback. Maybe the proportions feel off, or the form language doesn't match what you were going for. So you adjust, test again, and keep refining until it clicks. That back-and-forth is a design feedback loop. And real work happens in these cycles. Designers who produce exceptional work have learned how to set up feedback cycles that push concepts forward instead of spinning in circles.
Feedback matters, but the mechanics can be tricky to get right. Collecting input too late means changes cost exponentially more. Testing internally until everyone's too close to see problems creates blind spots. Iterating endlessly without clear criteria for what makes something better versus just different burns time without progress.
What Is the Design Feedback Loop?
A design feedback loop is a cycle where you create something, gather input from the right people, interpret what you learned, then use those insights to refine your work. Getting that cycle to work in physical product design can be complicated because it generally requires balancing manufacturing feasibility, material behavior, and the time it takes to actually build what you want to test.
Your feedback loop should include cycles for both digital prototypes and physical prototypes. That way, you get to test more ideas and create better final products.
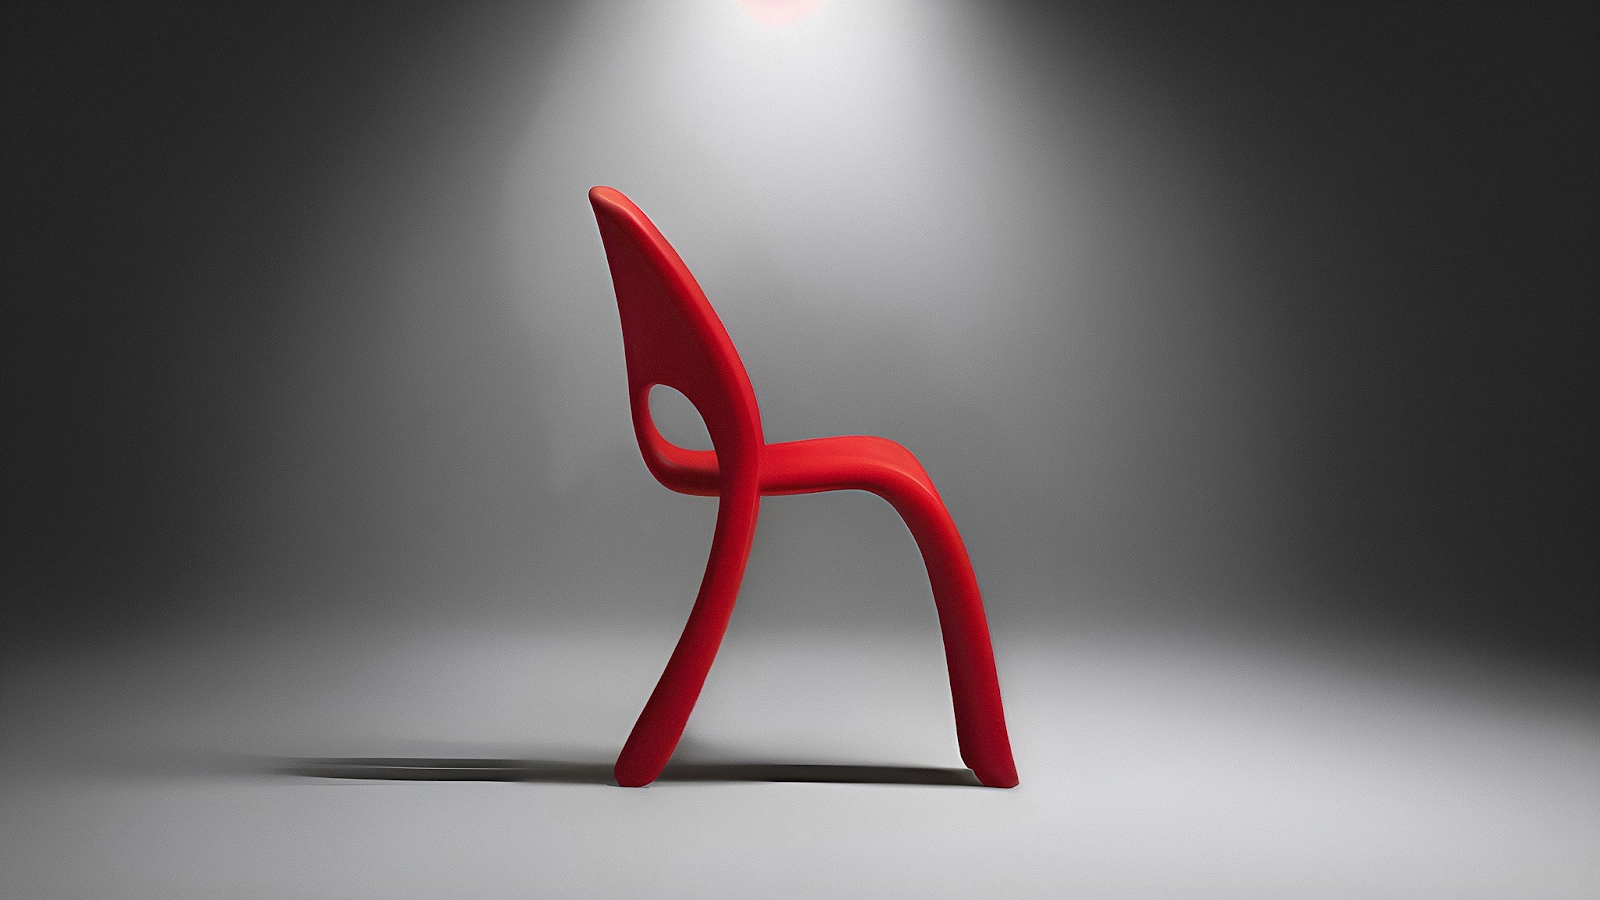
When you're designing a chair, for example, you need to test how it feels under actual weight. When you're developing a shoe, you need someone to walk in it across different surfaces.
But you can't possibly create physical prototypes of all your design ideas. Which is why designers use 3D rendering to see exactly what a prototype will look like, which can help evaluate proportions, form language, and visual details across multiple design ideas before investing in physical production.
Photorealistic 3D renders let you make better decisions earlier, refining concepts digitally until you're confident they're worth building. So that when you do move to physical testing, you can validate aspects that only real-world interaction reveals — like whether your shoe's grip diameter feels comfortable after twenty minutes of use.
Renderings accelerate early visual decisions, while physical testing at key stages confirms performance and ergonomics.
Why Faster Feedback Cycles Expand What You Can Create
The more feedback loops you can complete within a fixed timeline, the more design territory you explore. Here's why that matters.
Traditional rendering processes take considerable time per concept. That bottleneck can slow you down and limit how many feedback cycles you can run. You can only fully develop a handful of directions out of the dozens you've sketched, which means fewer opportunities to gather input and refine. You're forced to choose which ideas to pursue based on incomplete information, often before you've really seen them. Which can constrain the concepts you explore, the risks you take, and the innovations you discover.
But what if you could complete more feedback loops in the same amount of time? Faster cycles replace long linear processes with something more dynamic. Instead of spending months on research before touching a prototype, you gather insights, build something to test those insights, get feedback, then immediately cycle back. This shift from sequential to iterative means you're running feedback loops continuously from day one.
This advantage compounds over time. Each additional feedback cycle gives you another opportunity to learn, test, and refine. You produce better design work when you have time to gather input from users across multiple iterations. Better testing environments boost the odds of creating successful outcomes. Without enough feedback cycles, deadline pressure forces you to default to competent but conservative solutions. Structured feedback loops let you explore more design territory in the same timeline because you gather insights through repeated testing rather than relying on assumption-based decisions.

The economics reinforce why feedback loop speed matters. Modifying a concept sketch takes minutes. Adjusting a CAD model takes hours. Changing tooling can cost significant amounts and add weeks to your schedule. This cost curve makes it essential to run as many feedback loops as possible during early stages—the earlier you catch problems through feedback, the cheaper they are to fix.
This is where modern tools change the equation. Sketch-to-render workflows compress the rendering bottleneck that once limited how many feedback cycles you could complete. Render lets you evaluate five different wheel designs before your morning coffee instead of waiting until next week for outsourced renders.
You gather feedback on concepts immediately, commit to the strongest direction while alternatives are still easy to adjust, and cycle back to refine based on what you learned.
Building Loops That Actually Function
Effective feedback loops require matching your validation approach to each design stage. Early concepts need different testing than late-stage refinement. The key is knowing what questions you're answering at each phase and bringing in the right expertise while changes are still easy to make.
Start by understanding what you need to validate as your design develops. Different phases require different types of testing and feedback sources. Getting this match right determines whether iteration moves your work forward or just generates expensive alternatives.
Match Testing to Development Phase
Start by identifying what you need to validate at each development phase. Early on, you're testing value and interaction paradigms. So some questions to ask are:
- Does this concept address the core problem?
- Is the basic form language working?
Answering those questions don't require production-quality prototypes. A 3D render can often gives you the answers you need. Investing in high-fidelity prototypes before validating these basics just makes iteration expensive.
As concepts develop, your questions get more specific:
- How does this look in different environments?
- Can manufacturing actually produce this geometry at scale?
Each question requires different feedback sources. Ergonomic validation needs target users in realistic contexts. Manufacturing feasibility needs engineers and production partners reviewing your CAD data.
Bring Expertise In Early
Bringing expertise in early means getting the right feedback from the right people while changes are still easy to make. But before you involve external stakeholders, talk to experts on your team and run multiple feedback cycles digitally to refine your concepts.
Checking whether your sneaker design holds up from the back three-quarter view becomes instant with tools like Make 3D. Generate textured meshes from your 2D renderings in seconds, so you catch proportion problems before investing in physical samples. Evaluate concepts from any angle, check proportions from views you didn't initially sketch, and make adjustments while they're still easy to change.
[Embed: https://framerusercontent.com/assets/2ZaGqdyNld4s91cR6owwfY9y8o.mp4]
This compresses the early validation cycles when you're just trying to figure out if a direction is worth pursuing.
Once you've refined concepts digitally, you're ready to bring in outside expertise. Involve manufacturing partners while you're still developing concepts, not after finalizing geometry. Test with users while there's time to make meaningful changes. Late-stage feedback is just expensive validation with no opportunity to fix problems. The teams that excel bring the right expertise into the process while exploring and framing, when there's still time to act on what they learn.
Athletic footwear teams, for example, demonstrate this approach effectively. Leading designers can go through 12 rounds of prototype iterations within six months, with each round validated by athletes. Changes could be implemented and validated within approximately two-week cycles rather than waiting weeks for the next scheduled review. While athletes tested the shoes, product designers across multiple domains worked together, so manufacturing considerations came up immediately rather than in later review cycles.
Physical prototyping remains essential for testing actual performance. But by validating visual and proportional decisions through rendering first, you arrive at physical testing with stronger concepts that generally require fewer costly revisions.
What Breaks Feedback Loops
Most feedback looks fail because user feedback isn't collected until the prototypes are nearly finished. Designers understandably choose to wait for polished samples because they don't want to show rough work. But that caution can make problems expensive to fix. By the time you have a beautiful prototype, you've made hundreds of decisions about form, materials, and manufacturing approach. Changing direction at that point means throwing away significant investment.
Another reason feedback cycles can fail is testing exclusively within your organization, which can create expert blindness. Your team has internalized assumptions about how someone will use the product that may not match reality. External users interacting with prototypes in their actual environment surface problems your internal team can no longer objectively evaluate.
Missing input from engineers and manufacturing partners until late stages produces designs that look great but can't be manufactured economically. Engineering reviews your nearly-final CAD and identifies geometry that requires custom tooling at significantly higher cost than standard manufacturing approaches. Either you compromise the design or explain to leadership why you need more budget. Both options are worse than getting engineering input while you develop concepts, when adjusting direction is still easy.
Animate creates movement sequences from static sketches in seconds and shows how that laptop hinge transition reads in motion before building functional prototypes, so you catch interaction problems while they're easy to fix. Evaluate whether transitions and interactions work clearly, test different use scenarios, and communicate concepts to stakeholders who struggle to envision products from still images.
Setting Up Cycles That Actually Work
The best feedback loops have specific structures and clear criteria.
Define Success Criteria
Start by establishing clear criteria for what makes an iteration successful versus just different. A successful iteration solves a specific problem you identified in the previous version. Maybe the last prototype had proportions that felt off, so this version adjusts the ratio between elements. Or the form language wasn't reading clearly, so you're simplifying transitions. Each iteration should test a hypothesis about improvement, not just show that you made changes.
Plan Multi-Fidelity Prototyping
Create a multi-fidelity prototyping strategy that matches investment to what you're trying to learn. Quick sketches test overall direction and composition. AI-generated 3D renders validate visual proportions, form language, and material choices before any physical investment. 3D-printed samples confirm form and proportion in your hands. CNC-machined prototypes using production-grade materials test functional performance. Production-quality samples aren't necessary to validate basic concepts, so save that investment for later stages when you're done validating designs.
Schedule feedback from different stakeholders at appropriate development phases. Bring engineers in at concept stage, not when CAD is complete. Test with target users while there's still time to make meaningful changes based on what you learn. Involve manufacturing partners before finalizing geometry they'll need to produce. Sequential stakeholder reviews create bottlenecks when each group only sees the work once. Continuous integration of diverse perspectives keeps iteration flowing.
Document Feedback Systematically
Organize feedback through structured categories rather than scattering insights across emails and meeting notes. Create a system that sorts input by type:
- Usability issues
- Manufacturing constraints
- Aesthetic preferences
- Technical problems
Add clear severity ratings, and link feedback to specific prototype iterations so you can track what changed and why. This documentation becomes essential when decisions are questioned later and you need to explain what you learned that drove that direction.
Build your process around the technology that gives you faster cycles. Modern visualization, 3D printing, and rapid prototyping tools let you iterate faster than teams using traditional methods. These technologies reduce timelines from months to weeks. Teams still working like it's 2010 are choosing to move slower than necessary. You wouldn't hand-letter presentation boards when you have a computer, so don't wait days for traditional rendering when faster workflows exist.
Making Feedback Loops Part of How You Work
Design feedback loops work when they're integrated into how your team operates rather than treated as separate review events. The goal is continuous refinement that moves work forward. You're building a system where concepts get tested early and often, feedback gets interpreted into actionable changes, and iteration happens fast enough that timeline pressure doesn't force premature decisions.
Testing more directions in the same timeline lets you discover solutions you wouldn't have found otherwise. Seeing concepts quickly enough to evaluate them while they're still easy to change gives you permission to take risks that lead to better work. Faster feedback cycles give you creative freedom. The ability to explore, fail early, and refine until you land on something exceptional.
Vizcom accelerates your feedback loops and makes every cycle count. Book a demo or try out Vizcom to see for yourself.
Explore
Explore more blog posts & resources to get inspired

For one day during 3DaysofDesign in Copenhagen, Darcy's Cafe ran on a different currency — a sketch. Draw it, we'd render it live in Vizcom, and you'd walk out with a print — coffee included.
See how Kohler's industrial design team uses Vizcom to save time, speed up workflows, and create better work.
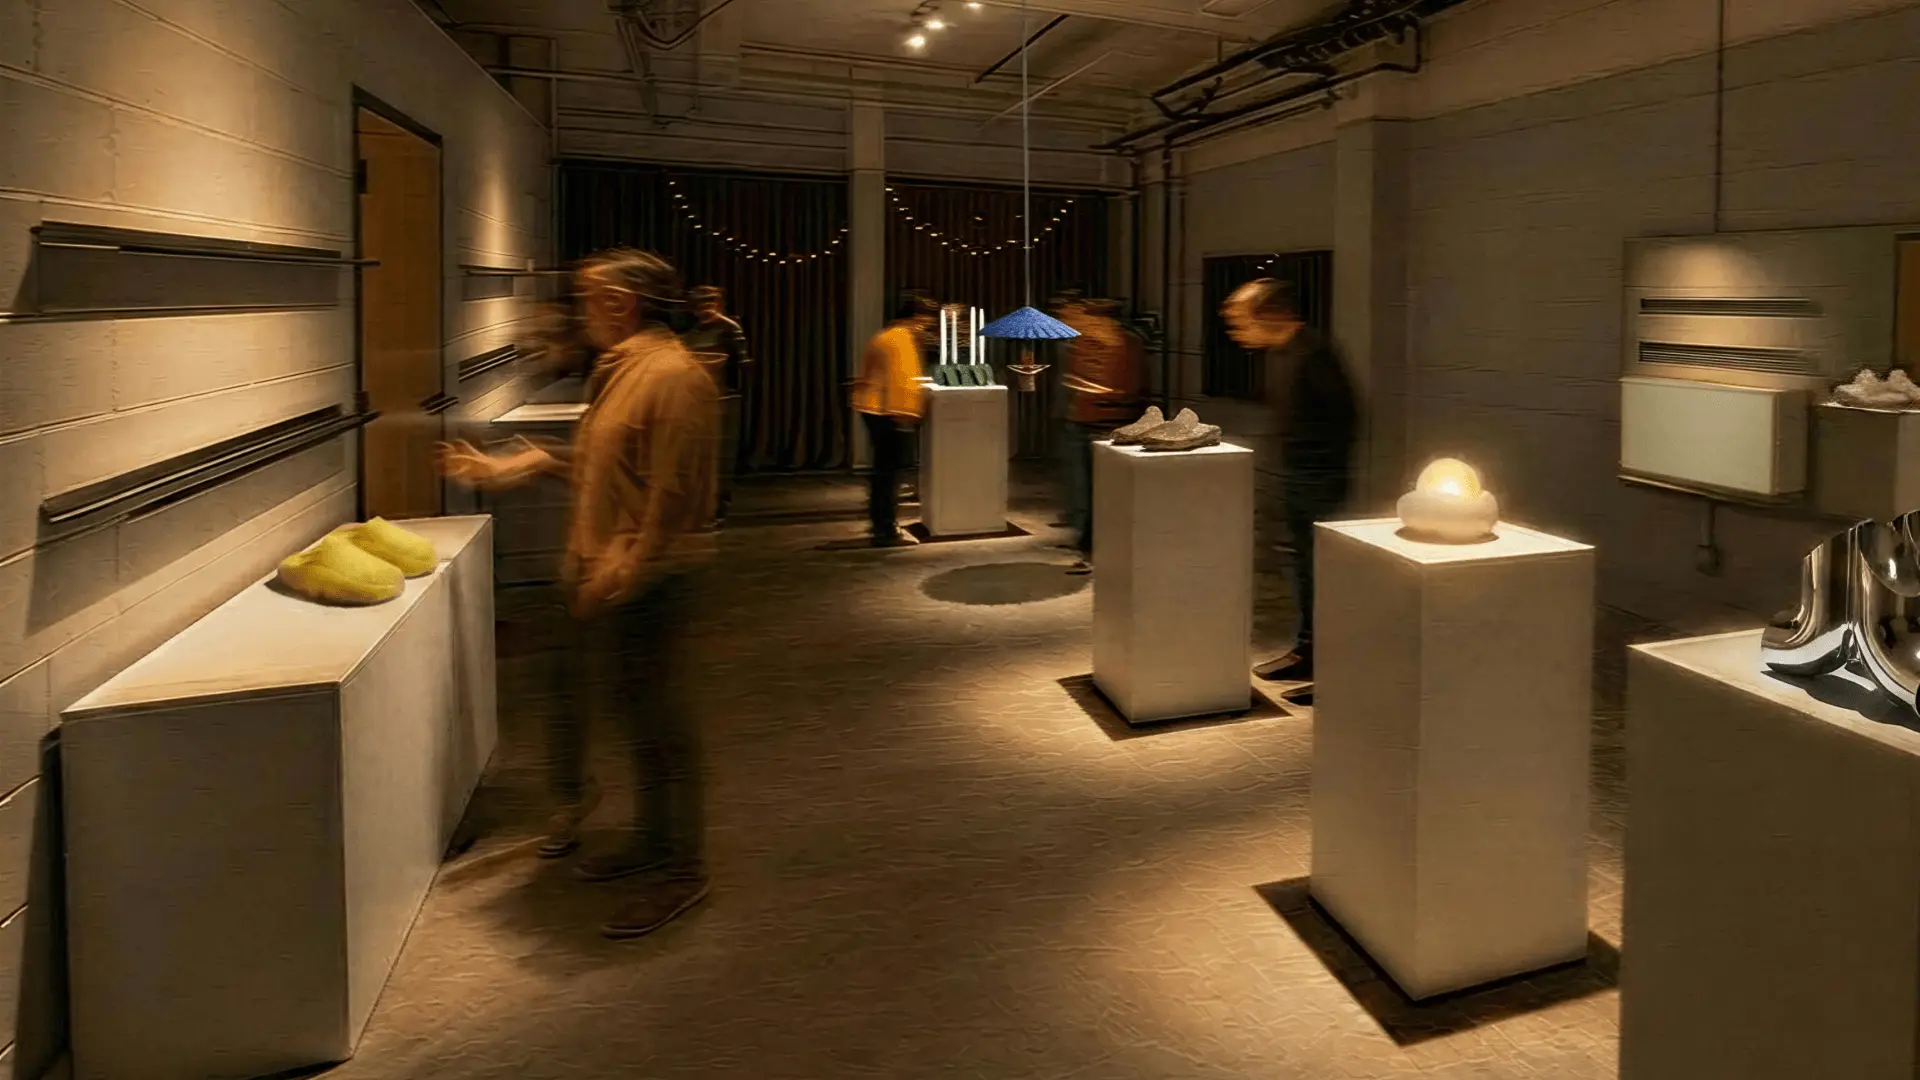
Explore the designs of Vizcom's San Francisco Design Week exhibition where furniture, footwear, lighting, and automotive concepts come to life through AI-powered visualization. Follow along as designers share the stories, sketches, and tools behind every piece on display.
Frequently asked questions
Yes of course! Our starter plan is completely free, no credit card required. This is a great plan to explore vizcom with.
We accept all major credit and debit cards.
Admins (paid) – can edit files, manage workspace settings, billing, teams, and invite members. Editors (paid) – can edit files but not manage settings, billing, or teams. Viewers (free) – can only view files in read-only mode.
Team billing is handled centrally by the Admin. All paid seats, whether Admins or Editors, are included in a single invoice under the same billing cycle, while Viewers remain free and do not affect the cost.
Yes, you can. An Admin can update the plan in the billing settings, and the switch will take effect on the next billing cycle at the annual rate.
Yes, you own everything you create in Vizcom. For free users, while Vizcom may use generated images to improve its services, it does not claim ownership of your designs, concepts, or original ideas—you keep full rights to them. For paid users, your images and designs remain entirely private and are only used to deliver the service. Every design, concept, and image you create or upload is fully yours and kept confidential.
Vizcom does not use your data to train AI models if you’re on a paid plan. Everything you create stays private and is only used to provide the service. Free users may have their generated images included to help improve Vizcom’s services, but even then, Vizcom does not claim ownership of your designs, concepts, or original ideas—you retain full rights.